Many people have been asking what Kombucha is and how you make it. Today I am going to show a picture tutorial giving step by step instructions on how to make this health-benefiting and tasty drink.
Kombucha is a fermented tea beverage that the ancient Chinese called the “Immortal Health Elixir”. It’s been around for more than 2,000 years and has a rich anecdotal history of health benefits like preventing and fighting cancer, arthritis, and other degenerative diseases.
This drink is made from sweetened tea that’s been fermented by a symbiotic colony of bacteria and yeast (a SCOBY for short). Kombucha didn’t gain prominence in the West until recently even though it’s health benefits have been known by the Chinese and other cultures for centuries.
In the first half of the 20th century, extensive scientific research was done on Kombucha’s health benefits in Russia and Germany, mostly because of a push to find a cure for rising cancer rates. Russian scientists discovered that entire regions of their vast country were seemingly immune to cancer and hypothesized that kombucha, that they called “tea kvass” there, was the cause. They began a series of experiments which not only verified the hypothesis, but began to pinpoint exactly what it was within kombucha that was so beneficial.
German scientists picked up on this research and continued it in their own direction. Then, with the onset of the Cold War, research and development diverted to other fields. It was only in the 1990’s, when Kombucha first came to the U.S., that the West started any studies on the effects of Kombucha, and those were few in number. As is typically the case in the U.S., no major medical studies are being done on Kombucha because no one in the drug industry stands to profit from researching a beverage that the average consumer can make for as little as 50 cents a gallon.
Regardless of the “lack” of scientific evidence, the fact remains that this beverage has 2,000 plus years of tradition behind it.
One benefit of Komucha is detoxification. Detoxification produces healthy livers and aids in cancer prevention. One of Kombucha’s greatest health benefits is its ability to detox the body. It is rich in many of the enzymes and bacterial acids your body produces and/or uses to detox your system, thus reducing your pancreatic load and easing the burden on your liver.
Kombucha contains glucosamines, a strong preventive and treatment for all forms of arthritis. Glucosamines increase synovial hyaluronic acid production. Hyaluronic acid functions physiologically to aid preservation of cartilage structure and prevent arthritic pain, with relief comparable to NSAID’s. Hyaluronic acid enables connective tissue to bind moisture thousands of times its weight and maintains tissue structure, moisture, lubrication and flexibility and lessens free radical damage.
Because it’s naturally fermented with a living colony of bacteria and yeast, Kombucha is a probiotic beverage. There’s a myriad of benefits such as improved digestion, fighting candida overgrowth, mental clarity, and mood stability. As such, people say it’s noted for reducing or eliminating the symptoms of fibromyalgia, depression, anxiety, etc.
I became interested in the many different forms of probiotic foods and drink because of arthritis. As you probably already know from prior posts, I’ve learned that leaky gut syndrome and poor gut health has been said to be the foundational cause of this and other auto-immune disorders. So, I got online, bought a scoby and when it arrived I made my first batch of Kombucha.
I have to admit, I’ve learned a LOT since I’ve been brewing this tea. I’ve learned what makes for a more palatable drink and I’d like to share those thoughts with you.
Now I’ll show you how to make Kombucha.
Here is the recipe I use:
1 gallon (or larger) glass container
3 quarts of purified water (no chlorine)
1 cup of sugar (no artificial sweeteners)
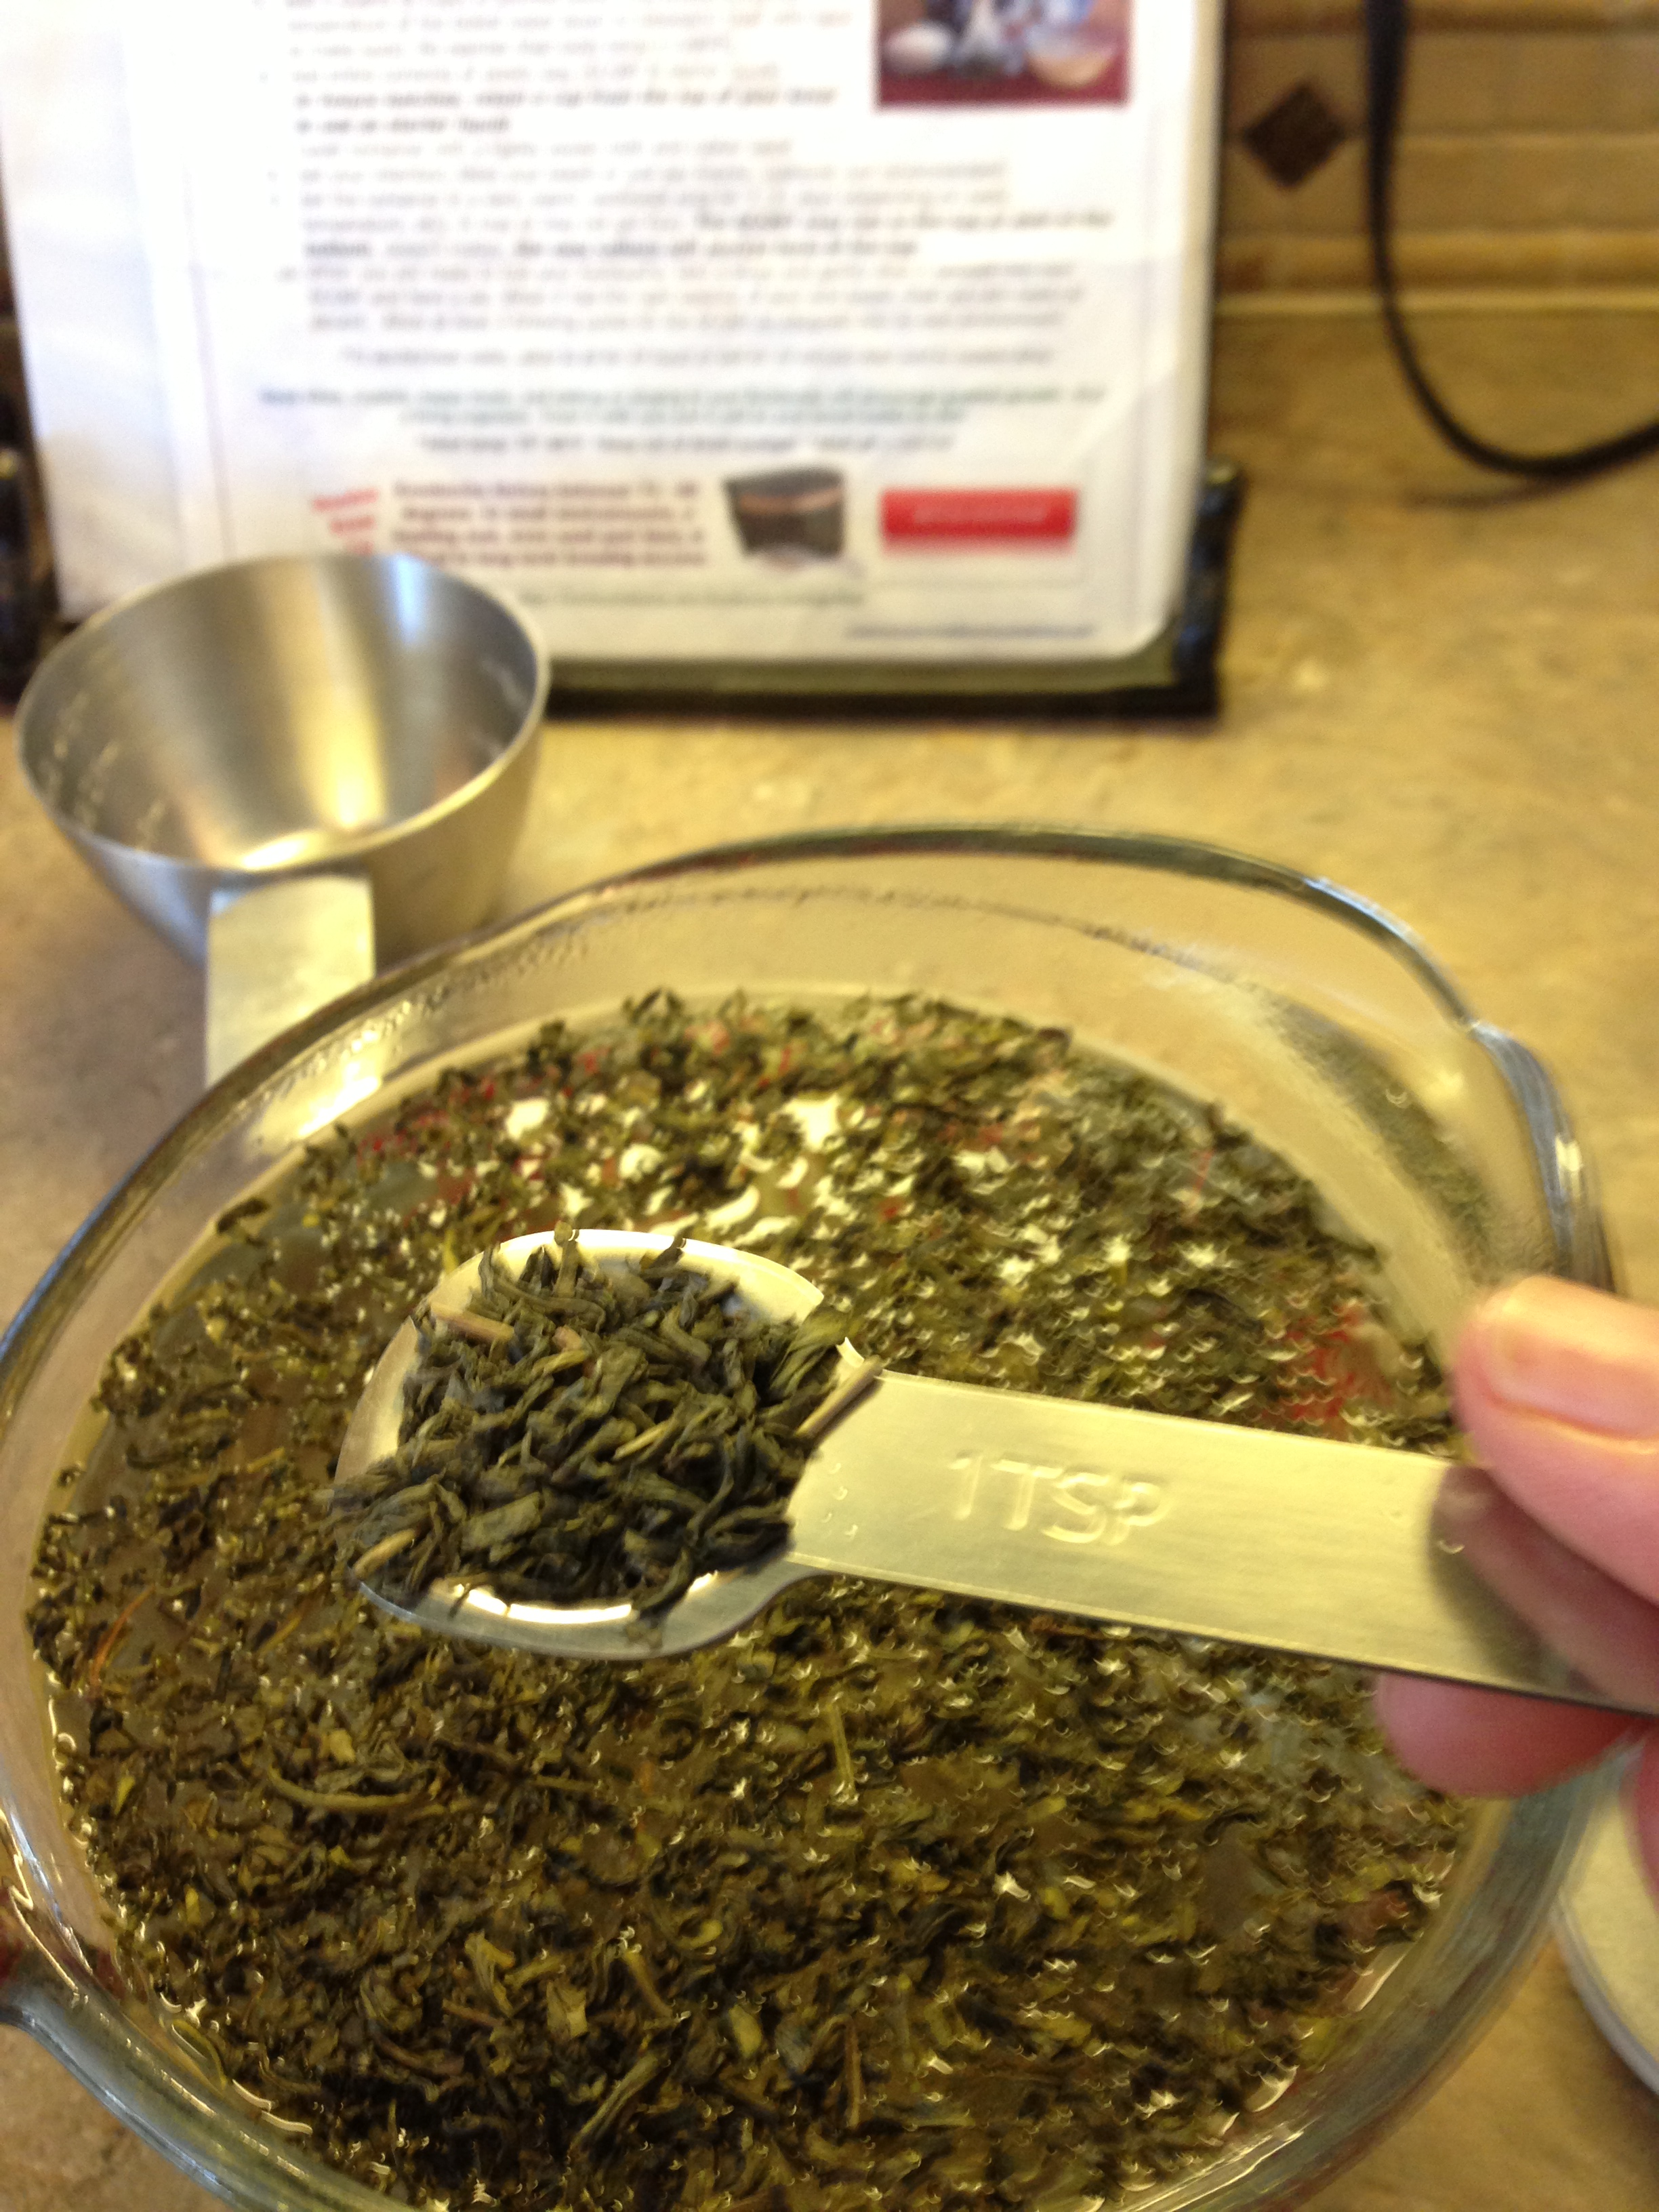
4-5 tea bags or 4-5 teaspoons of loose tea ( I like a mix of green and black tea)
1-2 cups of starter liquid (more about this in the blog)
1 Scoby
cloth cover and rubber band

These are the items you will need to make your Kombucha. I like to use both green and black tea. I think the taste is better, and from what I’ve read, it’s good for the scoby to have both types of tea, but I know others who only use black tea and like what they make.
You boil 1 quart of water and place 5 tsp. of tea into the hot water, along with 1 cup of sugar.
Then you cover your tea to brew.
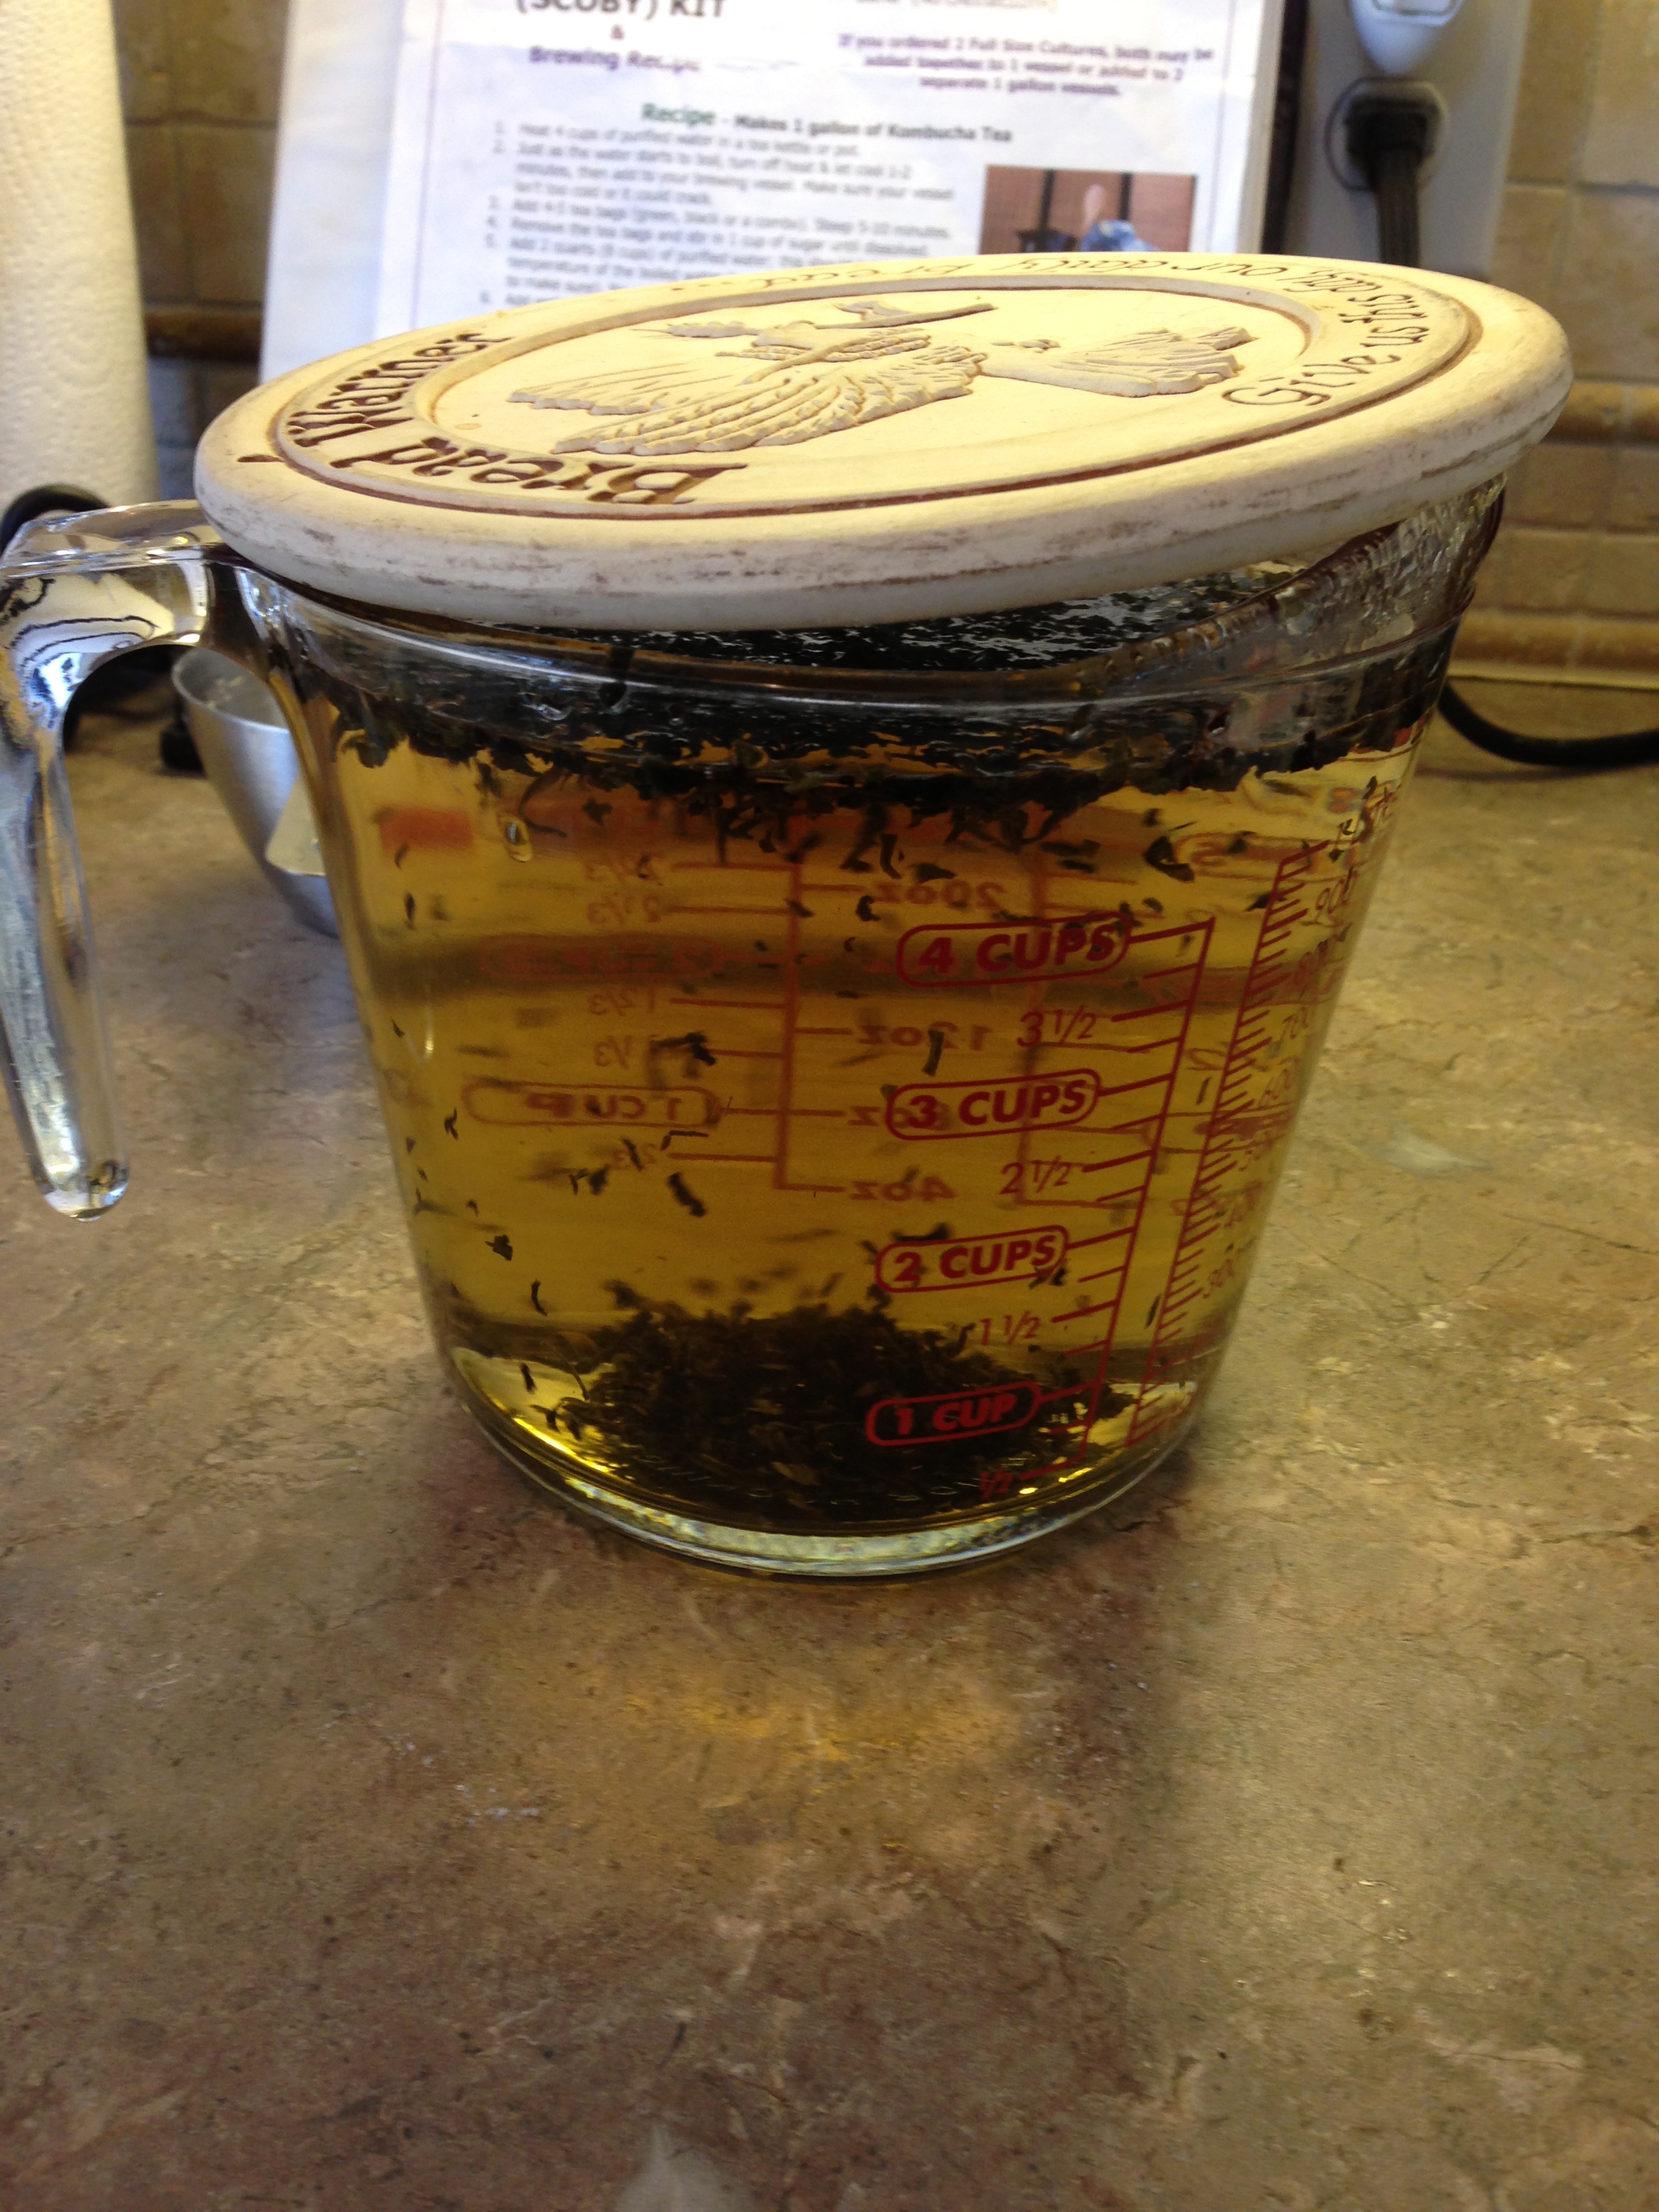
Because you can’t put your scoby into hot water, sometimes I do this step the night before because I’m a multi-tasker and don’t like to waste time waiting…. 😉 ) When I wake up in the morning the tea is cooled to room temperature and I proceed. If you want to finish up the project all in one day, just wait for your water to cool down, or after 10 minutes of steeping your tea, you can strain your tea, add 2.5 – 3 more quarts of water and it will cool down to warm. For this tutorial, I waited about an hour before I proceeded.
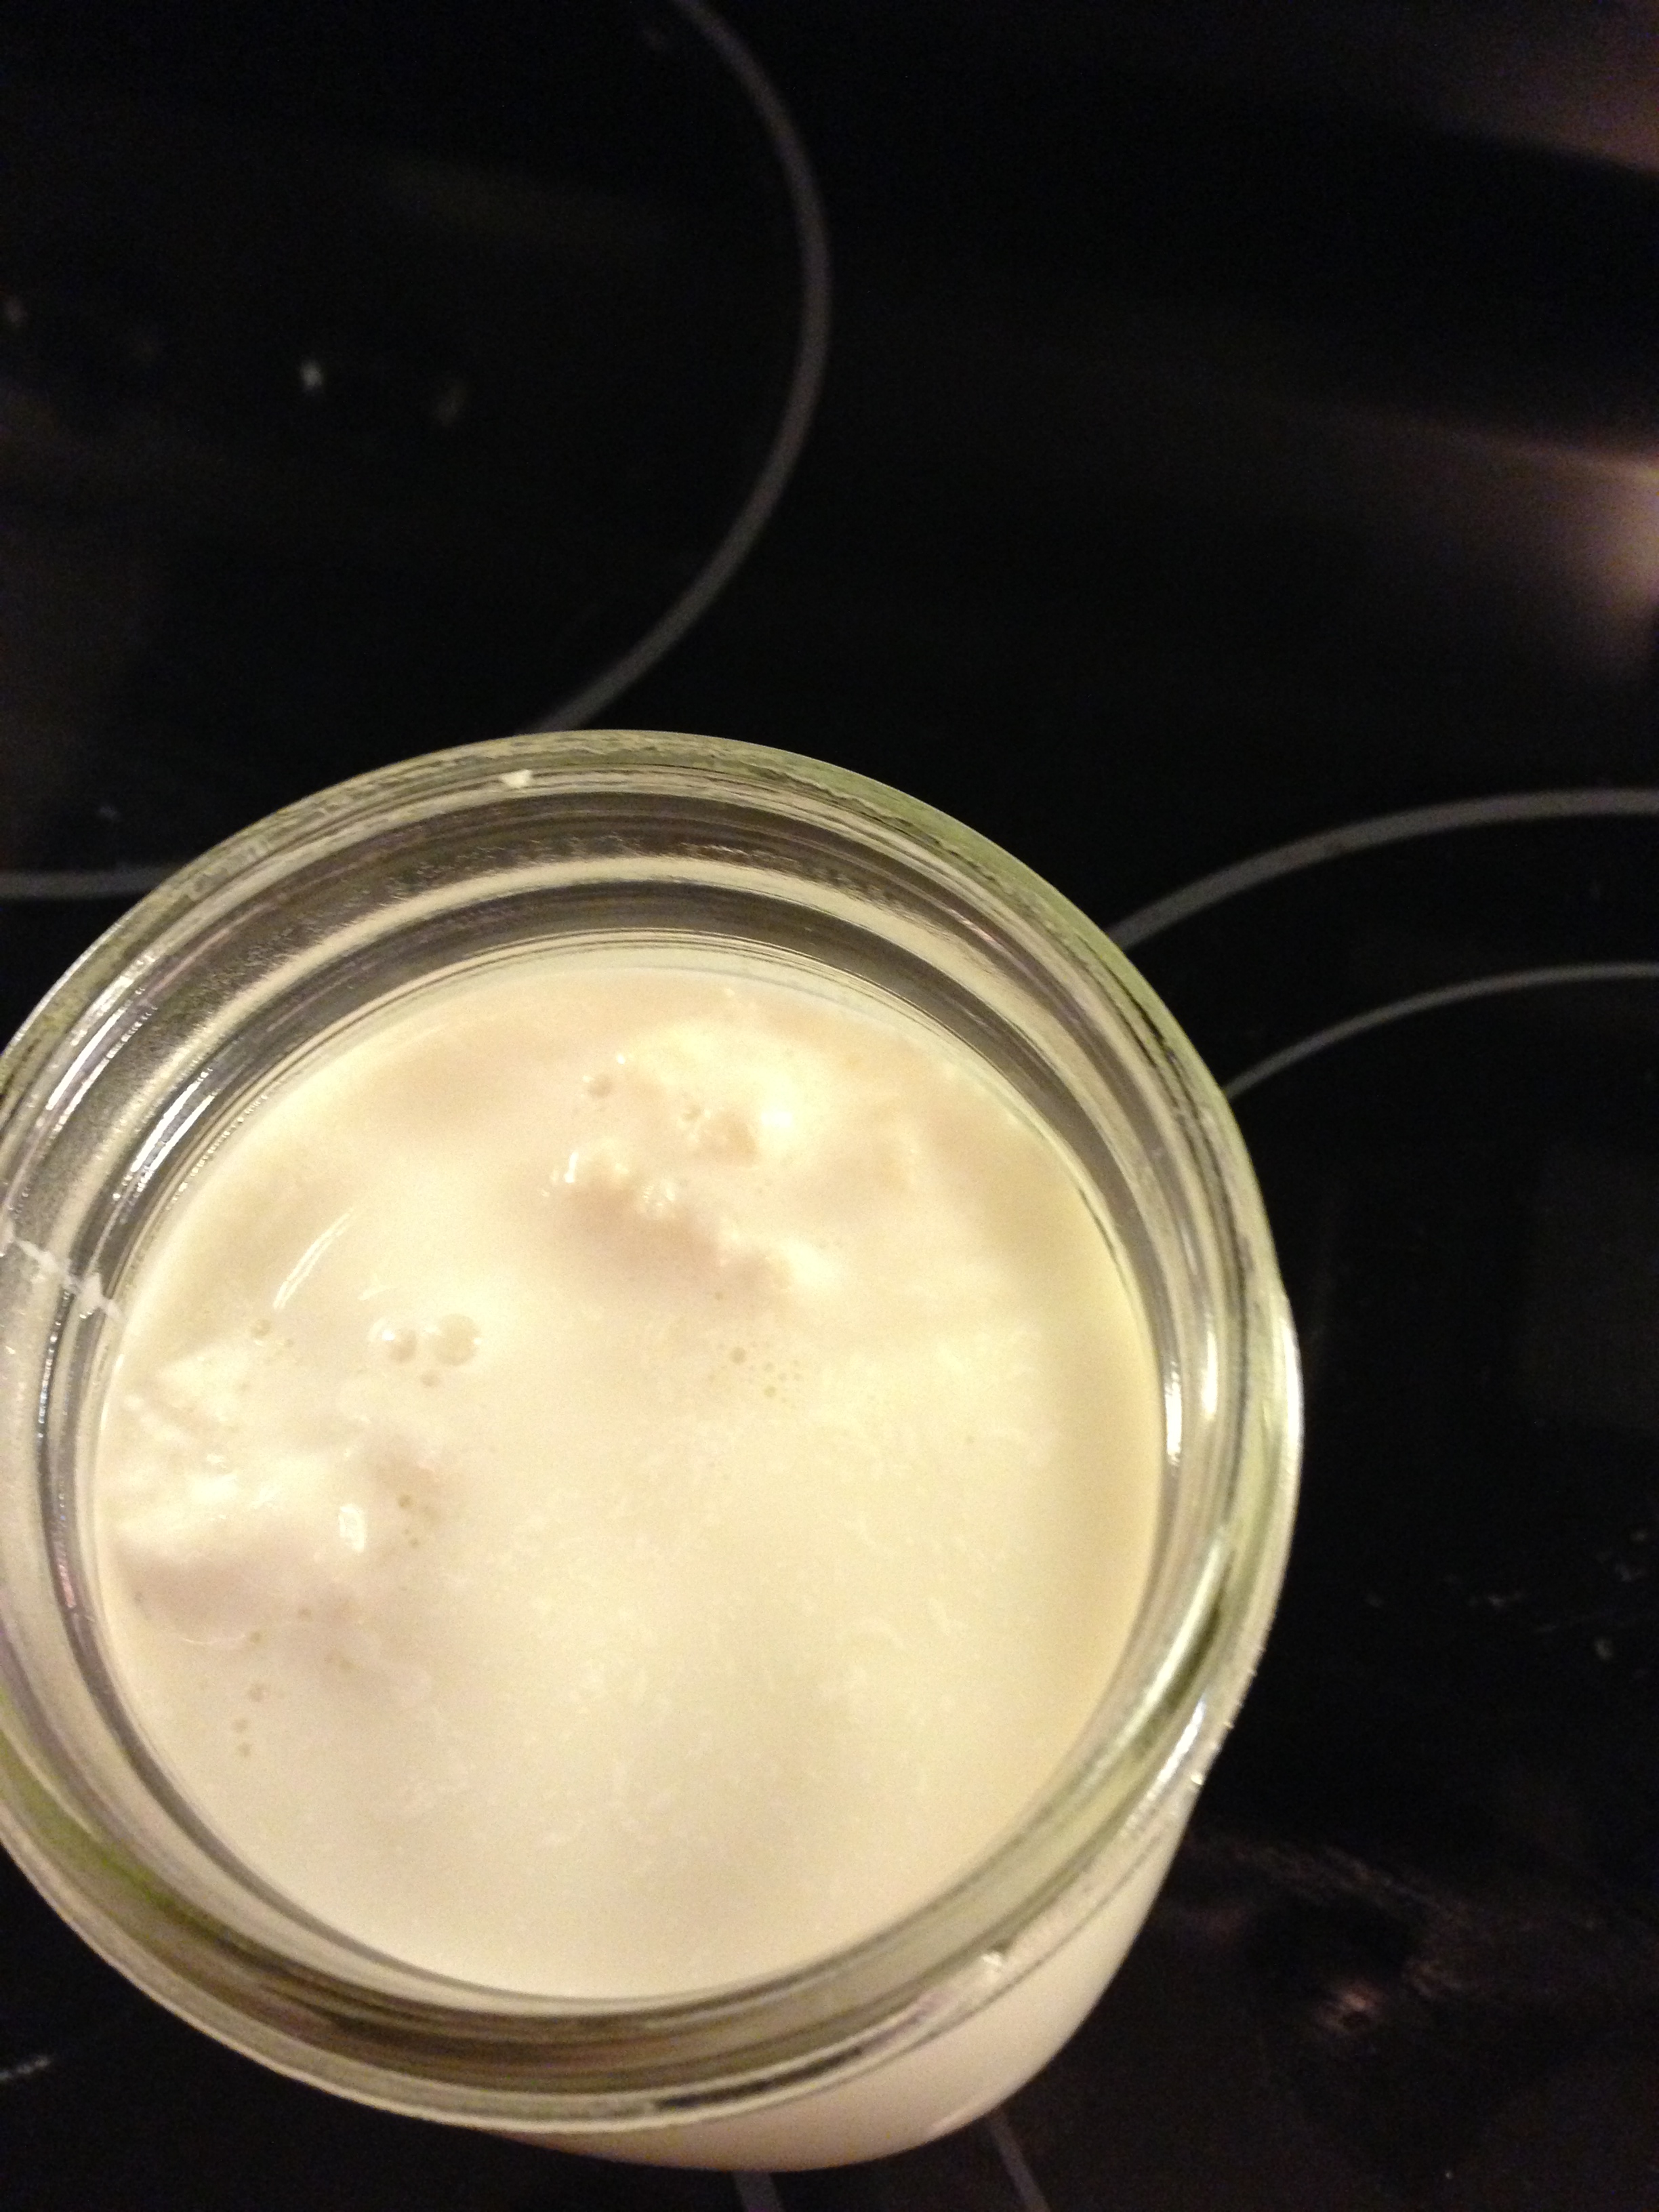
Here you can see the tea has brewed and I’m ready for the next step.

I bought my glass canister from Target to make my Kombucha. The one pictured is 1 gallon. The one I actually use is way larger, either 3 or 5 gallons. You don’t need a container that large though.
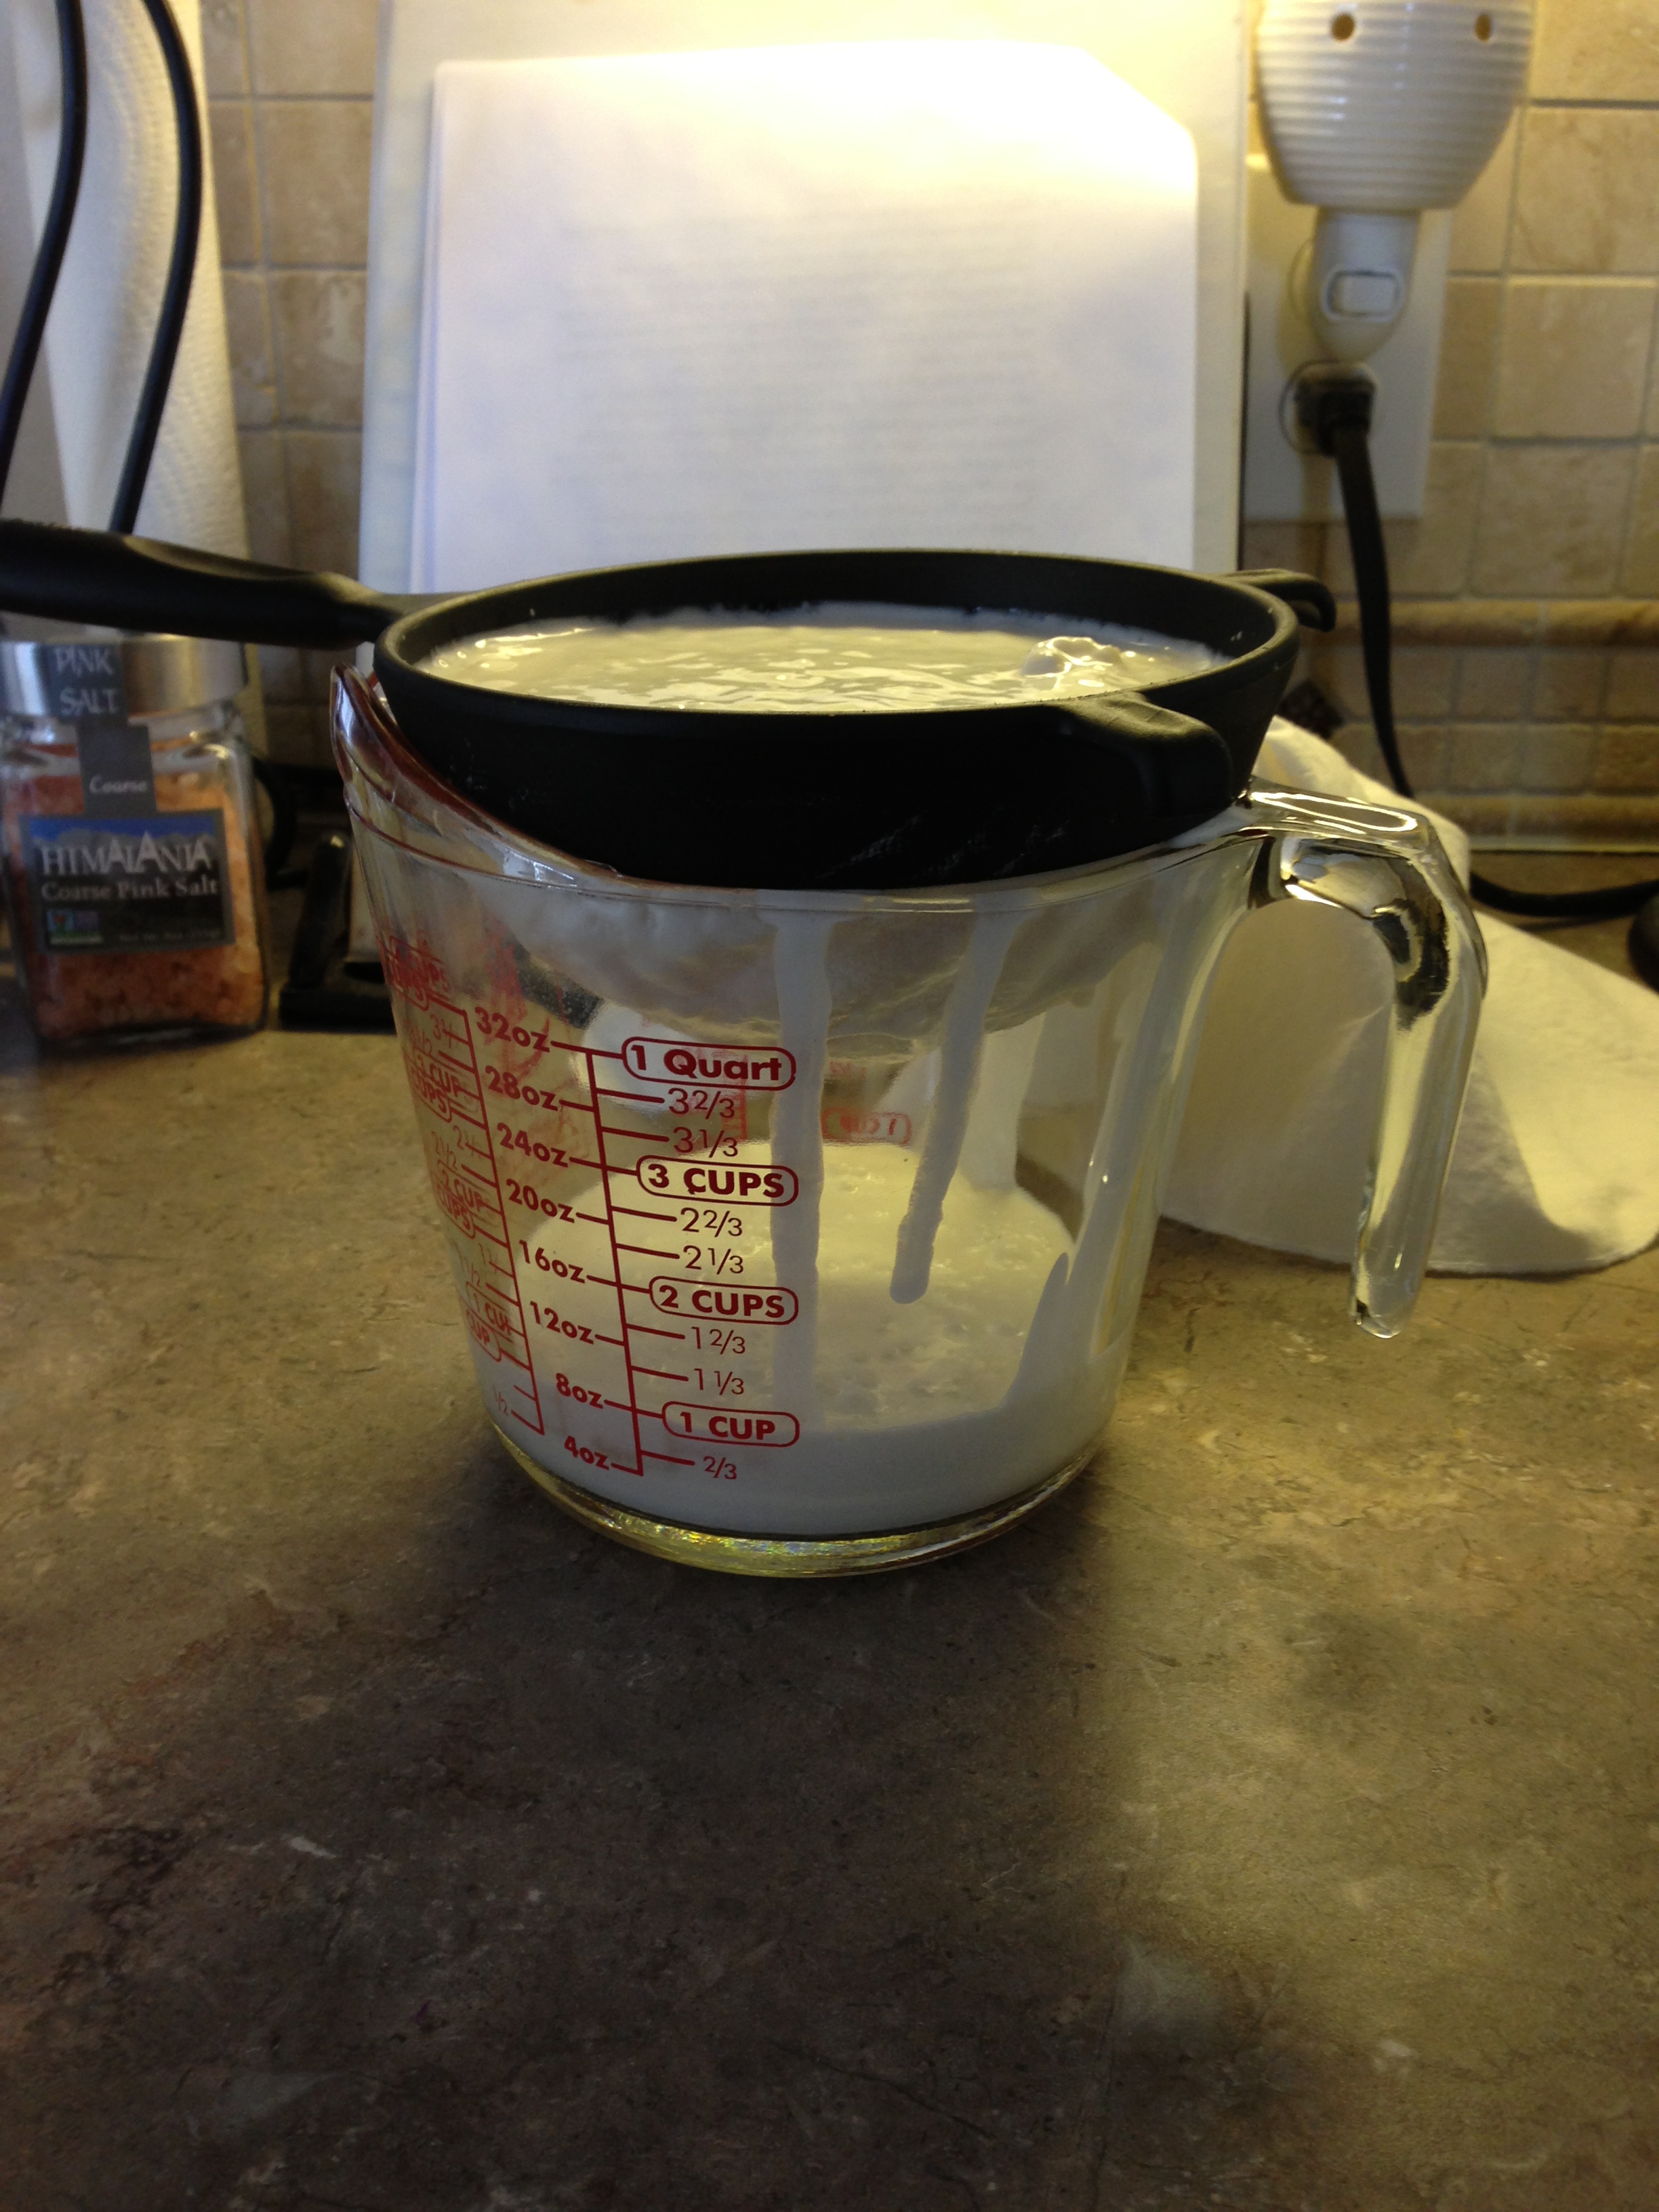
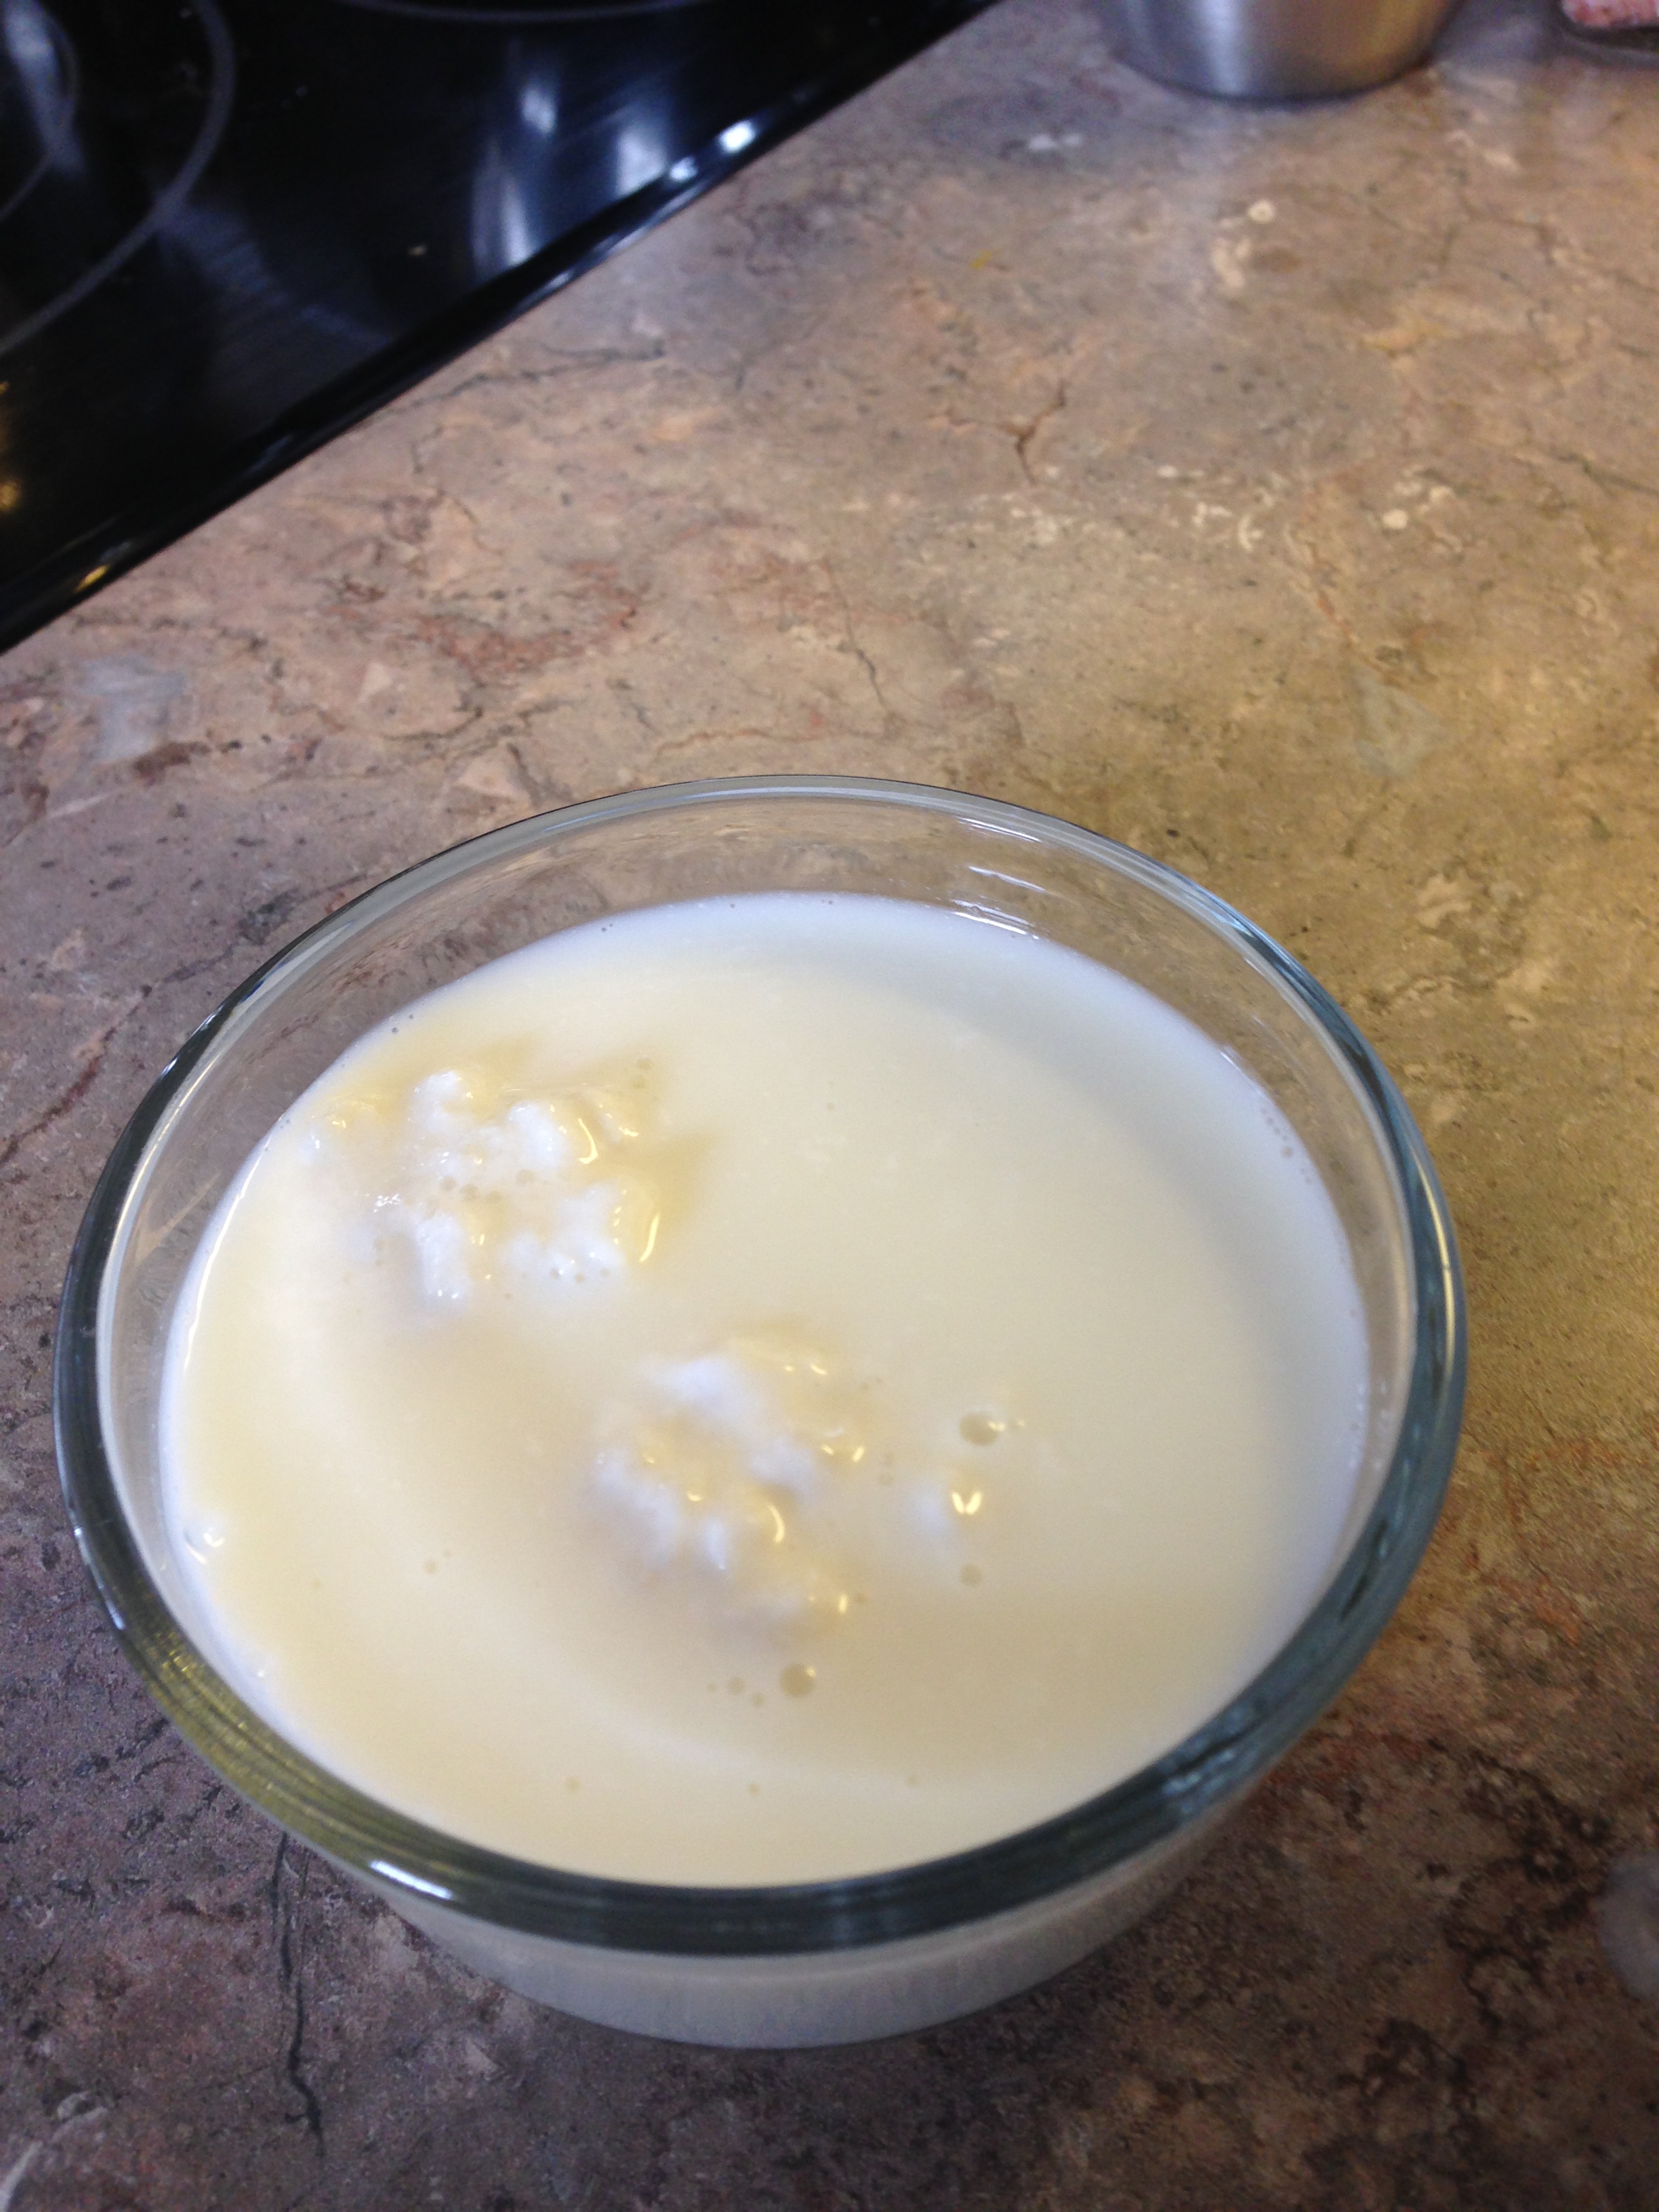
Here is my one quart of sweet tea. It is strained through a strainer to catch the tea leaves, or you can use tea bags, the choice is up to you. Next, I need to add 3 more quarts of filtered or purified water. I failed to mention that earlier. You don’t want to use just plain city water. The chlorine and other chemicals are not good for the scoby. I happen to have a water purifier attached to my sink, so we have a source of filtered water. If you don’t, you can boil your gallon of water for 10 minutes to purify it. Then let 3 quarts of it cool as you use one quart to brew your initial tea. If you have well water, I think that will work fine. I haven’t used it, but I know it would not be chlorinated.
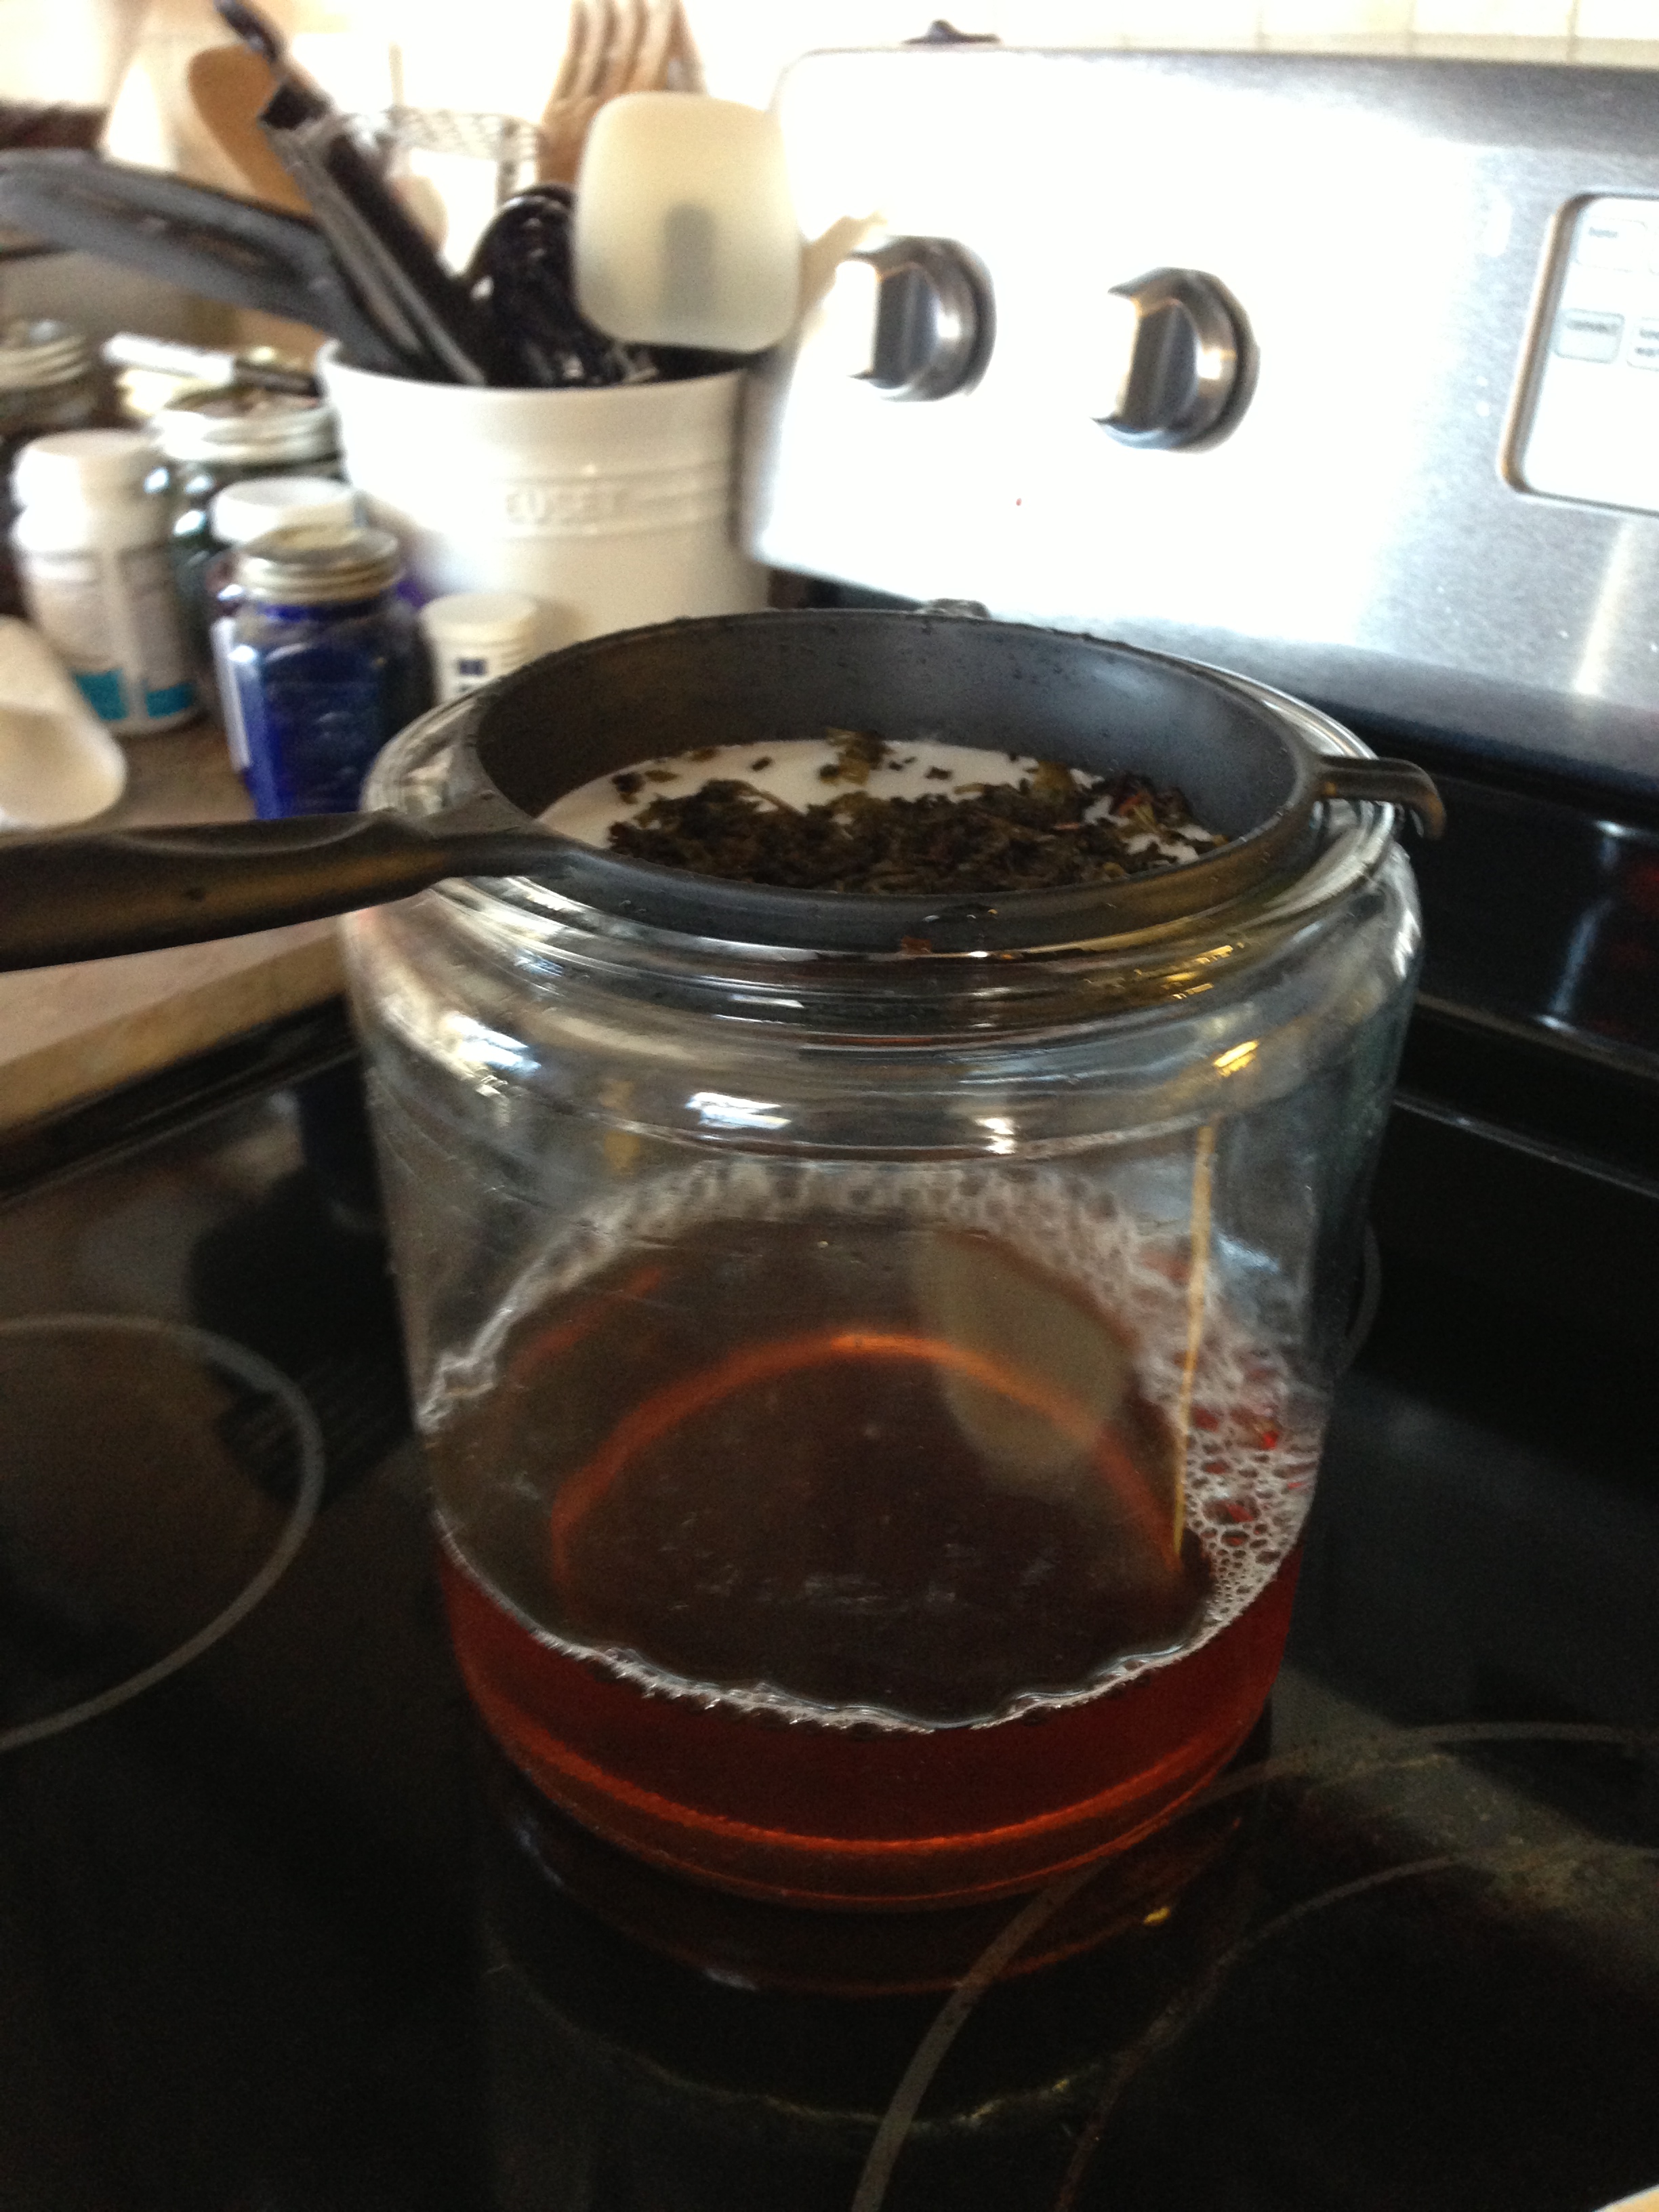
In this next picture I have added the remaining 3 quarts of water. Then you add 1-2 cups of starter liquid. You will have that when you receive your scoby, and after that you retain 1-2 cups from your freshly brewed kombucha for your starter liquid.
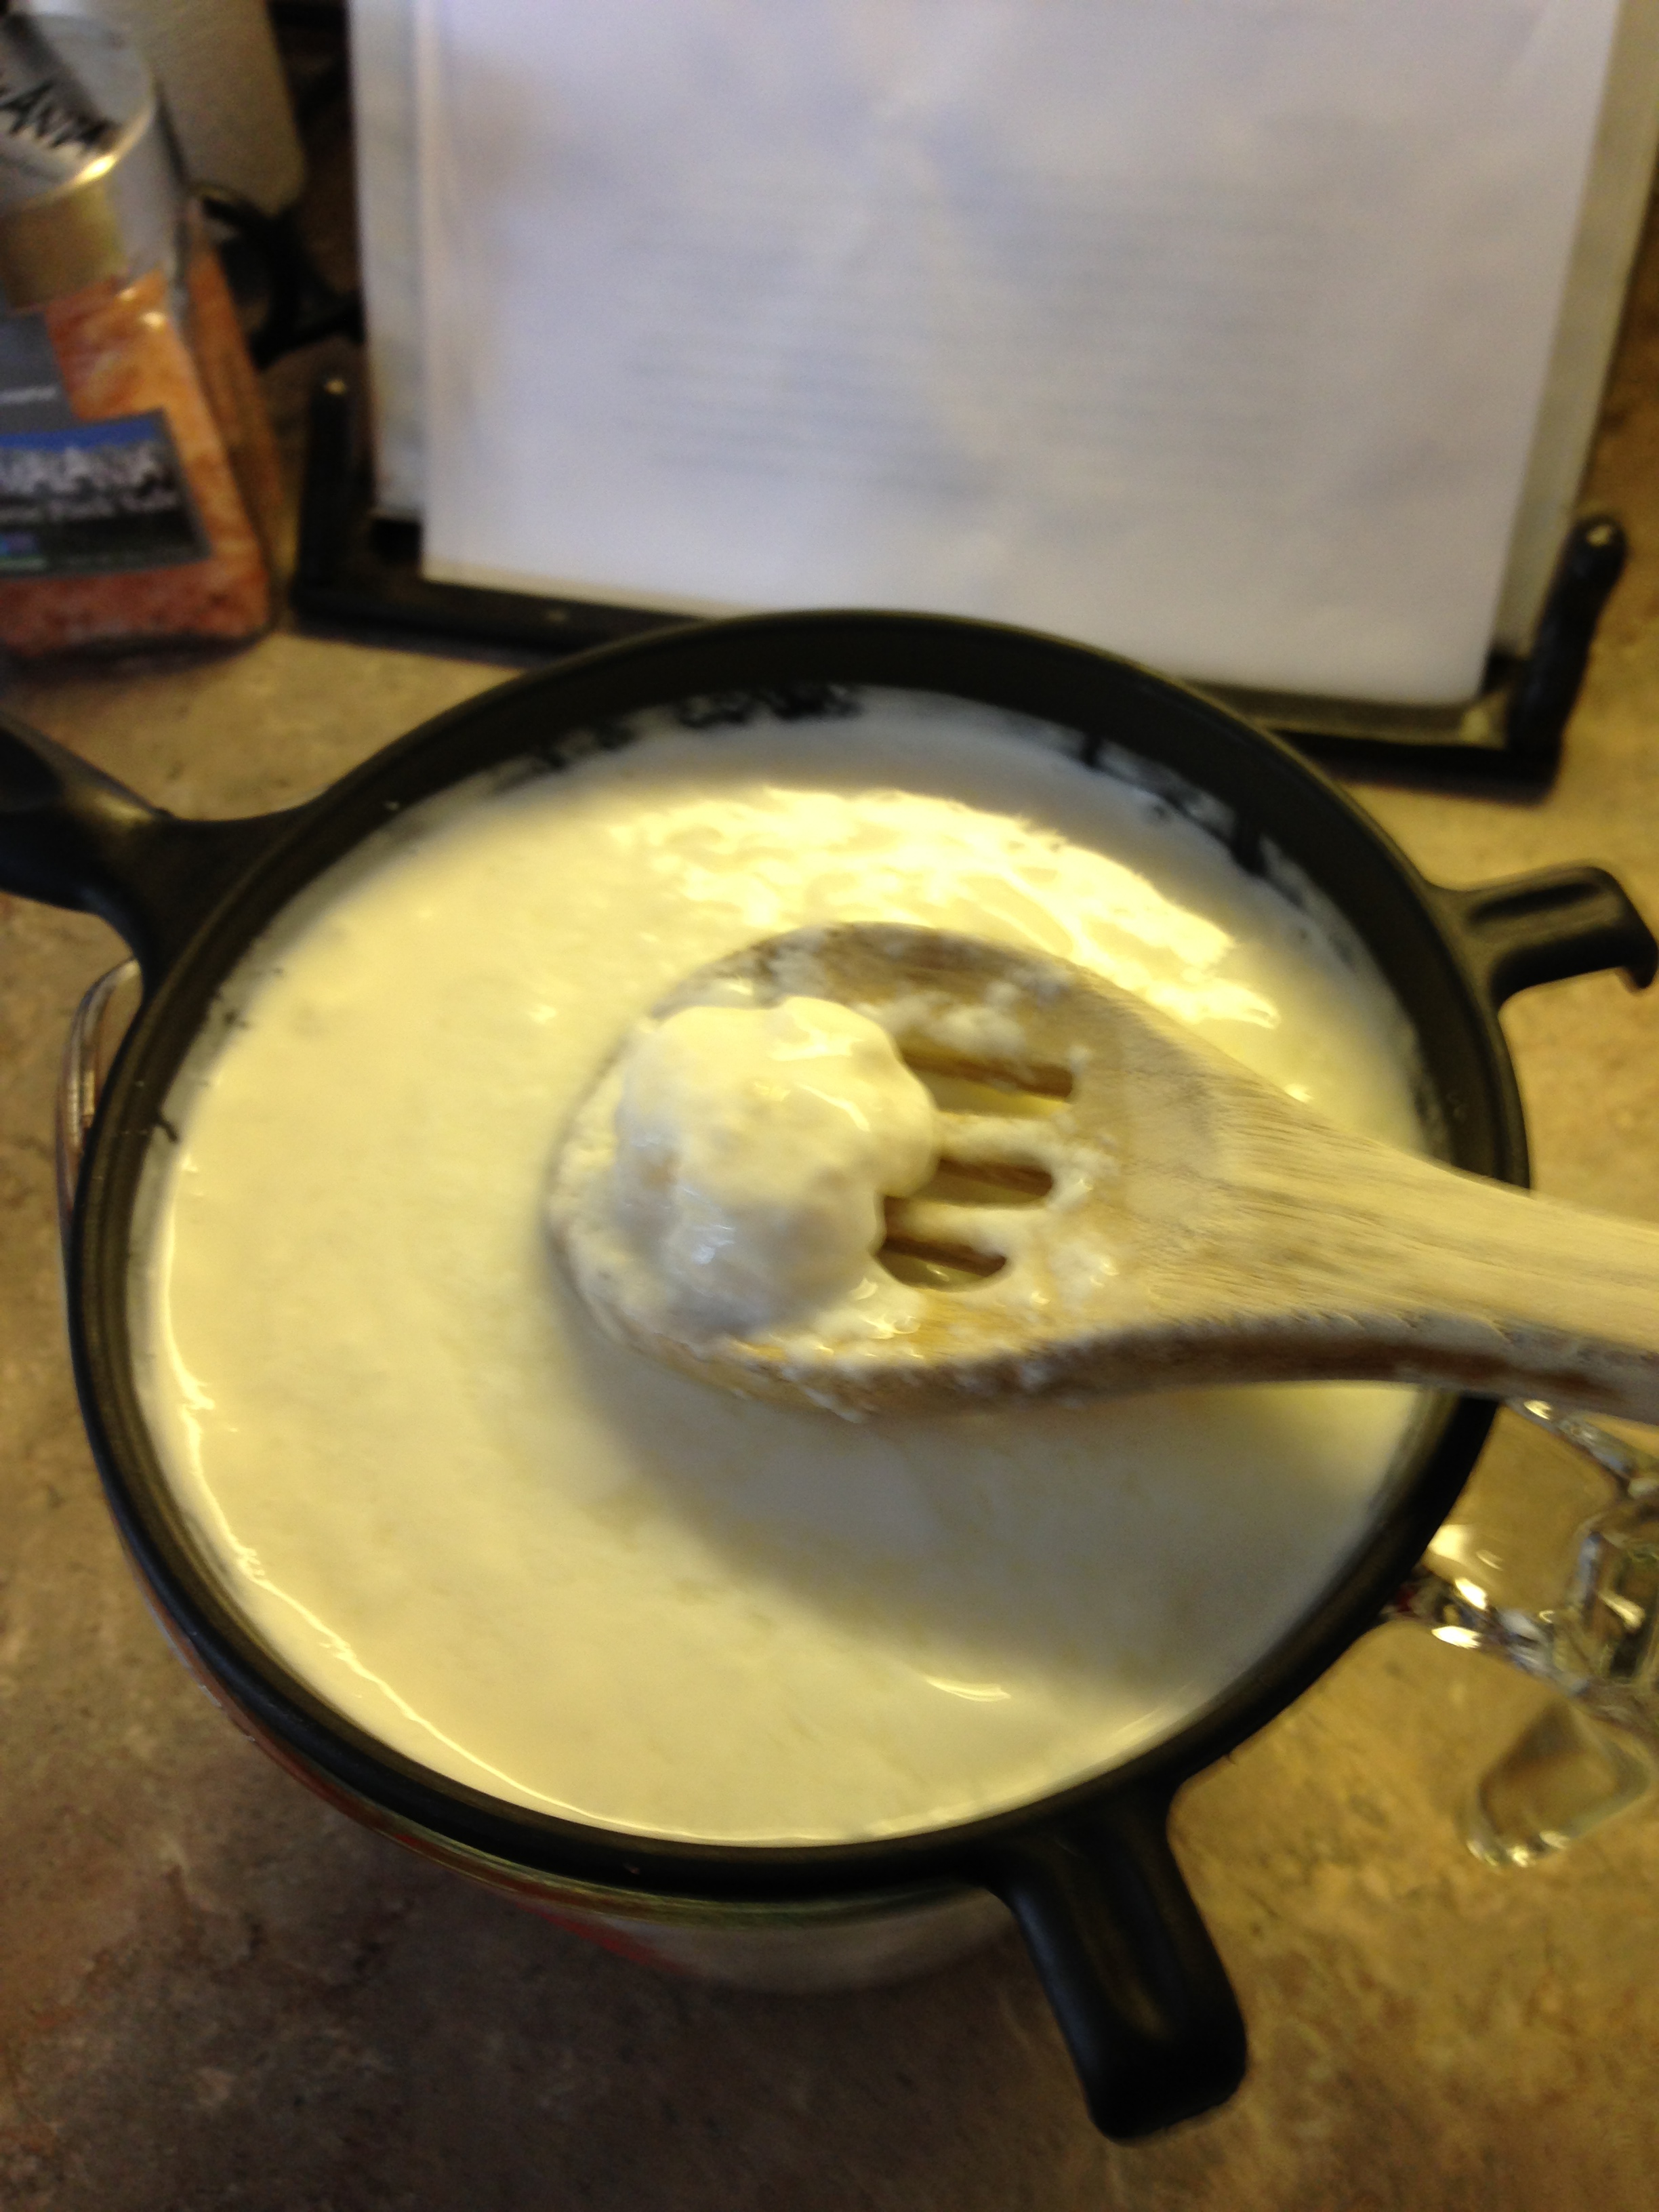
In this picture I am placing my scoby in my sweet tea mixture.
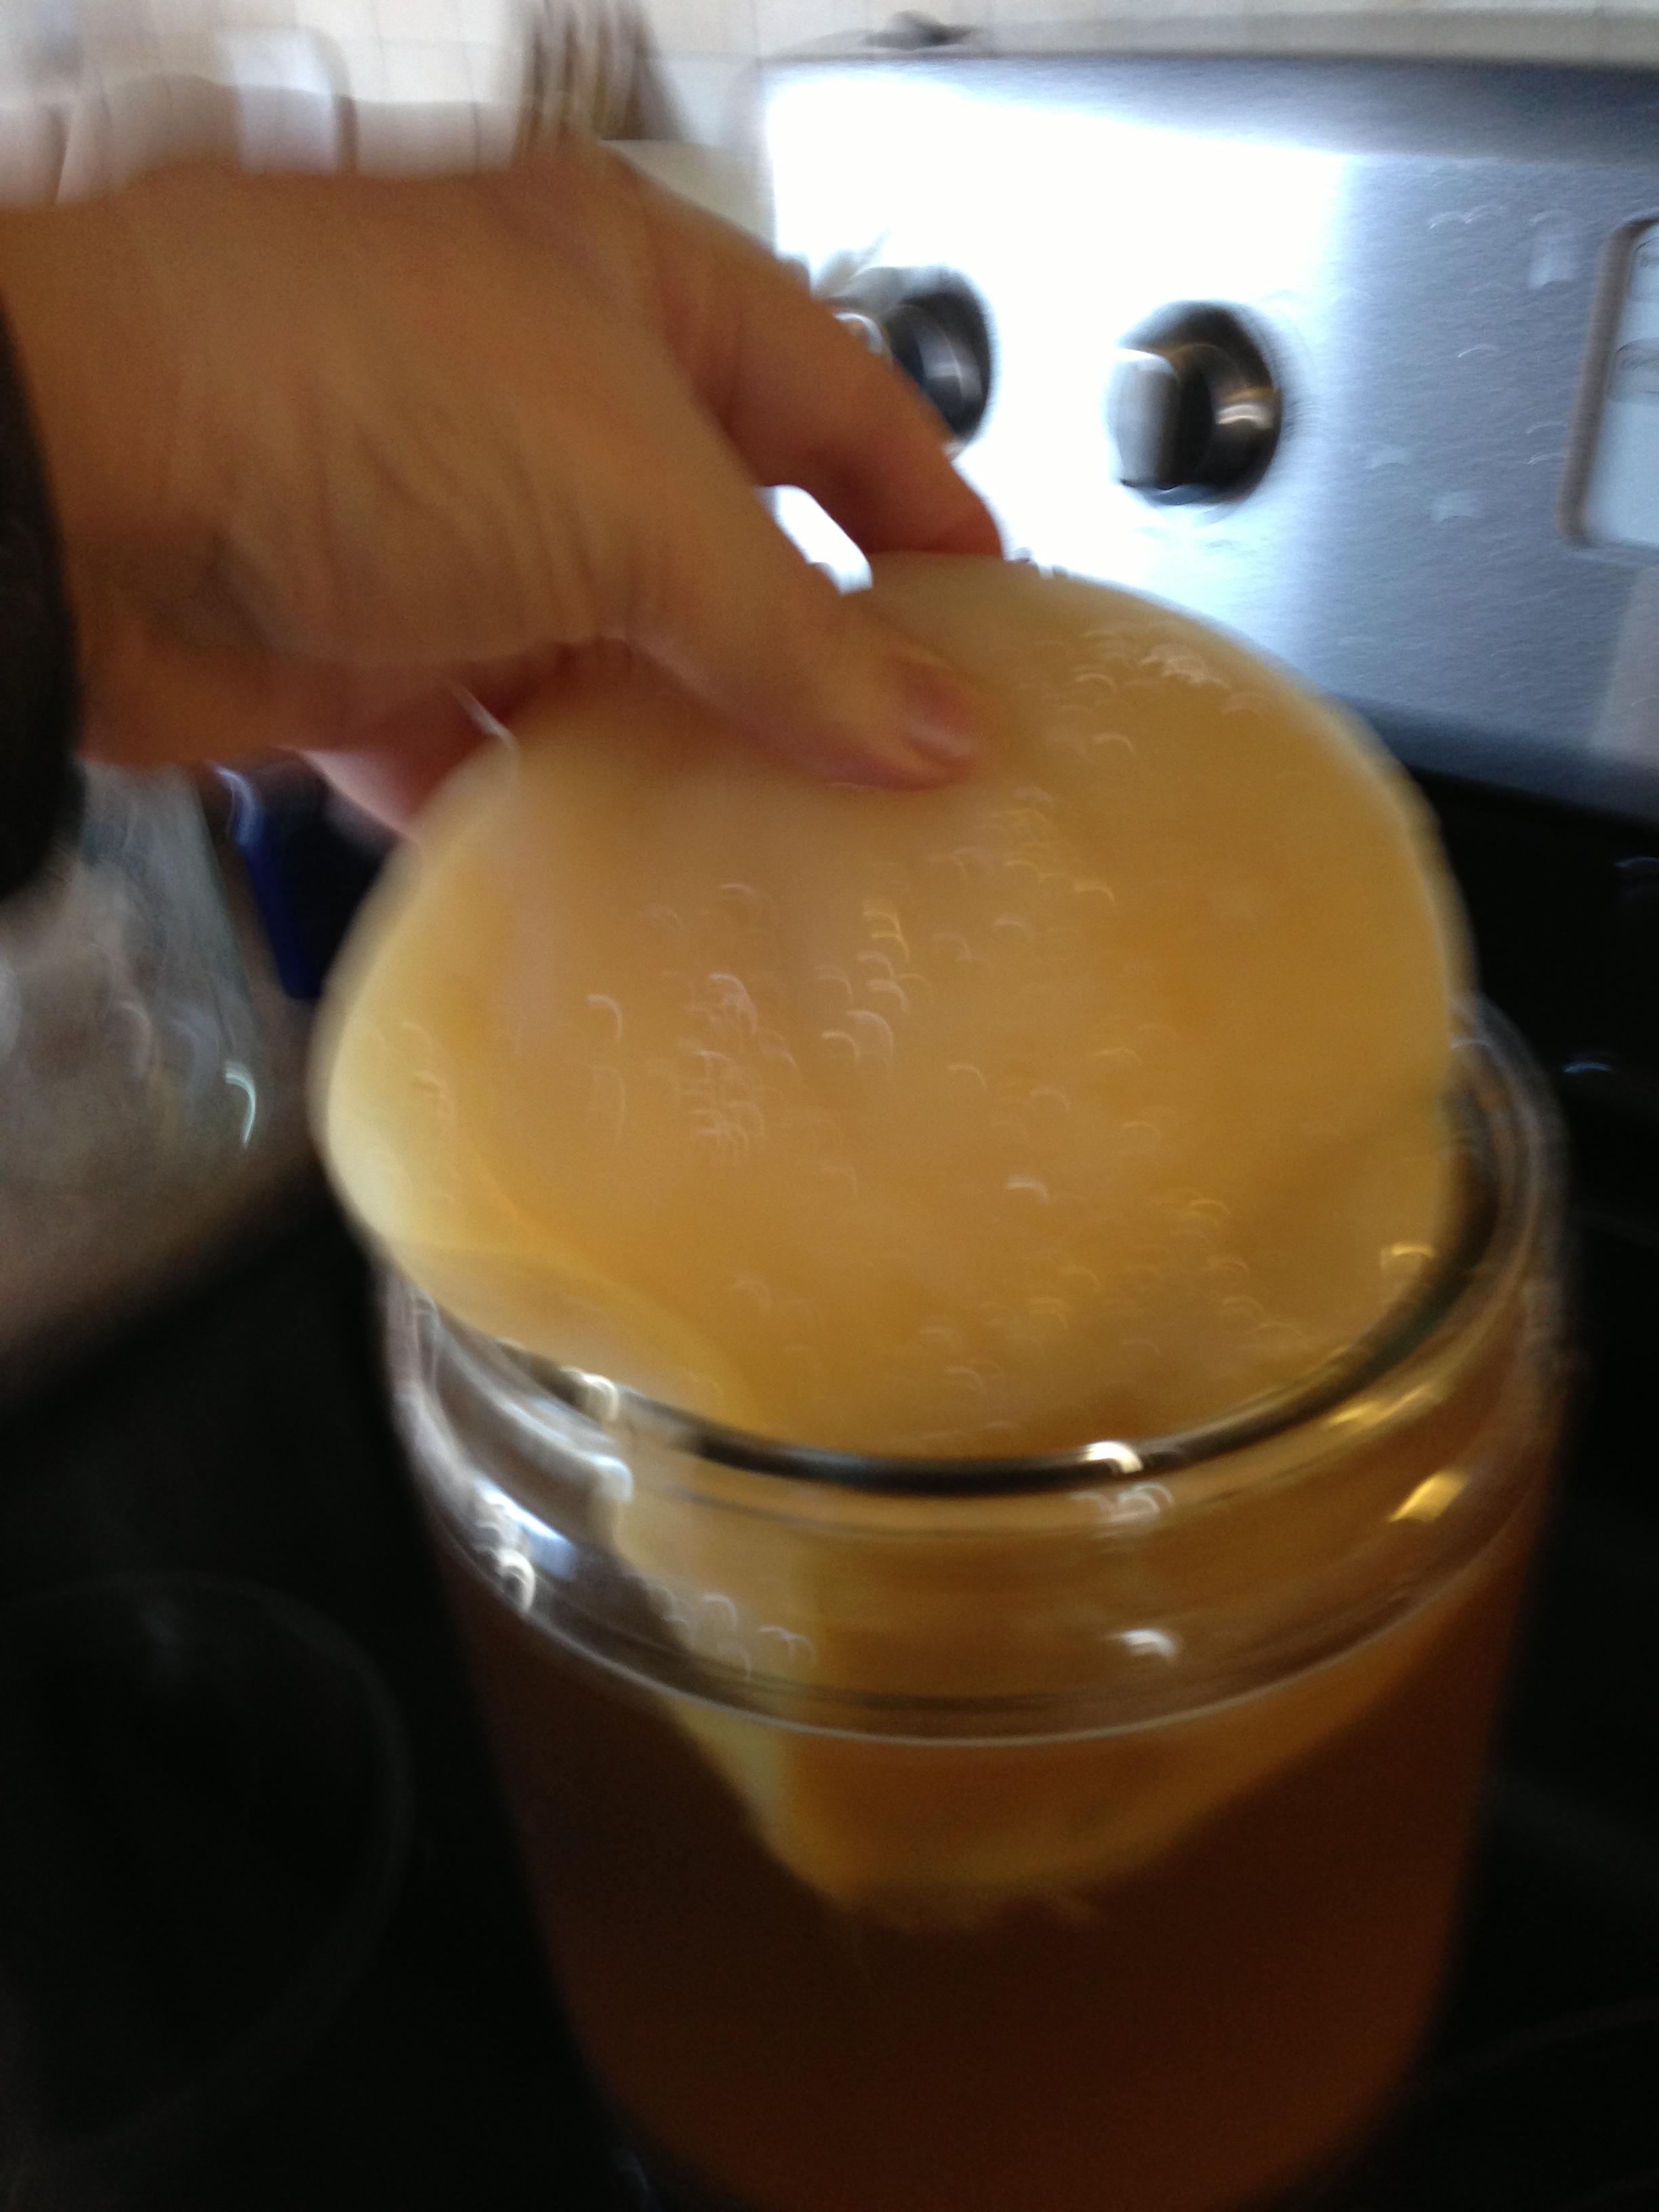
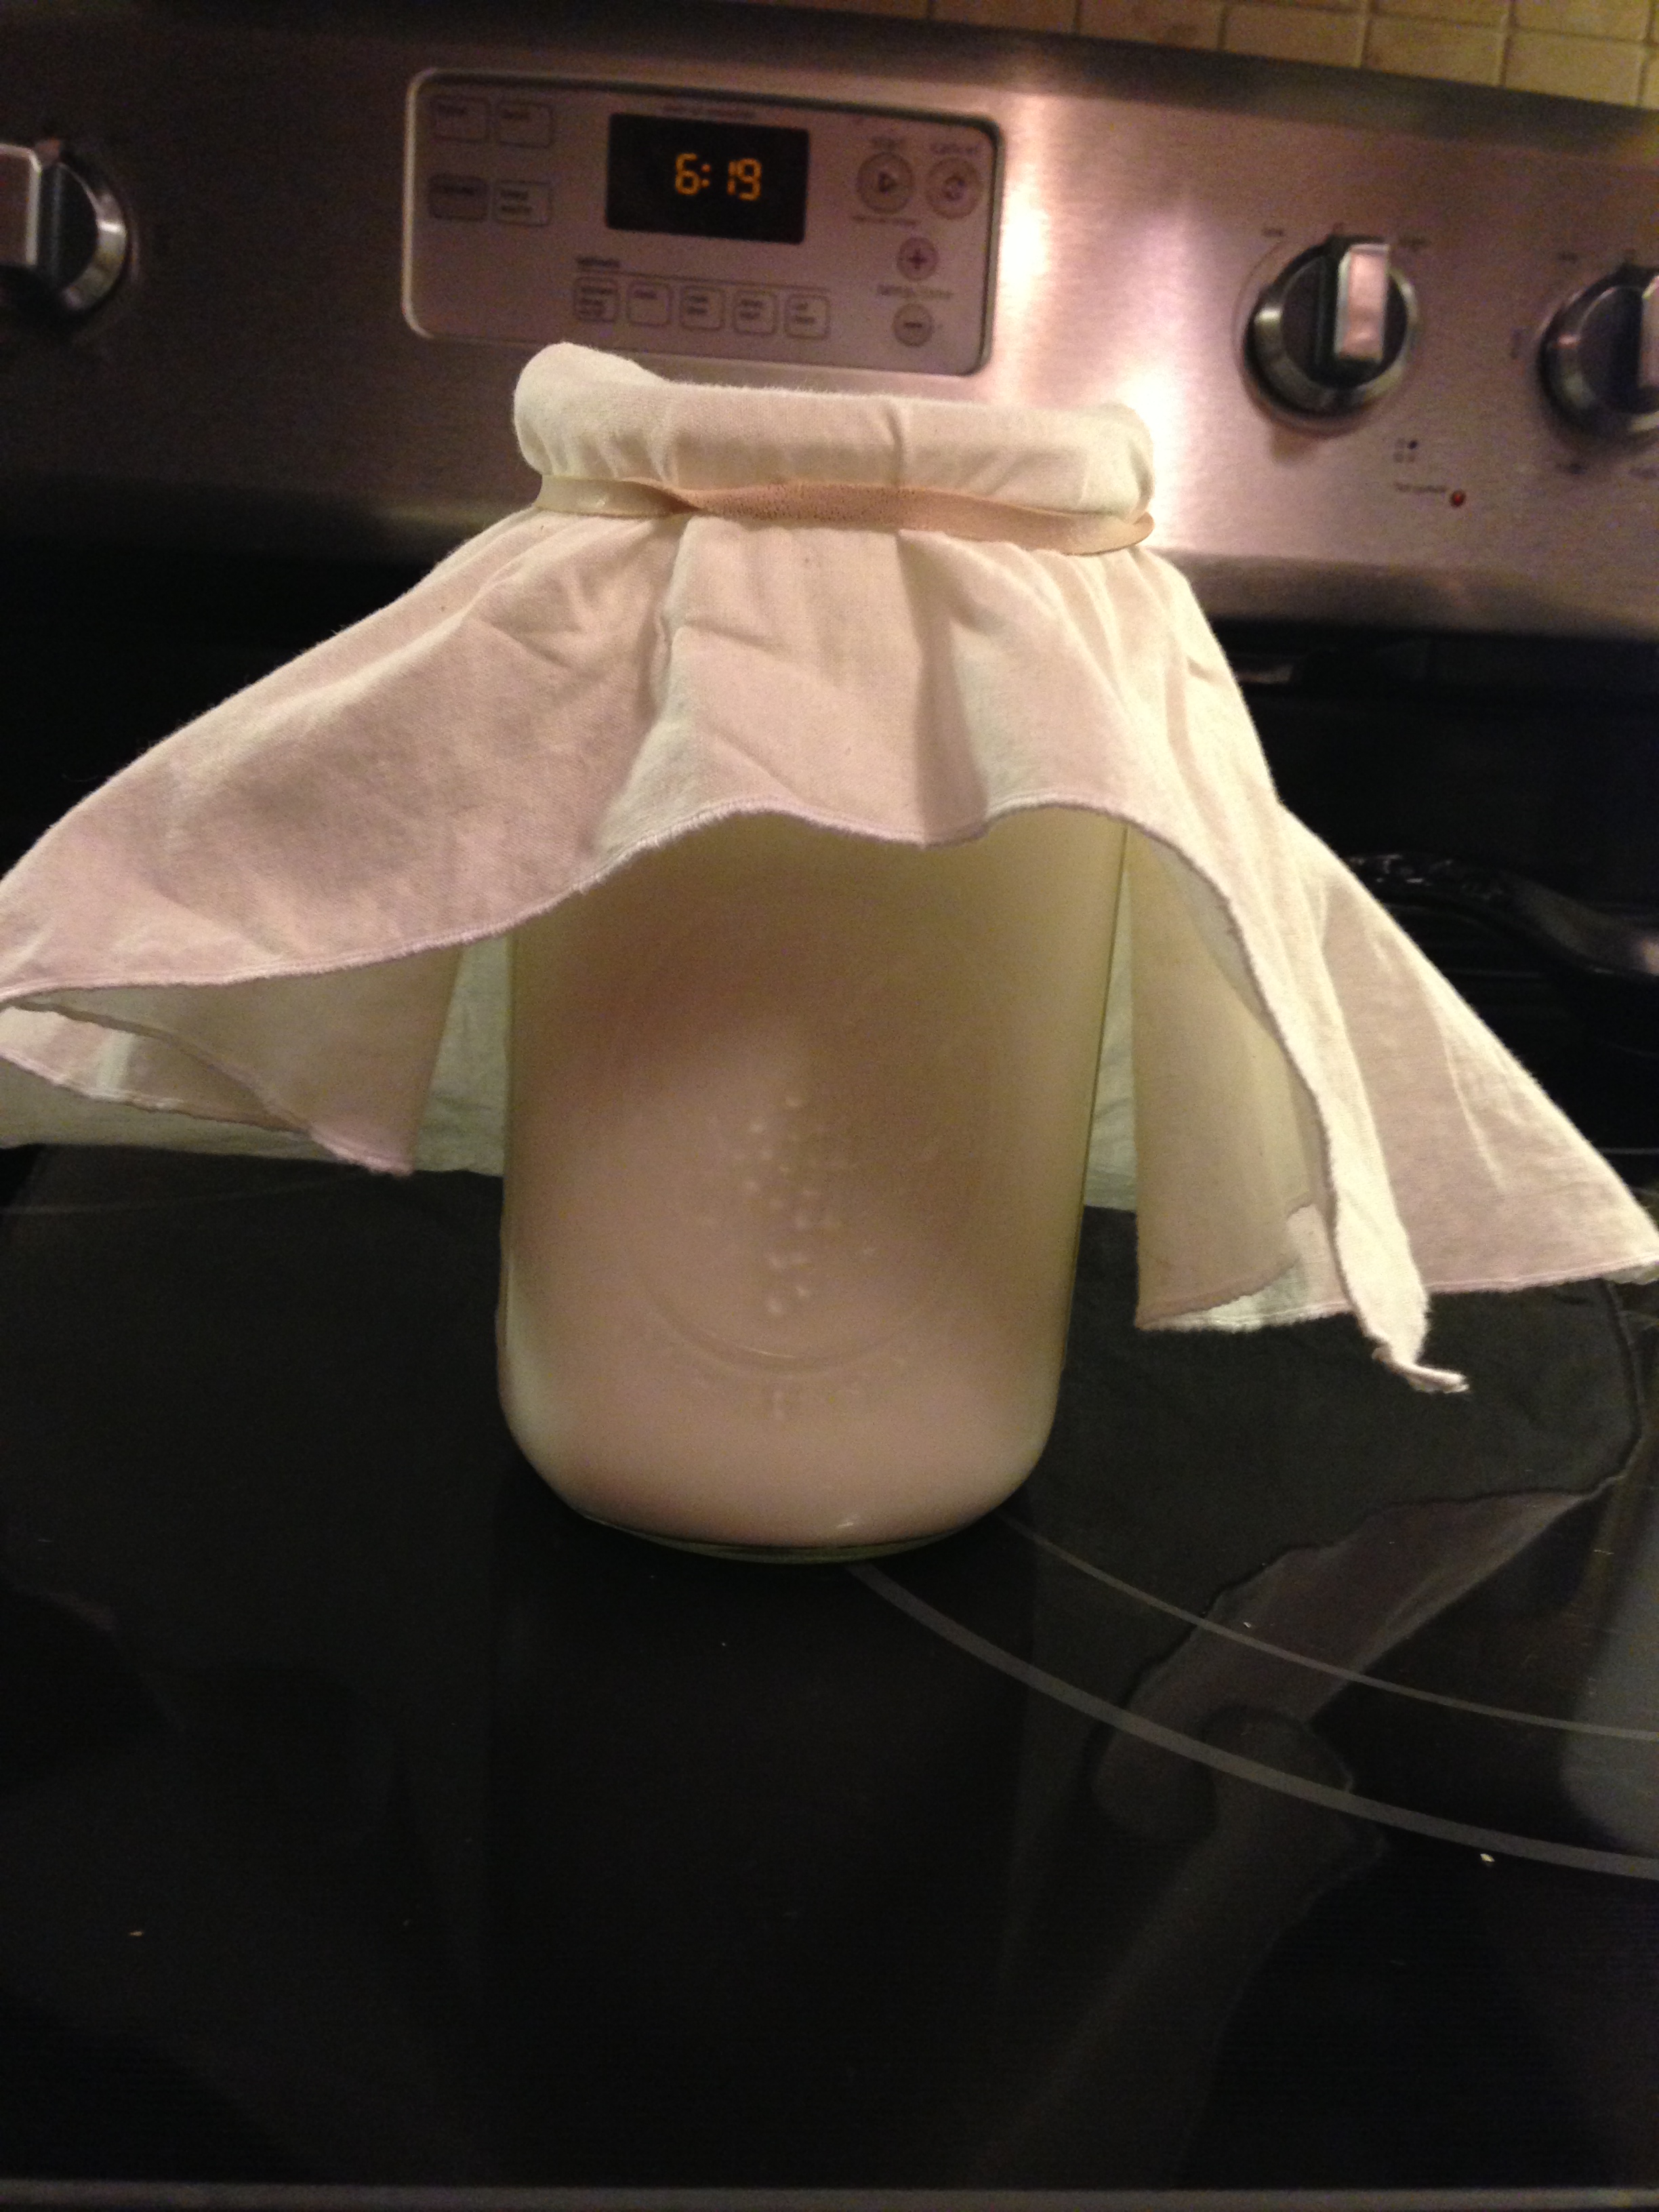
Now my tea is ready to ferment.
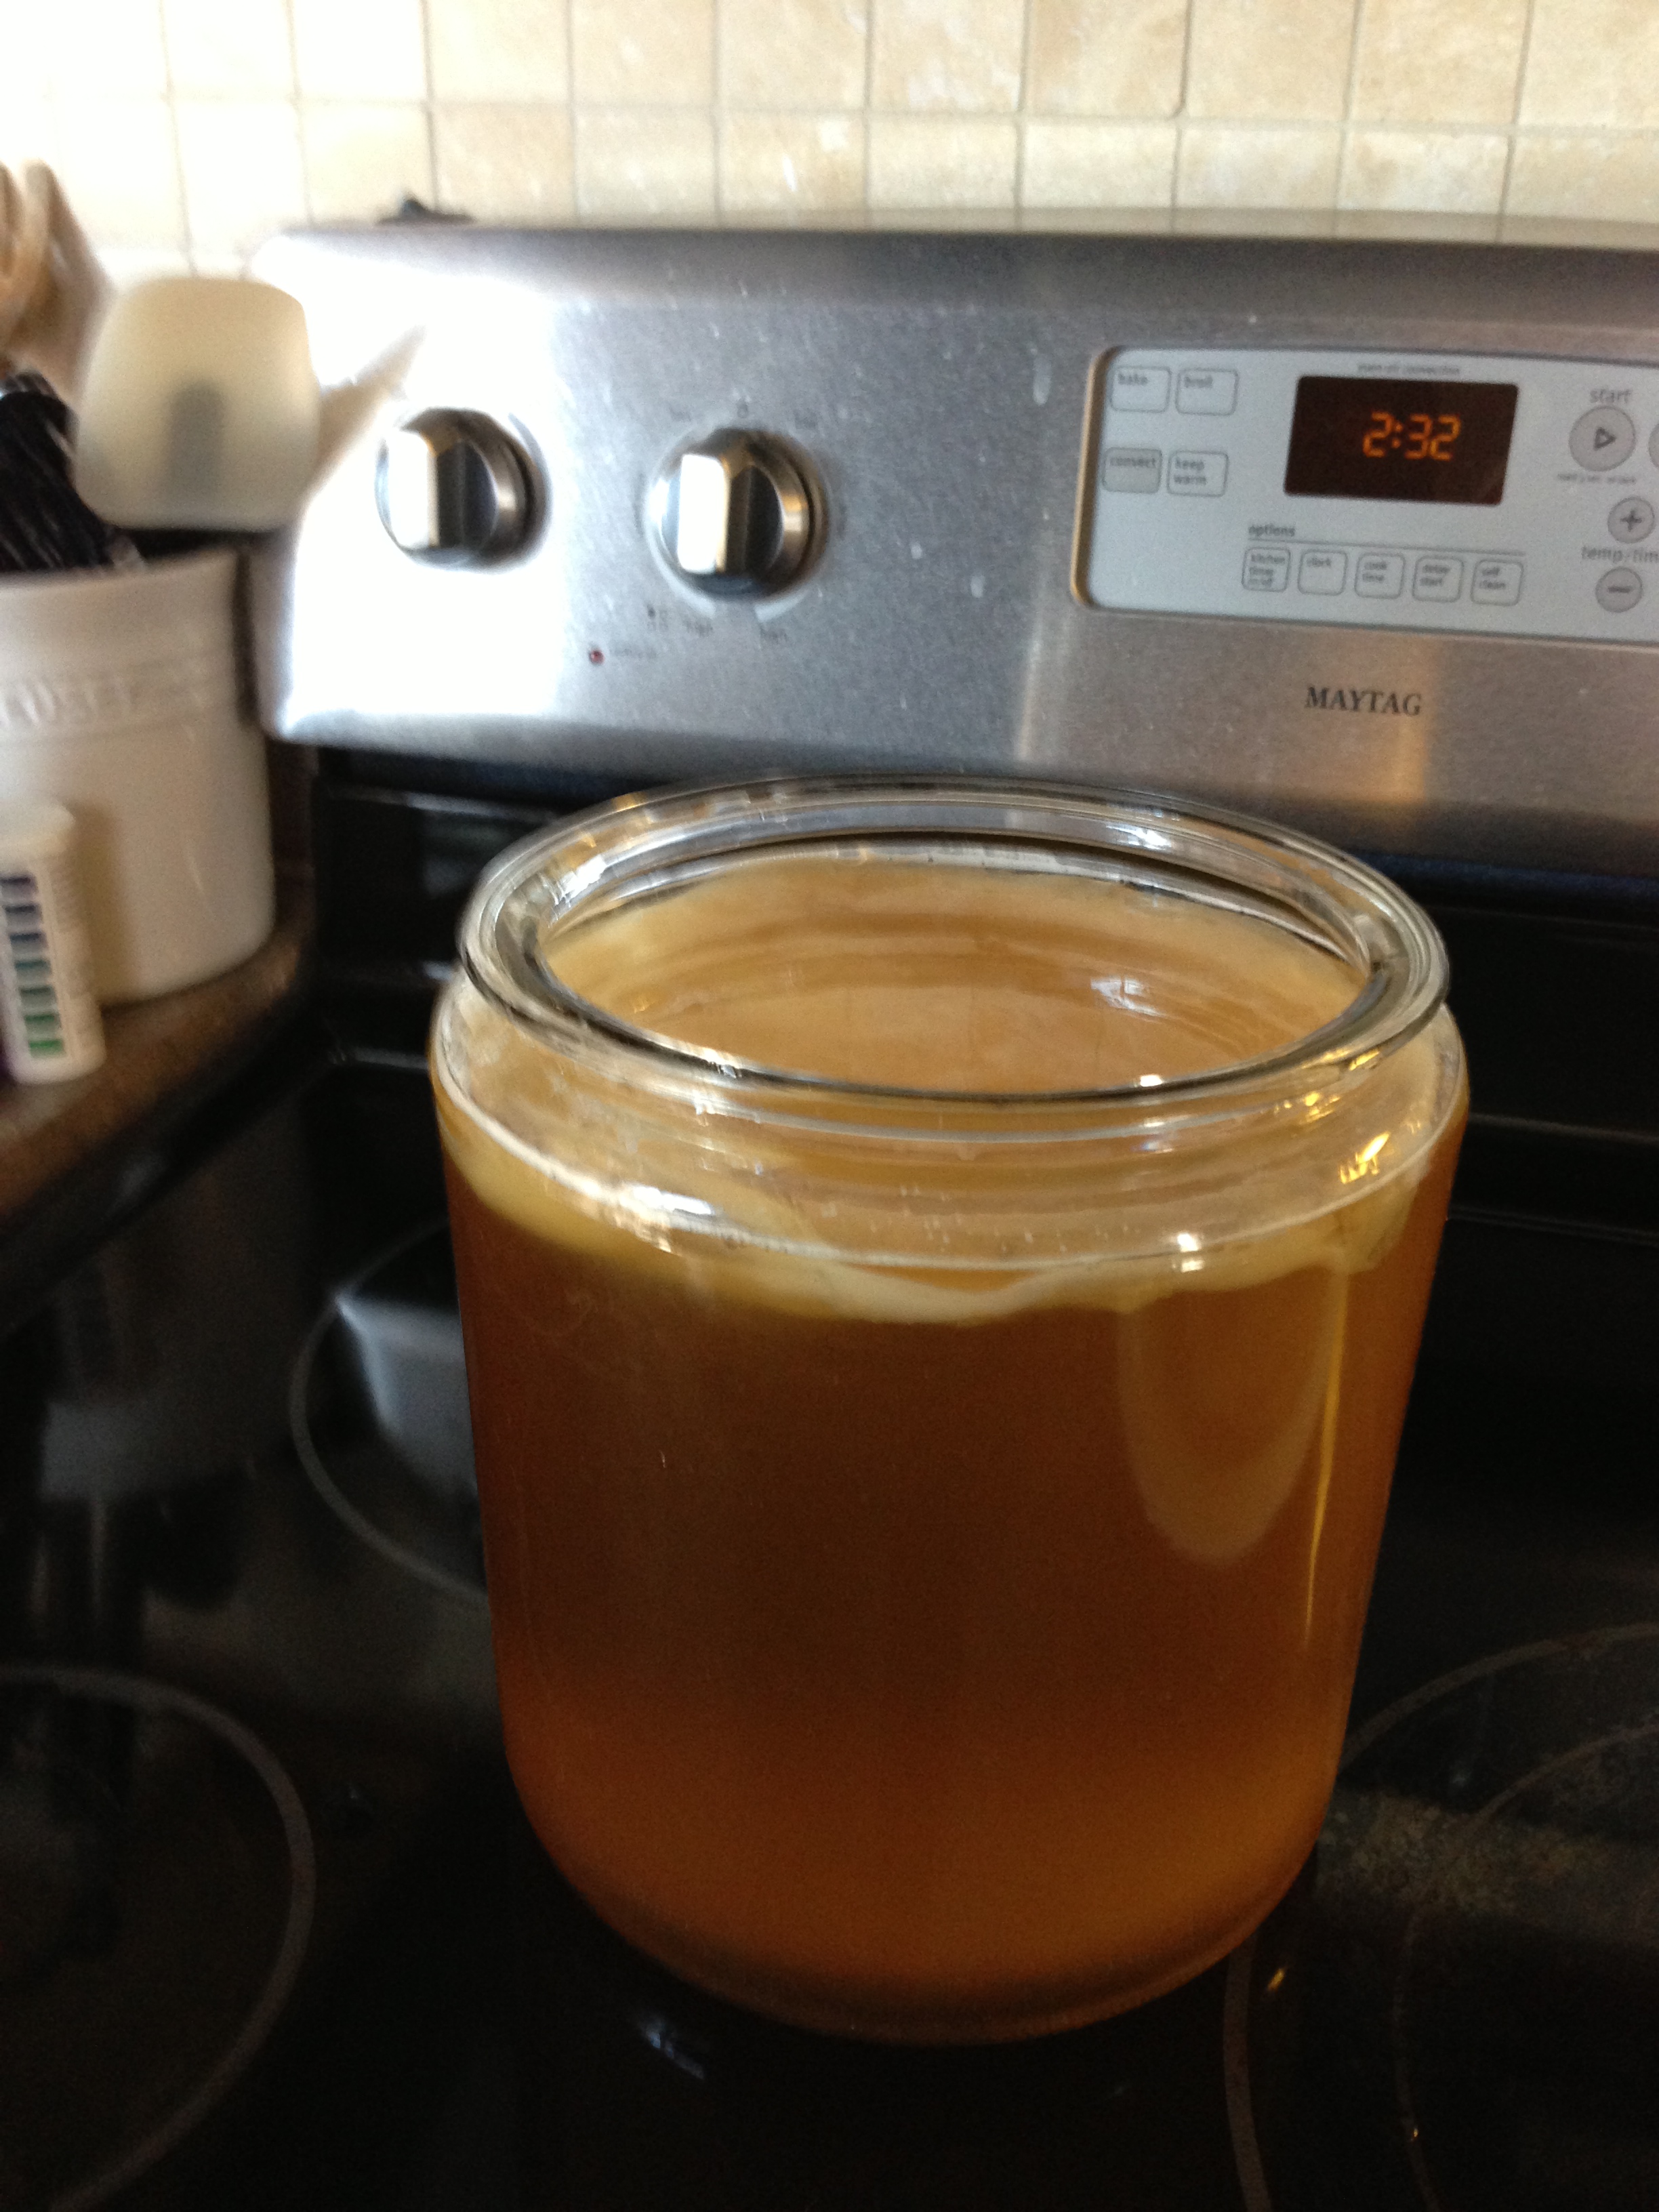
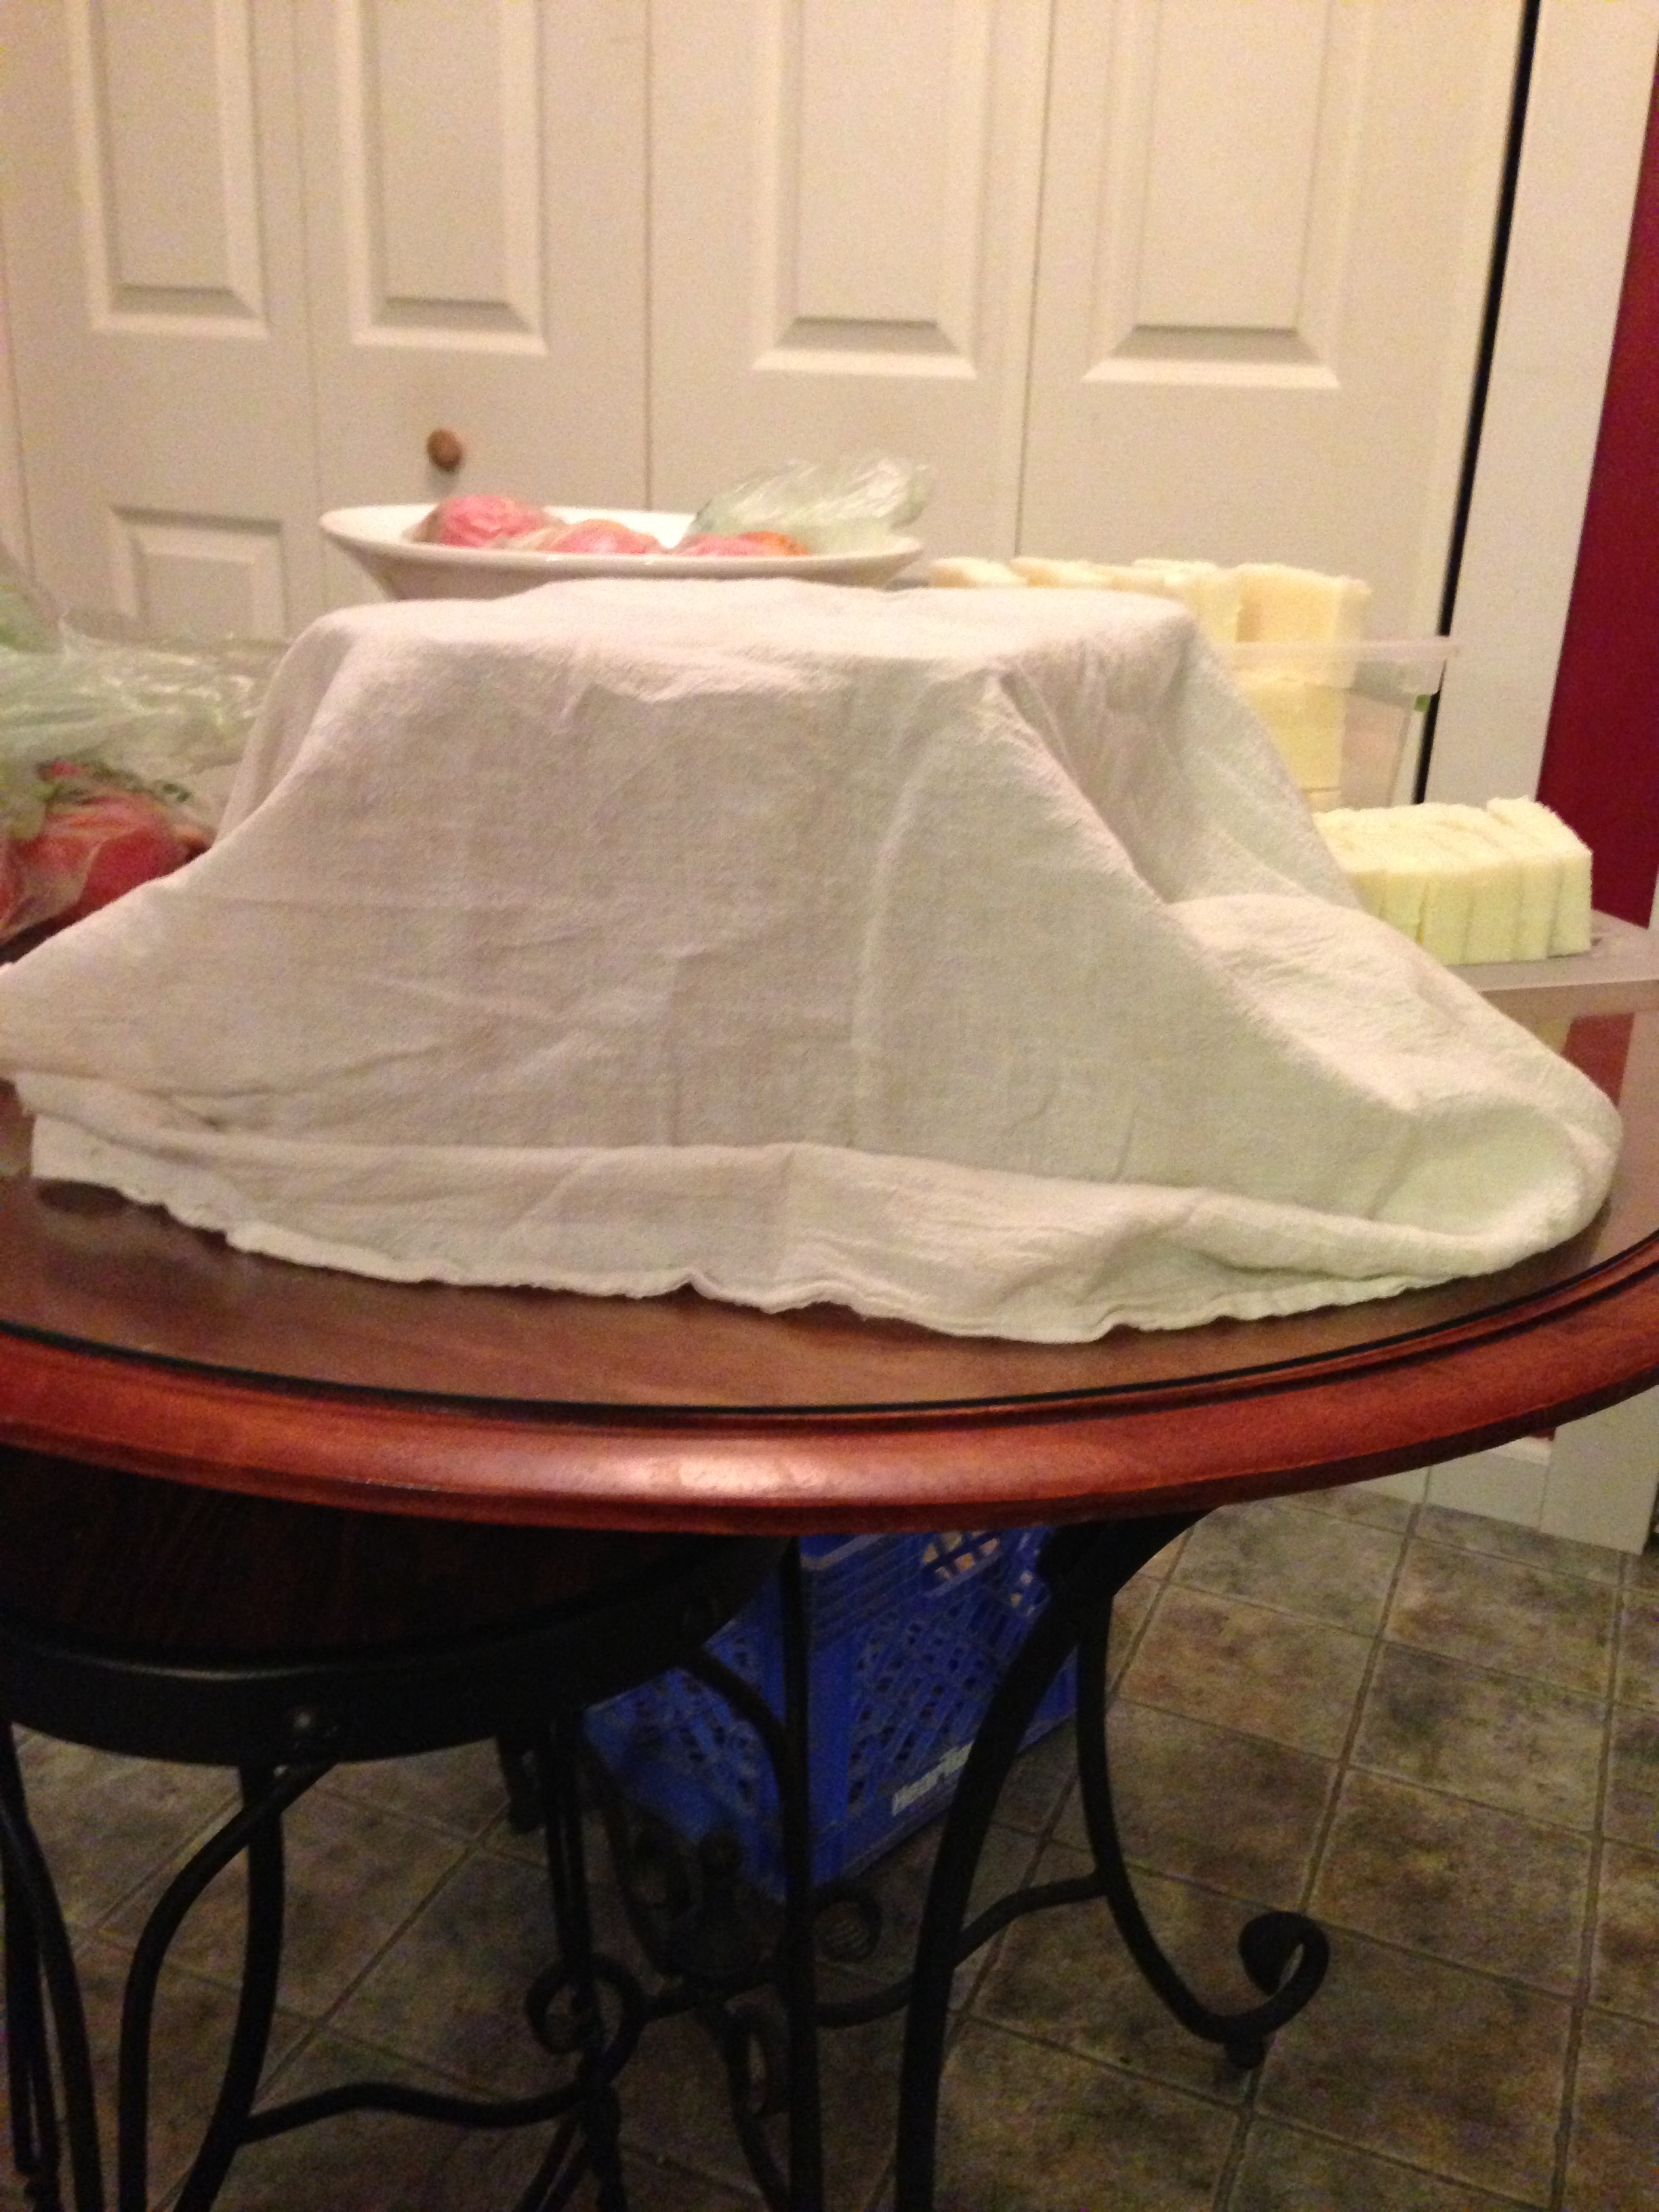
As with other fermentation’s, you must cover your items with cloth and a rubber band. I choose quilting muslin. It is 100% cotton, unbleached and a tight enough weave to keep out gnats and such, but breathable enough for the gases to escape during fermentation. The brew needs to breathe.
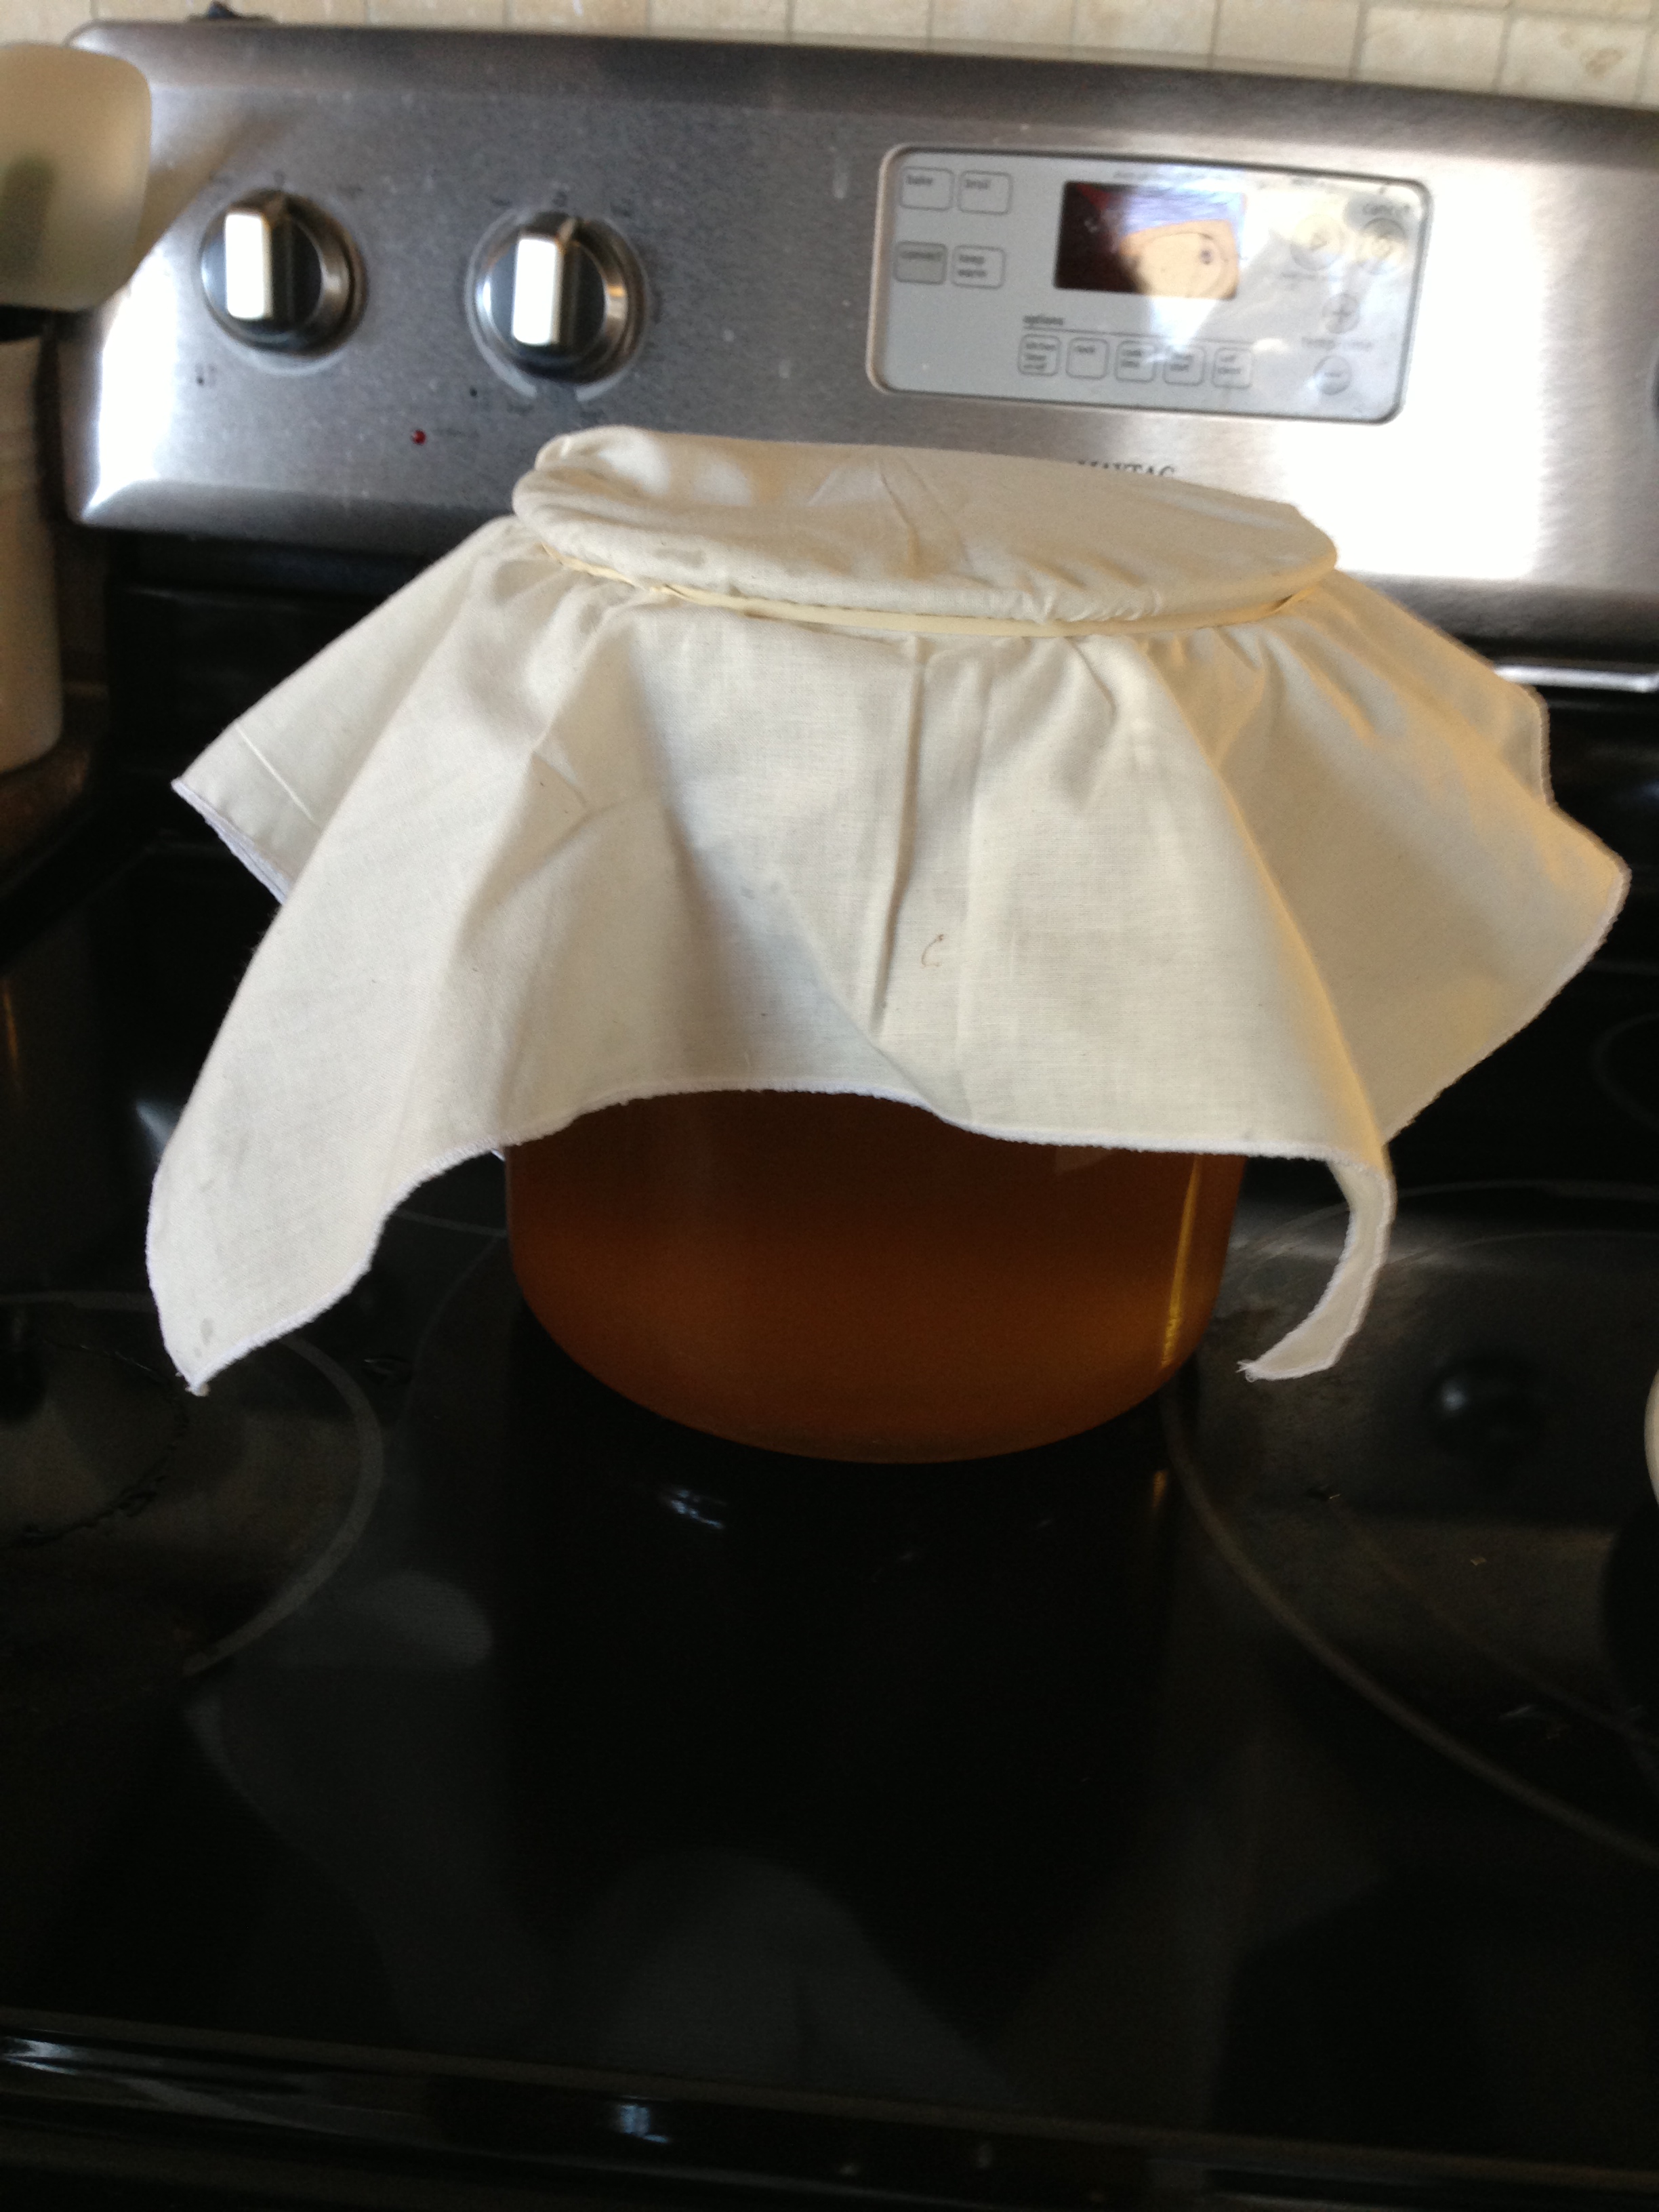
Now all you do is wait. You put your tea in a quiet, but warm place. That can be challenging in the winter months. Mine is in the den, but not very warm. Our den is cool and I need to find a better place. Fermentation’s do best between 72-85 degrees. During warmer weather, the fermentation time will be less. Perhaps just a week. During the winter months I let mine go at least 2 weeks if not a little longer. Then it’s ready to process again. Some blogs say to slip a straw down under the scoby and taste the finished product to see if it’s to your liking. I prefer to also test the PH level of the brew to make sure it’s suitable to drink. My instructions say that the PH should be between 3.5 – 2.5. This batch was 3.0, right in the middle. By the way, even with the PH being on the acidic side, this is considered to be a alkaline producing drink. Like lemons, even though they are acidic in nature, lemon in your water helps alkalize your body. Kombucha is considered to be an alkalizing drink. These are the PH strips I use. They were bought online as I couldn’t find any with a broad enough spectrum at the health food store.

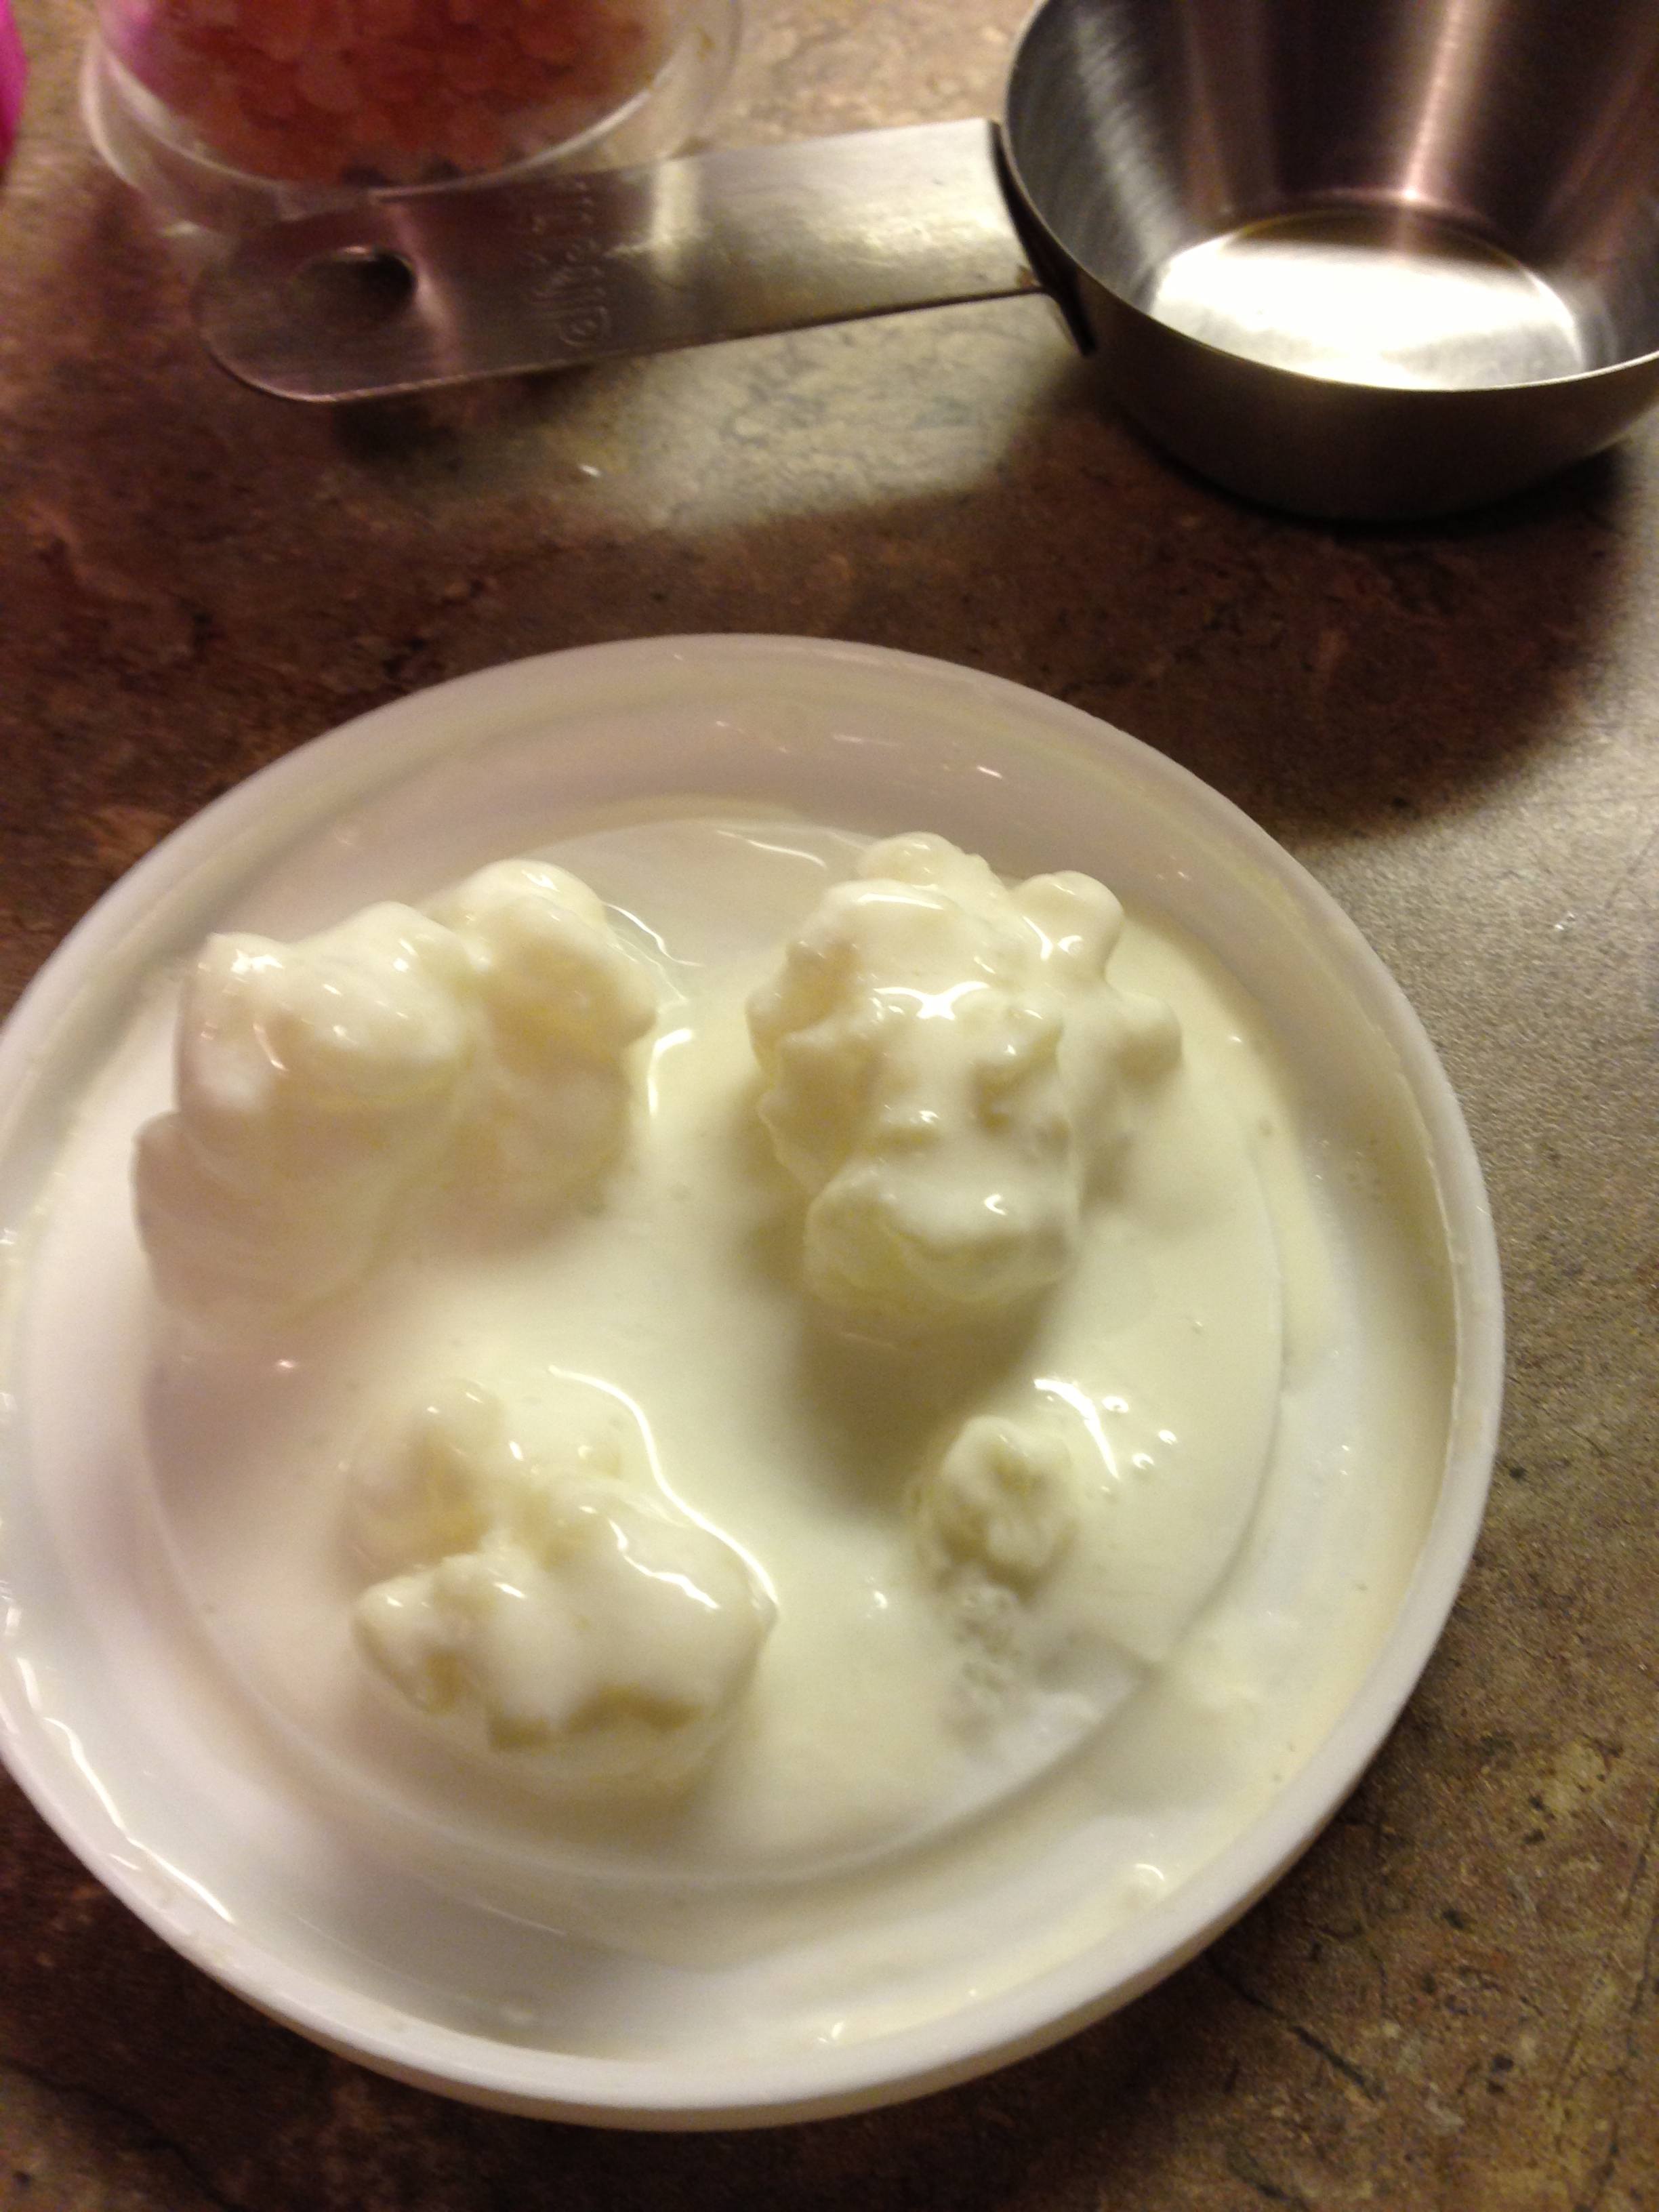
After testing your brew, wash your hands and take out your scoby. You always want to be very careful to have everything as sanitary as possible. You don’t want to contaminate your scoby or introduce anything bad into your brew. I always put my scoby on a plate. Next take 2 cups of your fresh kombucha as a starter for your next batch. Set that aside.

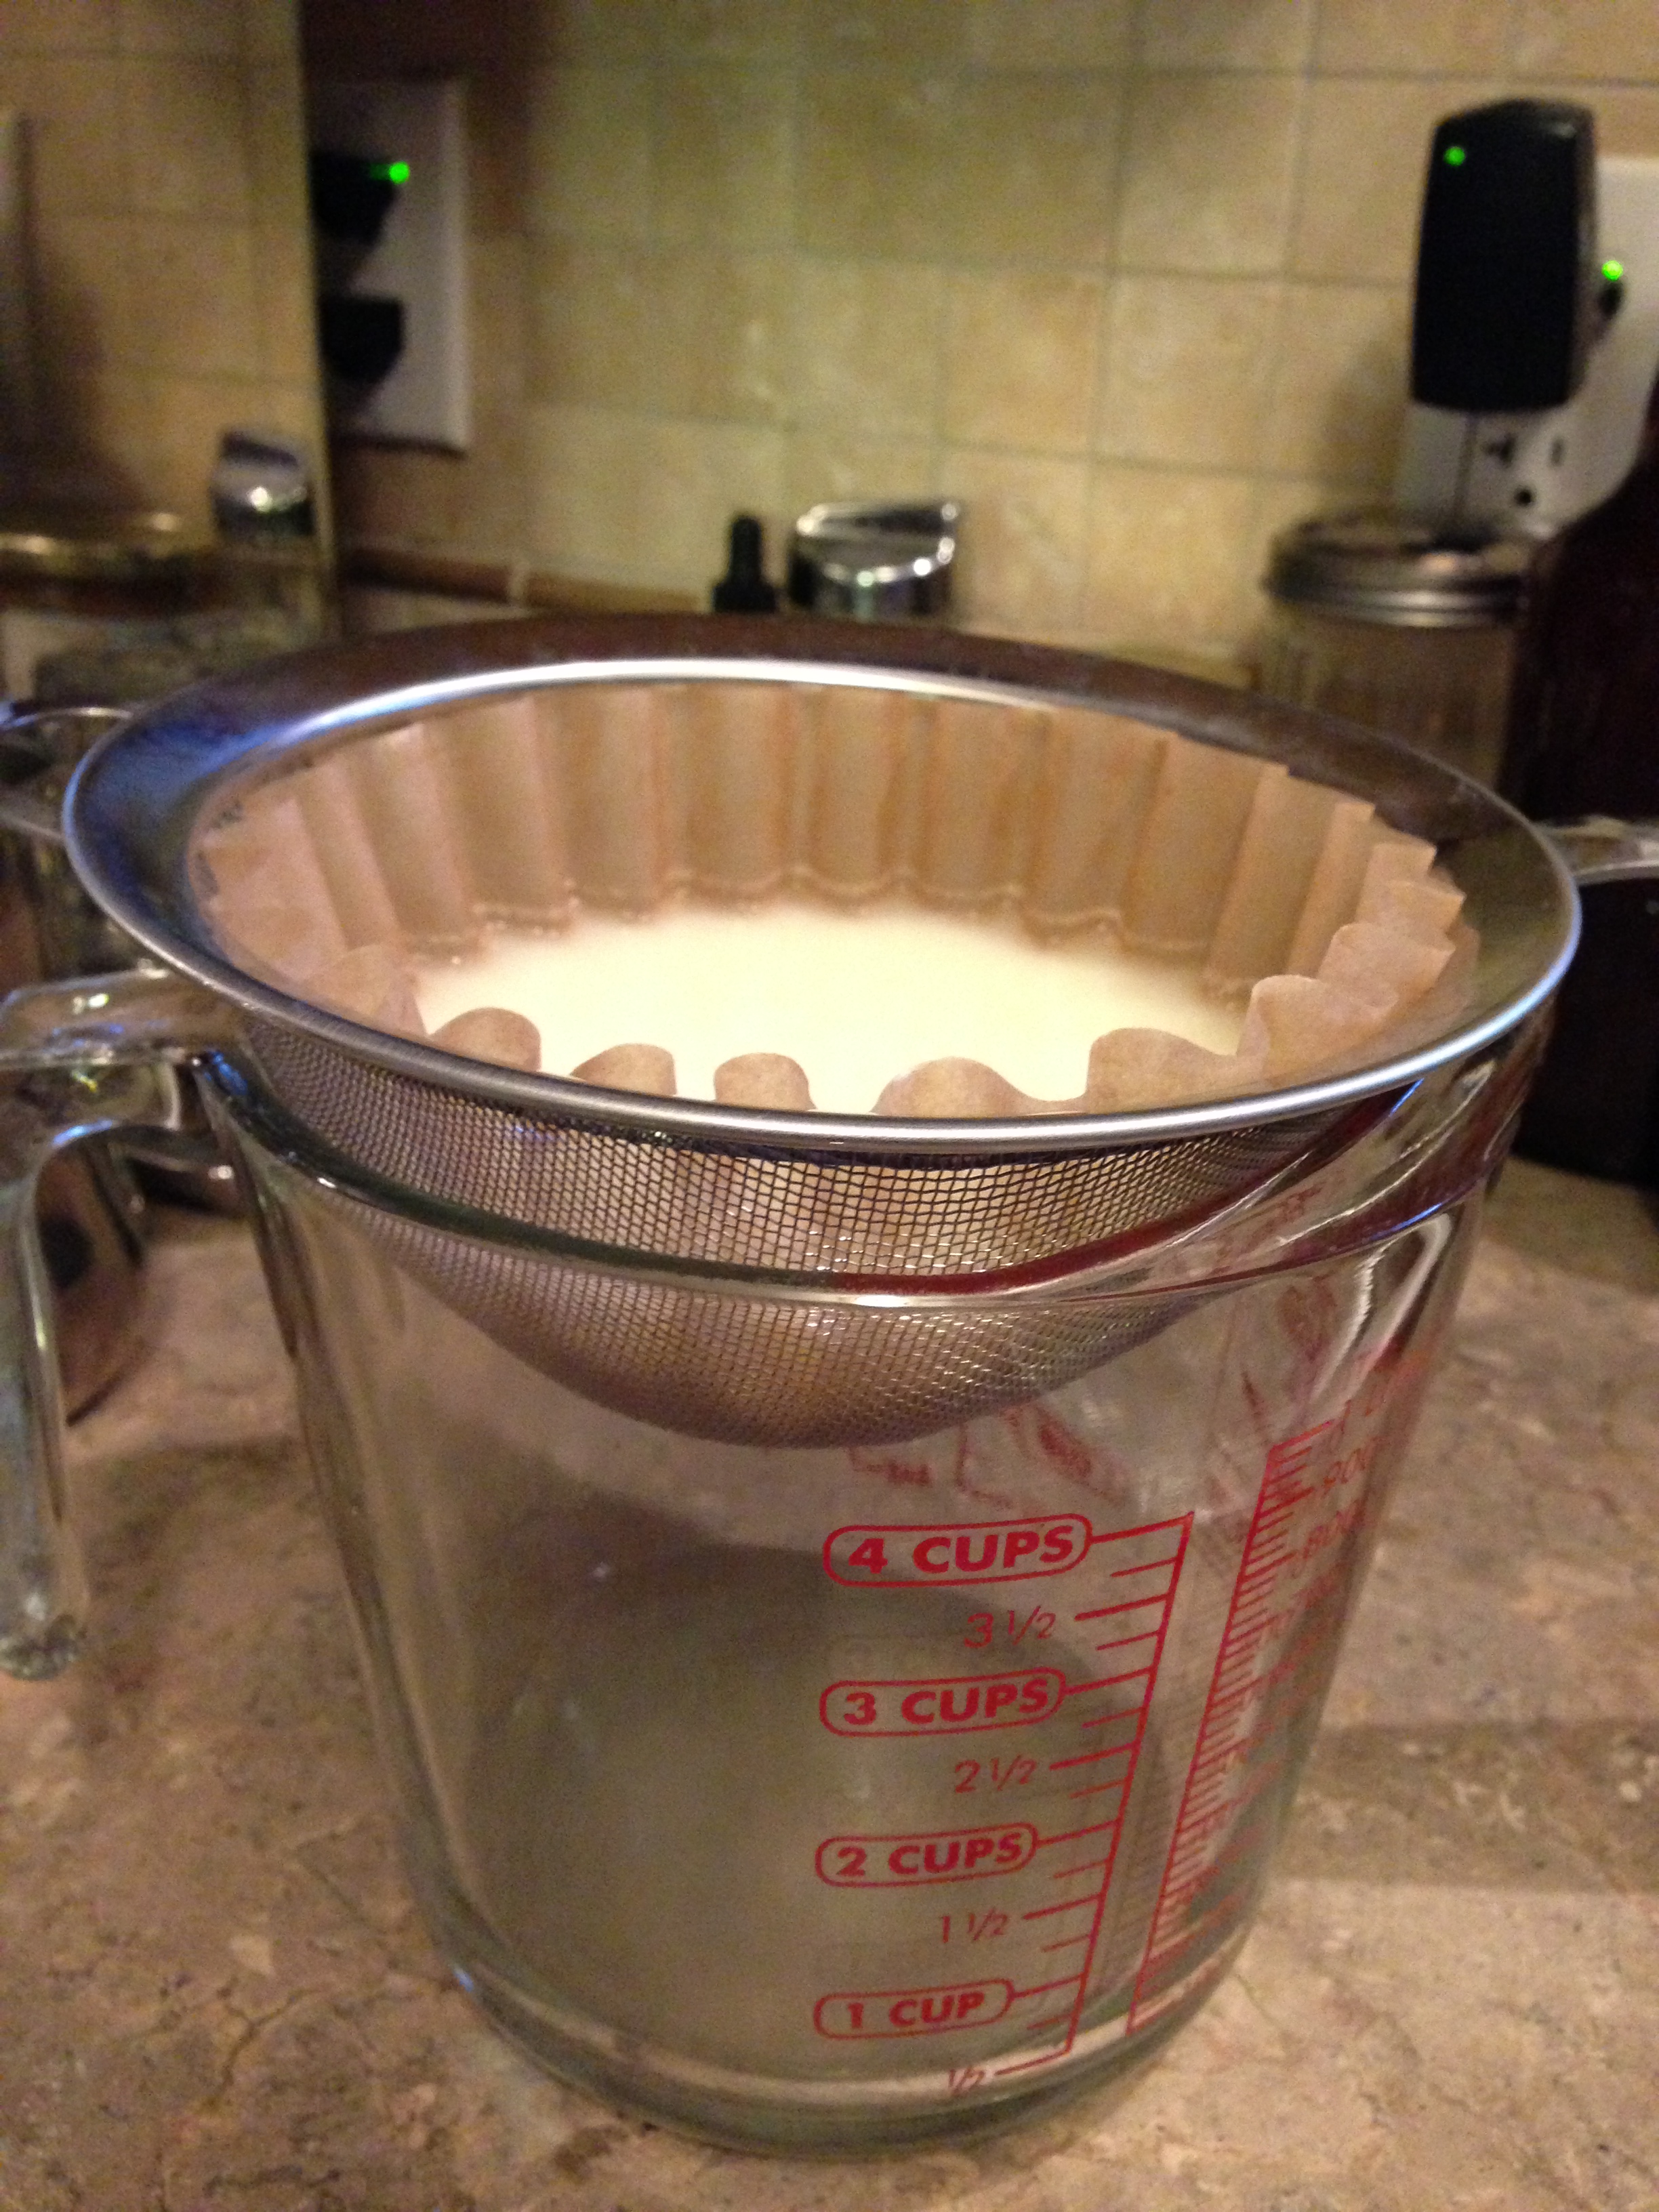
Next, take your strainer and pour your kombucha through it. You don’t HAVE to do this, but I prefer to strain out the yeast strands that you’ll see floating in the kombucha. You can eat them if you want, they are actually good for you, and I know someone who does eat them, but I’m not to that point yet. Maybe someday…..
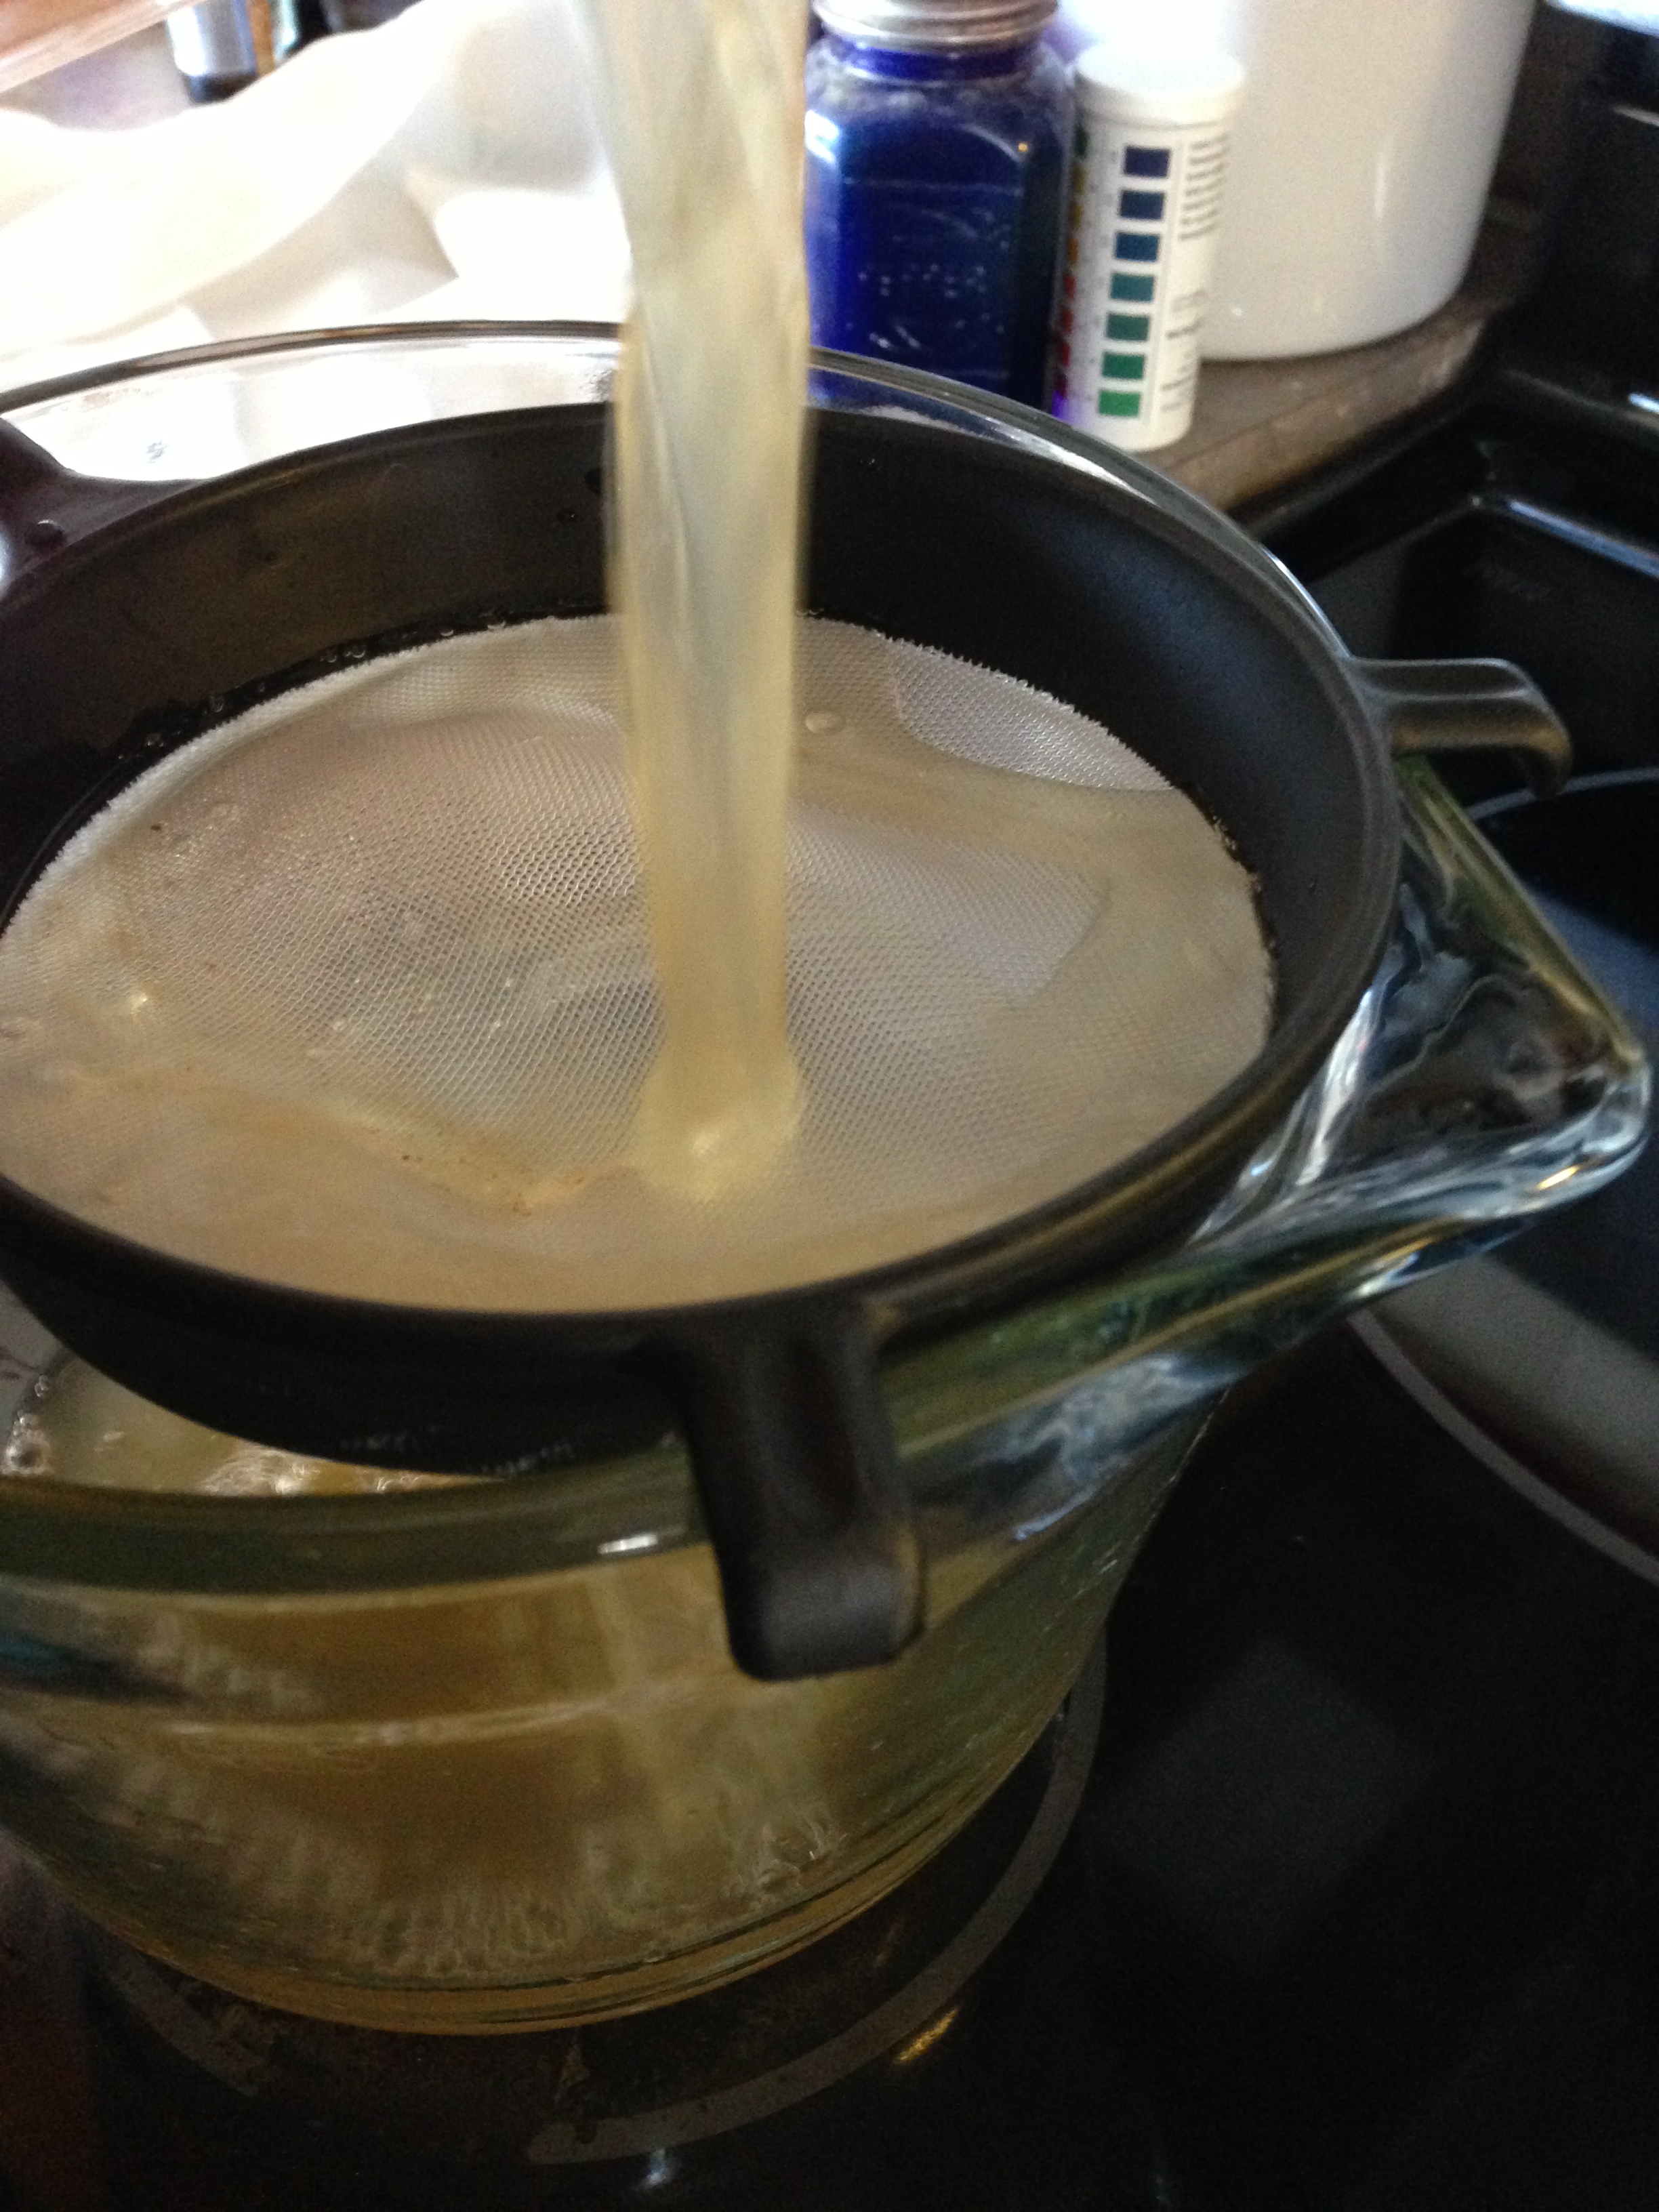
Once you’ve strained your kombucha, place into clean jars or a pitcher with a lid and store in the refrigerator. I believe it’s beneficial to store it in glass and not plastic. I don’t want plastic leaching into it.
If you want to flavor your kombucha, or fizz it up, you can double ferment it. I will be posting a blog soon on how to double ferment both kombucha or water kefir. It’s the same process.
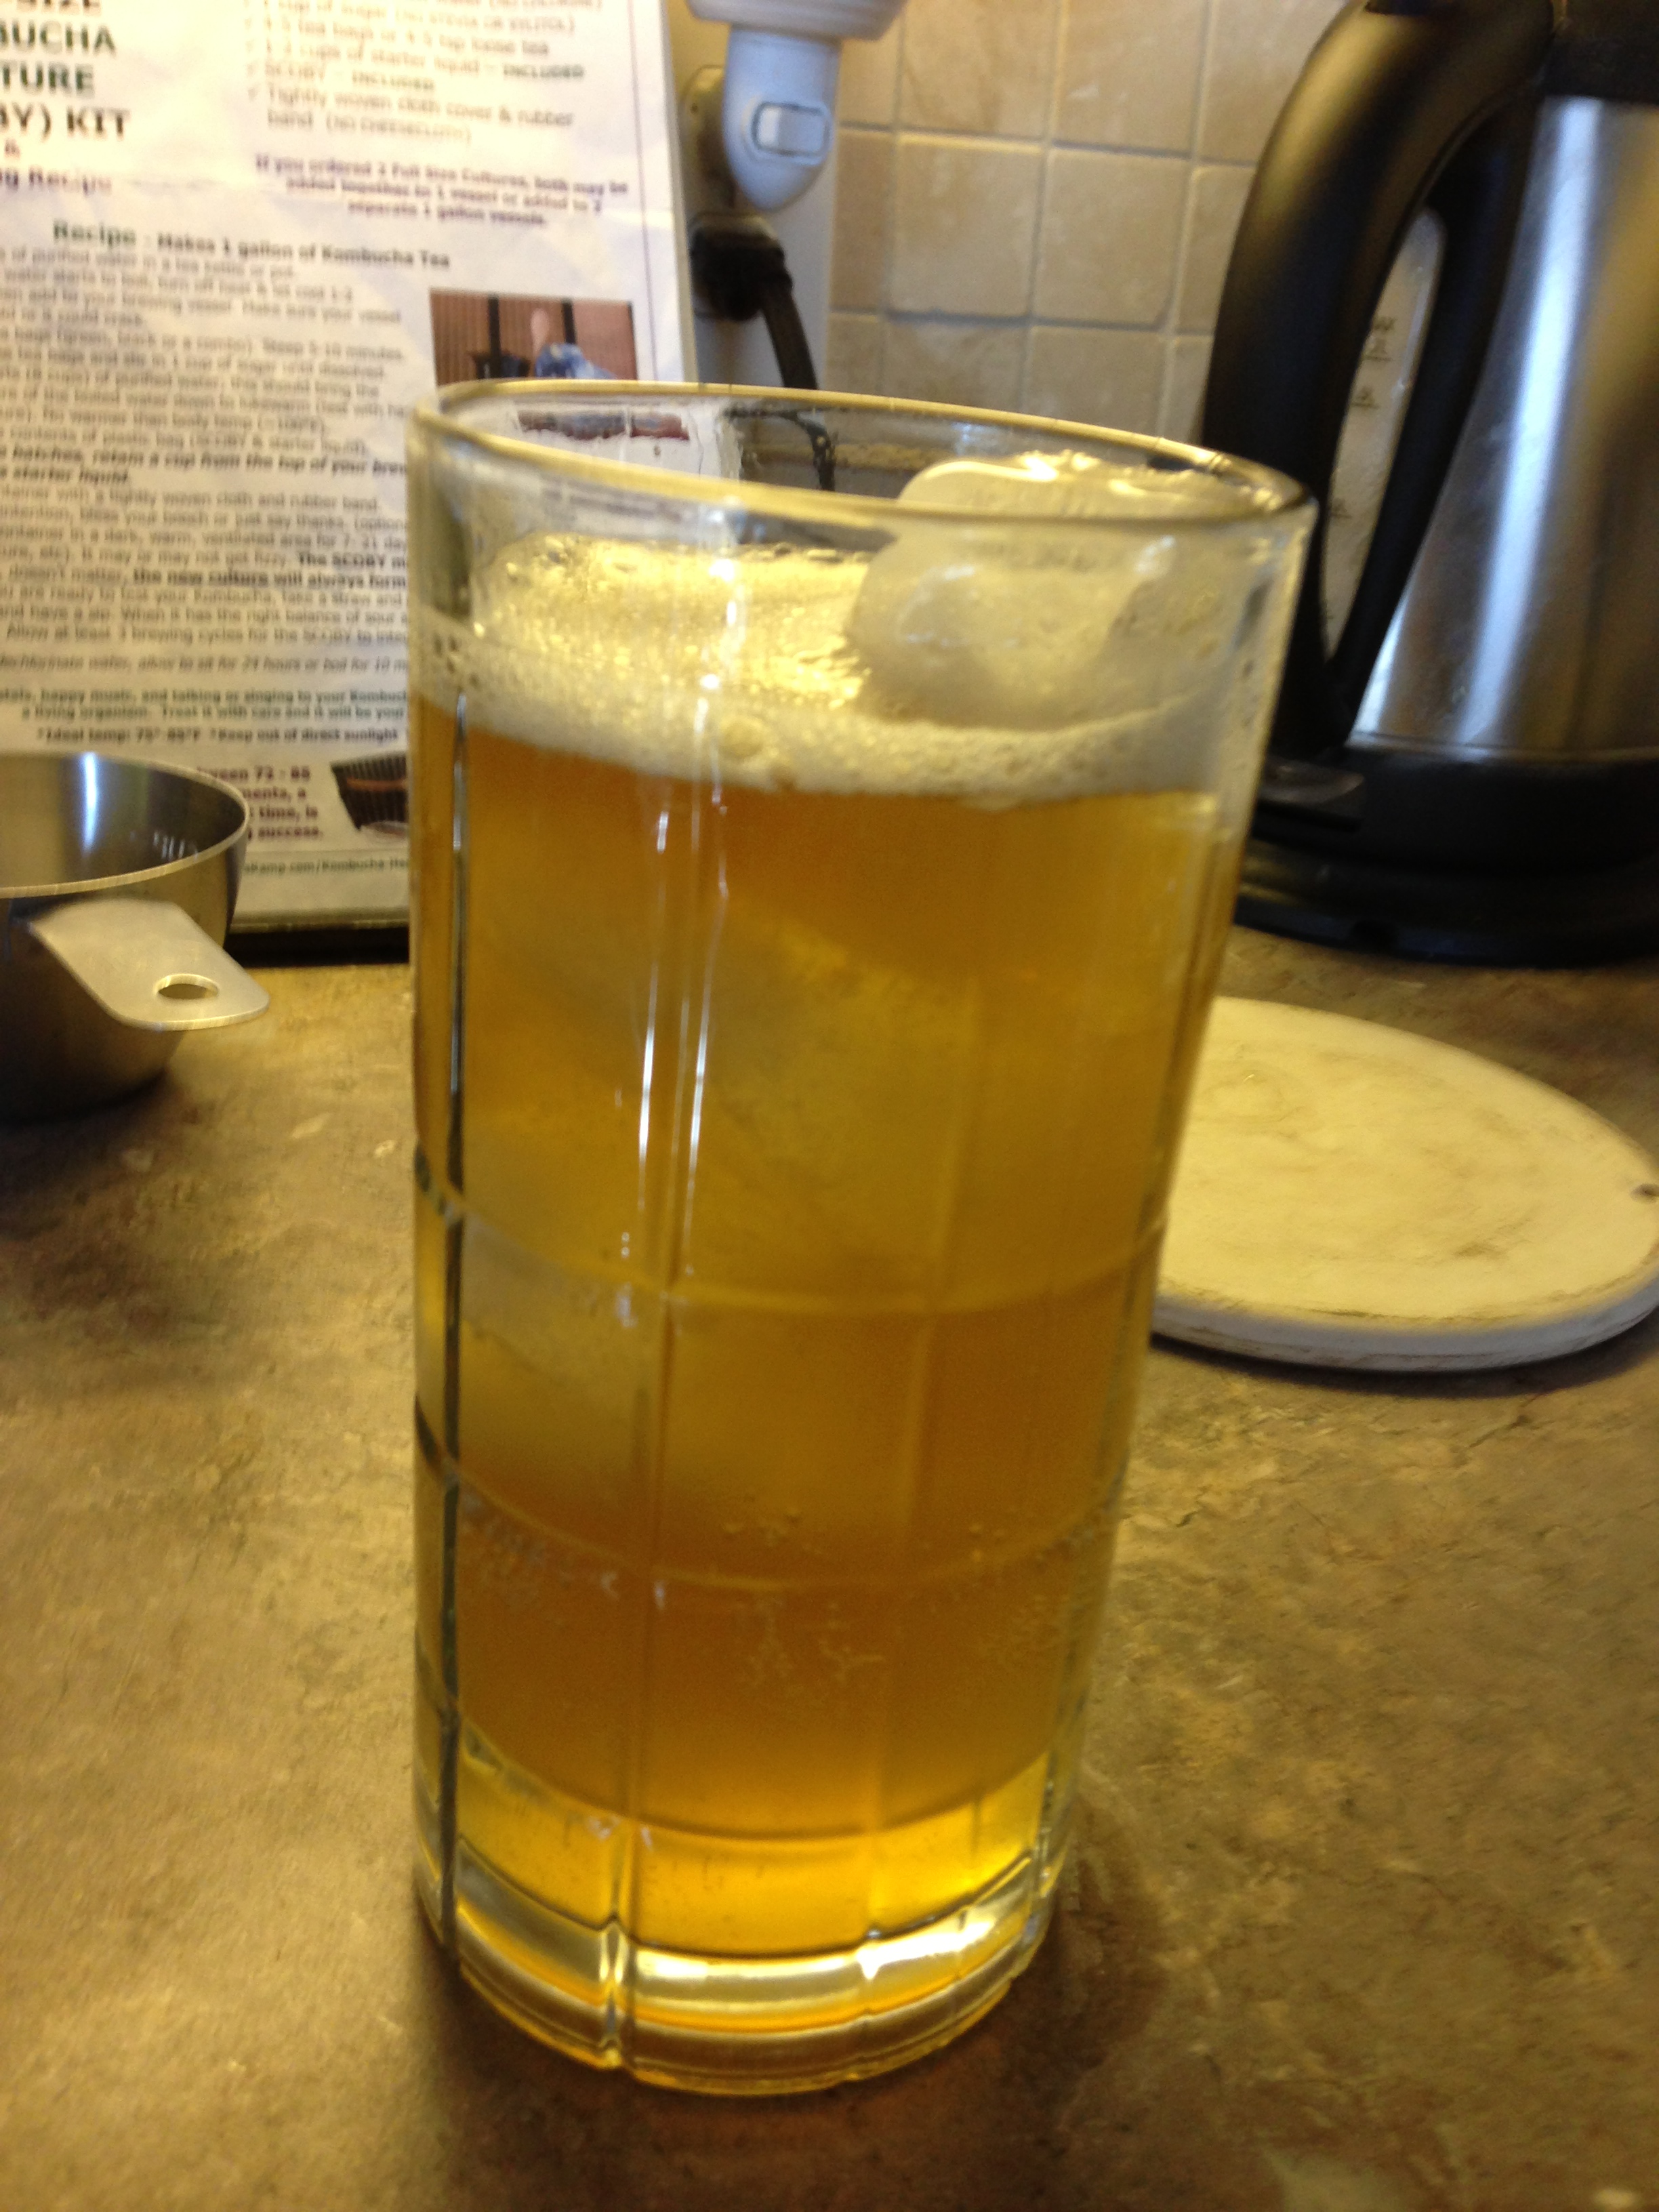
Here is a video of me pouring a glass of double fermented water kefir. You can see how fizzy it can become, and after not drinking soda for a couple of months, this is quite satisfying. I actually look forward to drinking my glass every day.
This is the glass I took upstairs and drank while I typed out this blog. It was 1/2 double fermented Blueberry water kefir and 1/2 unflavored kombucha. I love drinking it this way. You can also just pour a little juice into your glass with unflavored kombucha is you don’t care about the fizz or the extra sugar. After double fermenting, any sugar that was in the juice is used in the fermentation process so your end product is almost calorie free. 1 glass has about 8 calories. To me that’s quite amazing. 🙂
Here are several other links for you to read for more information.
http://www.acupuncture.com/herbs/kombucha1.htm
http://www.westonaprice.org/food-features/kvass-and-kombucha
Bon Appetite everyone. And again…..this is just one more way I’m making my food my medicine.