
I have been meaning to post this for a long time. A friend recently reminded me that I still had not given the directions for making bone broth. I determined then, that the next time I made it I would take pictures and put the directions up. So….here goes 🙂
First I should give you a little background on why I started making bone broth and the benefits of consuming it and using it if you’re going to add any broth to your recipes.
Bone broth, or meat stock, as our grandmothers call it, is what they used to cook with. They didn’t go open a can of broth to add to Sunday dinner. They used every morsel of a piece of meat, even down to the bone. They knew that there were minerals, that our bodies needed, in the bone and cartilage of a chicken carcass or a joint bone of a cow. When the food industry started doing all of the cooking for us, and we let them because it was SO MUCH EASIER, I don’t think we realized for a long time that the broth in the can wasn’t full of the same goodness as what you could make yourself. But the food industry cuts corners. They don’t want to take the time to simmer (for days) bones in a pan, so they add lots of salt, some MSG for flavor, and call it good. And for a generation or two now, we’ve consumed it without a second thought. But our generation, the baby boomers, are not a healthy lot. Auto immune disorders are running rampant, at a much higher rate than previous generations. Many people believe, and I tend to agree, that it’s the poor food quality, along with tons of environmental toxins, that contribute to this increased percentage of people with ailments. Everything from arthritis to fibromyalgia and chronic fatigue, crohn’s, irritable bowel, and the list goes on and on and on. They’re all auto immune disorders, an interesting dynamic where your body decides to attack itself…..great, huh??
Many people, and I also tend to agree, believe that if you give the body what it needs, our Father created us with the innate ability to begin healing. He really did an amazing job when he created us 🙂 We’ve just gotten so far off track, that most of don’t know where to begin.
So when I started my journey learning about GAPS (because I have arthritis and was sick and tired of feeling sick and tired) one of the basic of this lifestyle is consuming bone broth…..and lots of it! Bone broth contains valuable minerals in a form your body can easily absorb and use, including calcium, magnesium, phosphorus, silicon, sulfur chondroitin and glucosamine, now sold as expensive supplements for arthritis and joint pain and a variety of trace minerals. And the best part….it’s readily absorbed right into the body.
Bone broth is excellent for “healing and sealing” your gut, to use Dr. Natasha Campbell-McBride term. Dr. Campbell’s GAPS Nutritional Protocol, described in her book, Gut and Psychology Syndrome (GAPS), centers around the concept of “healing and sealing” your gut through your diet.
Broth or “stock” plays an important role as it’s easily digestible, helps heal the lining of your gut, and contains valuable nutrients. Abnormalities in your immune system are a common outcome of GAPS, and such immune abnormalities can then allow for the development of virtually any degenerative disease. To read more about all the wonderful benefits of bone broth check out this link http://articles.mercola.com/sites/articles/archive/2013/12/16/bone-broth-benefits.aspx
So that is how I got started…..I have been doing GAPS for about a year and a half and bone broth is a basic. I’ll admit, I was pretty overwhelmed the first time I made a batch, but there is absolutely no reason for it. It’s so easy, and if you make a large batch it will last for quite a while if you freeze half.
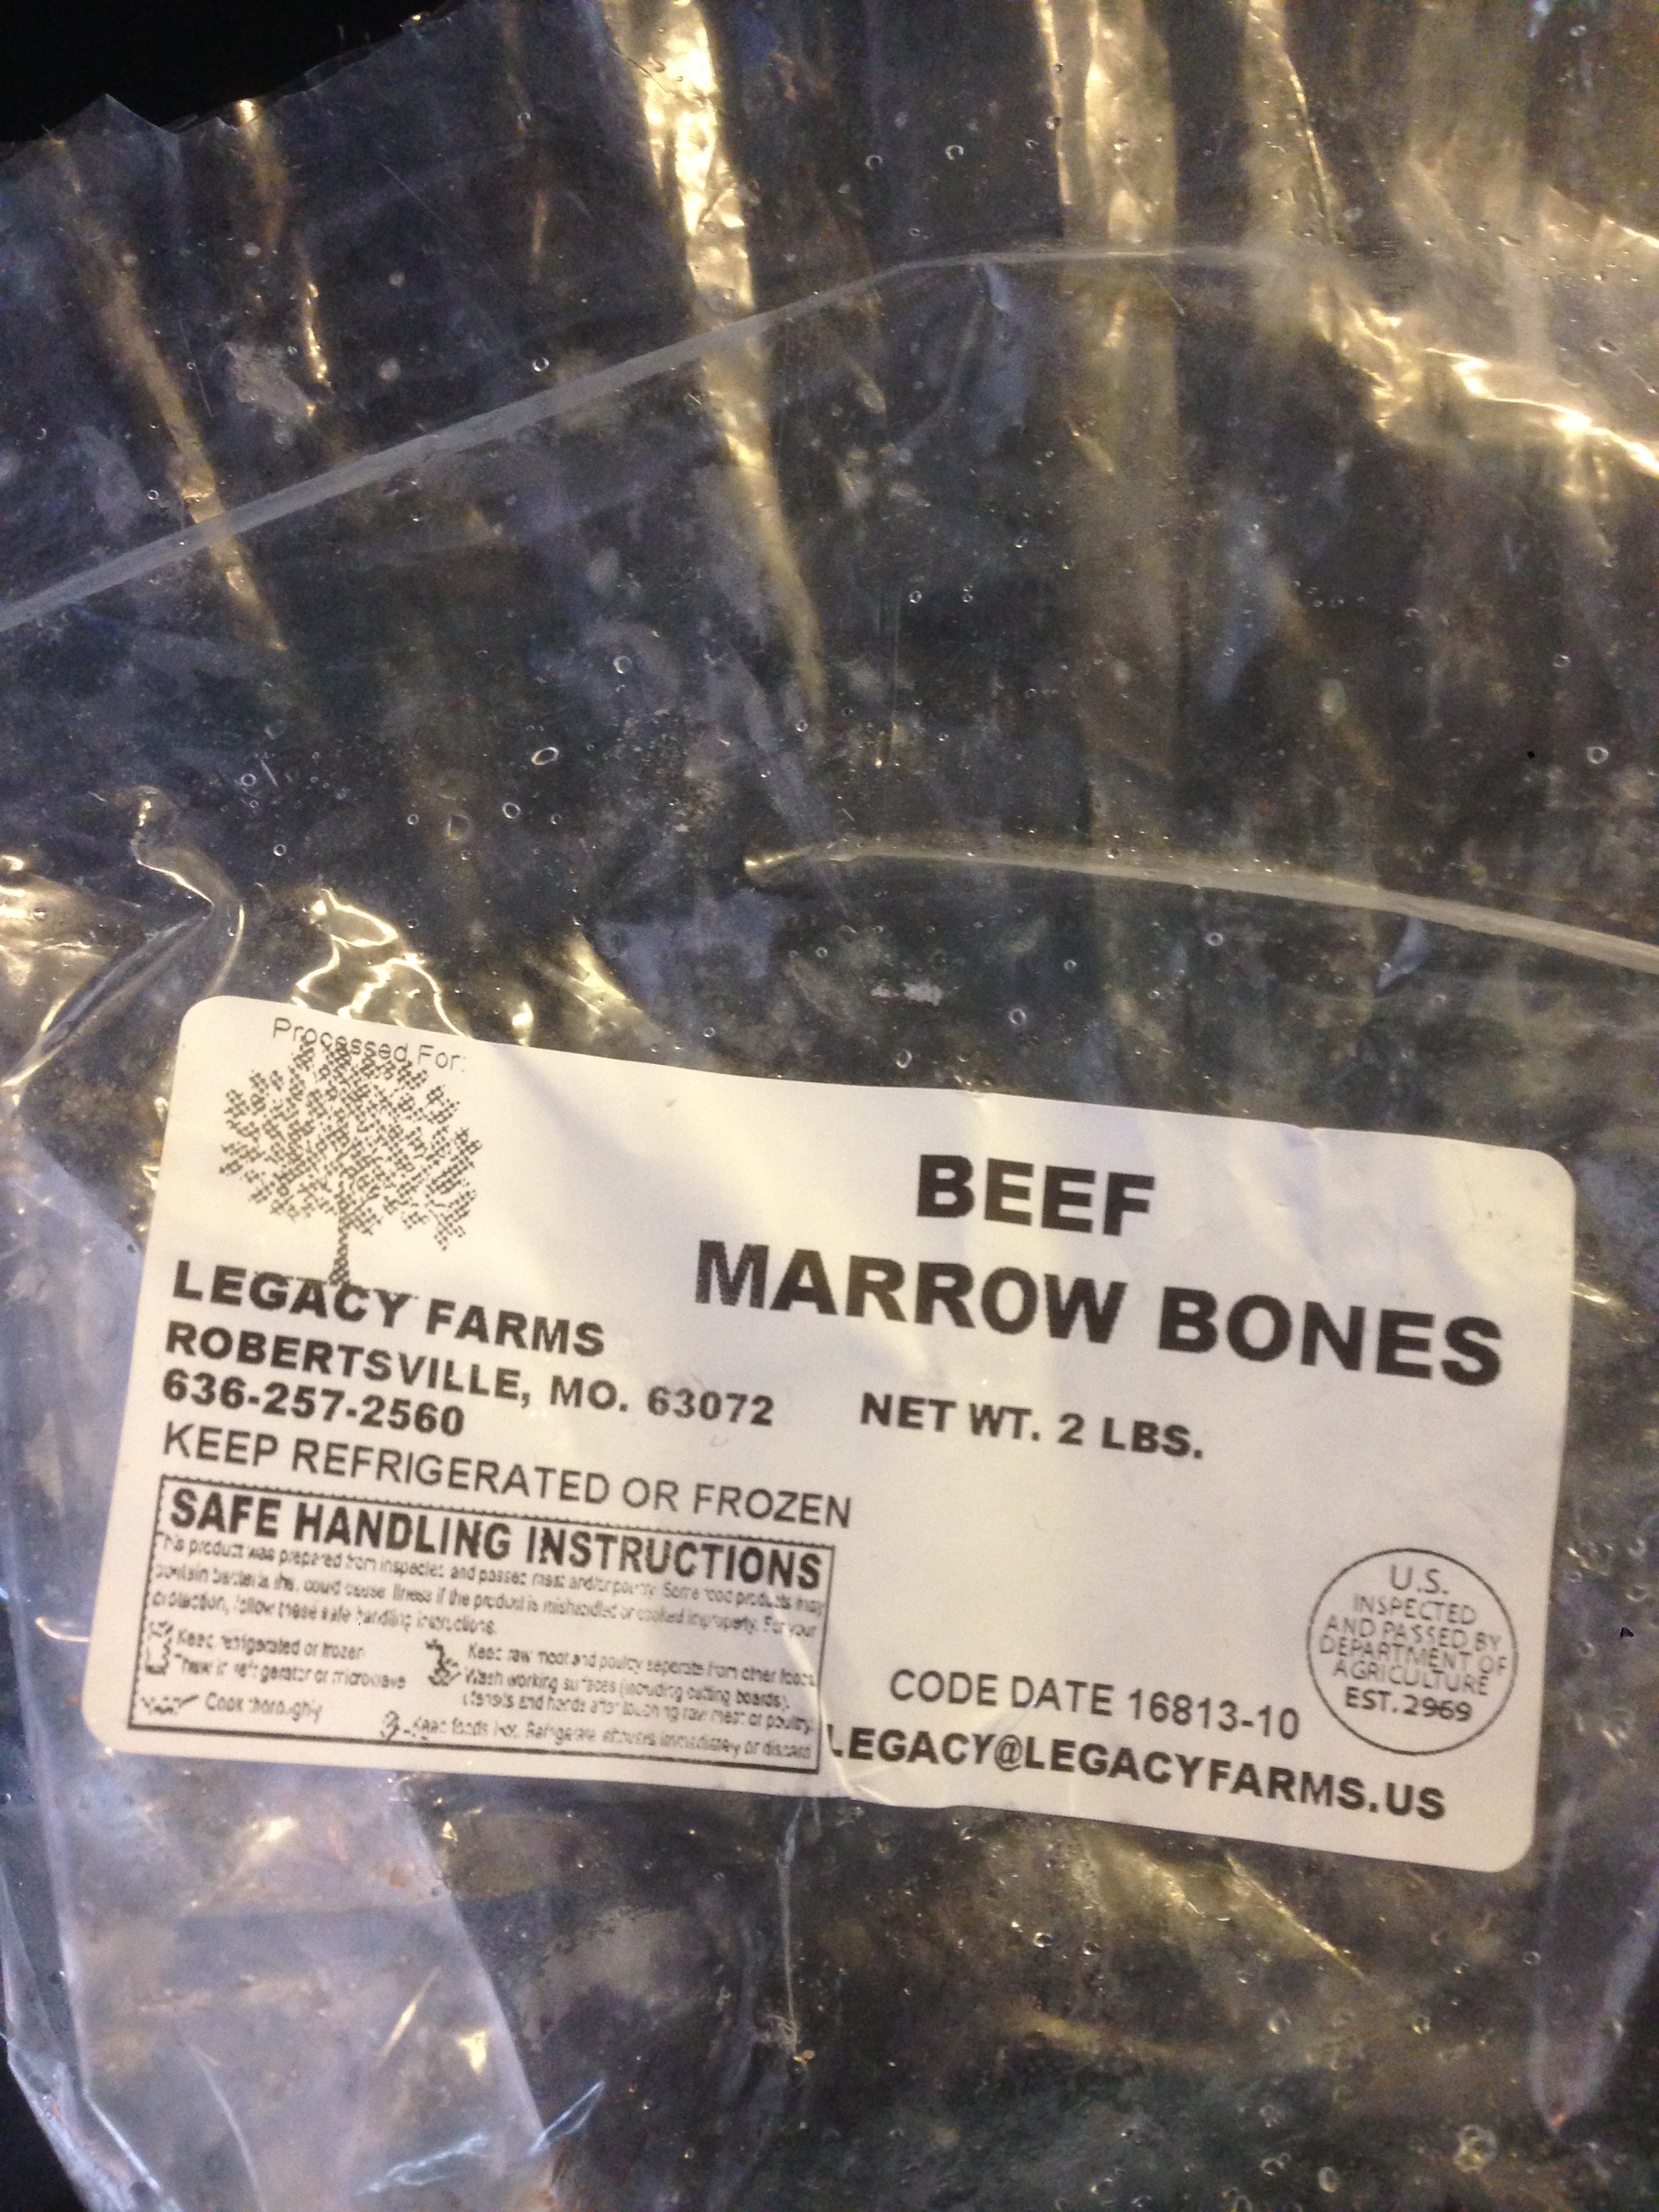
I’m not sure what the pot size is that I use, but it will easily hold 2 gallons. I don’t fill it that full, and depending on the amount of bones I use, I might use a crock pot. The first step is to fill your pan with fresh filtered water. If you are using the carcass of a chicken or turkey, just dump the bones, skin, giblets if you have them, neck pieces…even feet if you have them. I’ve never used any feet, because I’ve never acquired any, but if I can if the future, believe me, they’ll be in there 🙂 I also use a beef bone in my pot because I want the extra goodness and we have a freezer full of them. For local people, here is the place I get my bones from. They are from grass fed beef and their butcher cuts the bones into a nice size.

Next (if I’m using a beef bone) I put it in a dish and brown it under the broiler for a few minutes until it’s lost the pinkness.
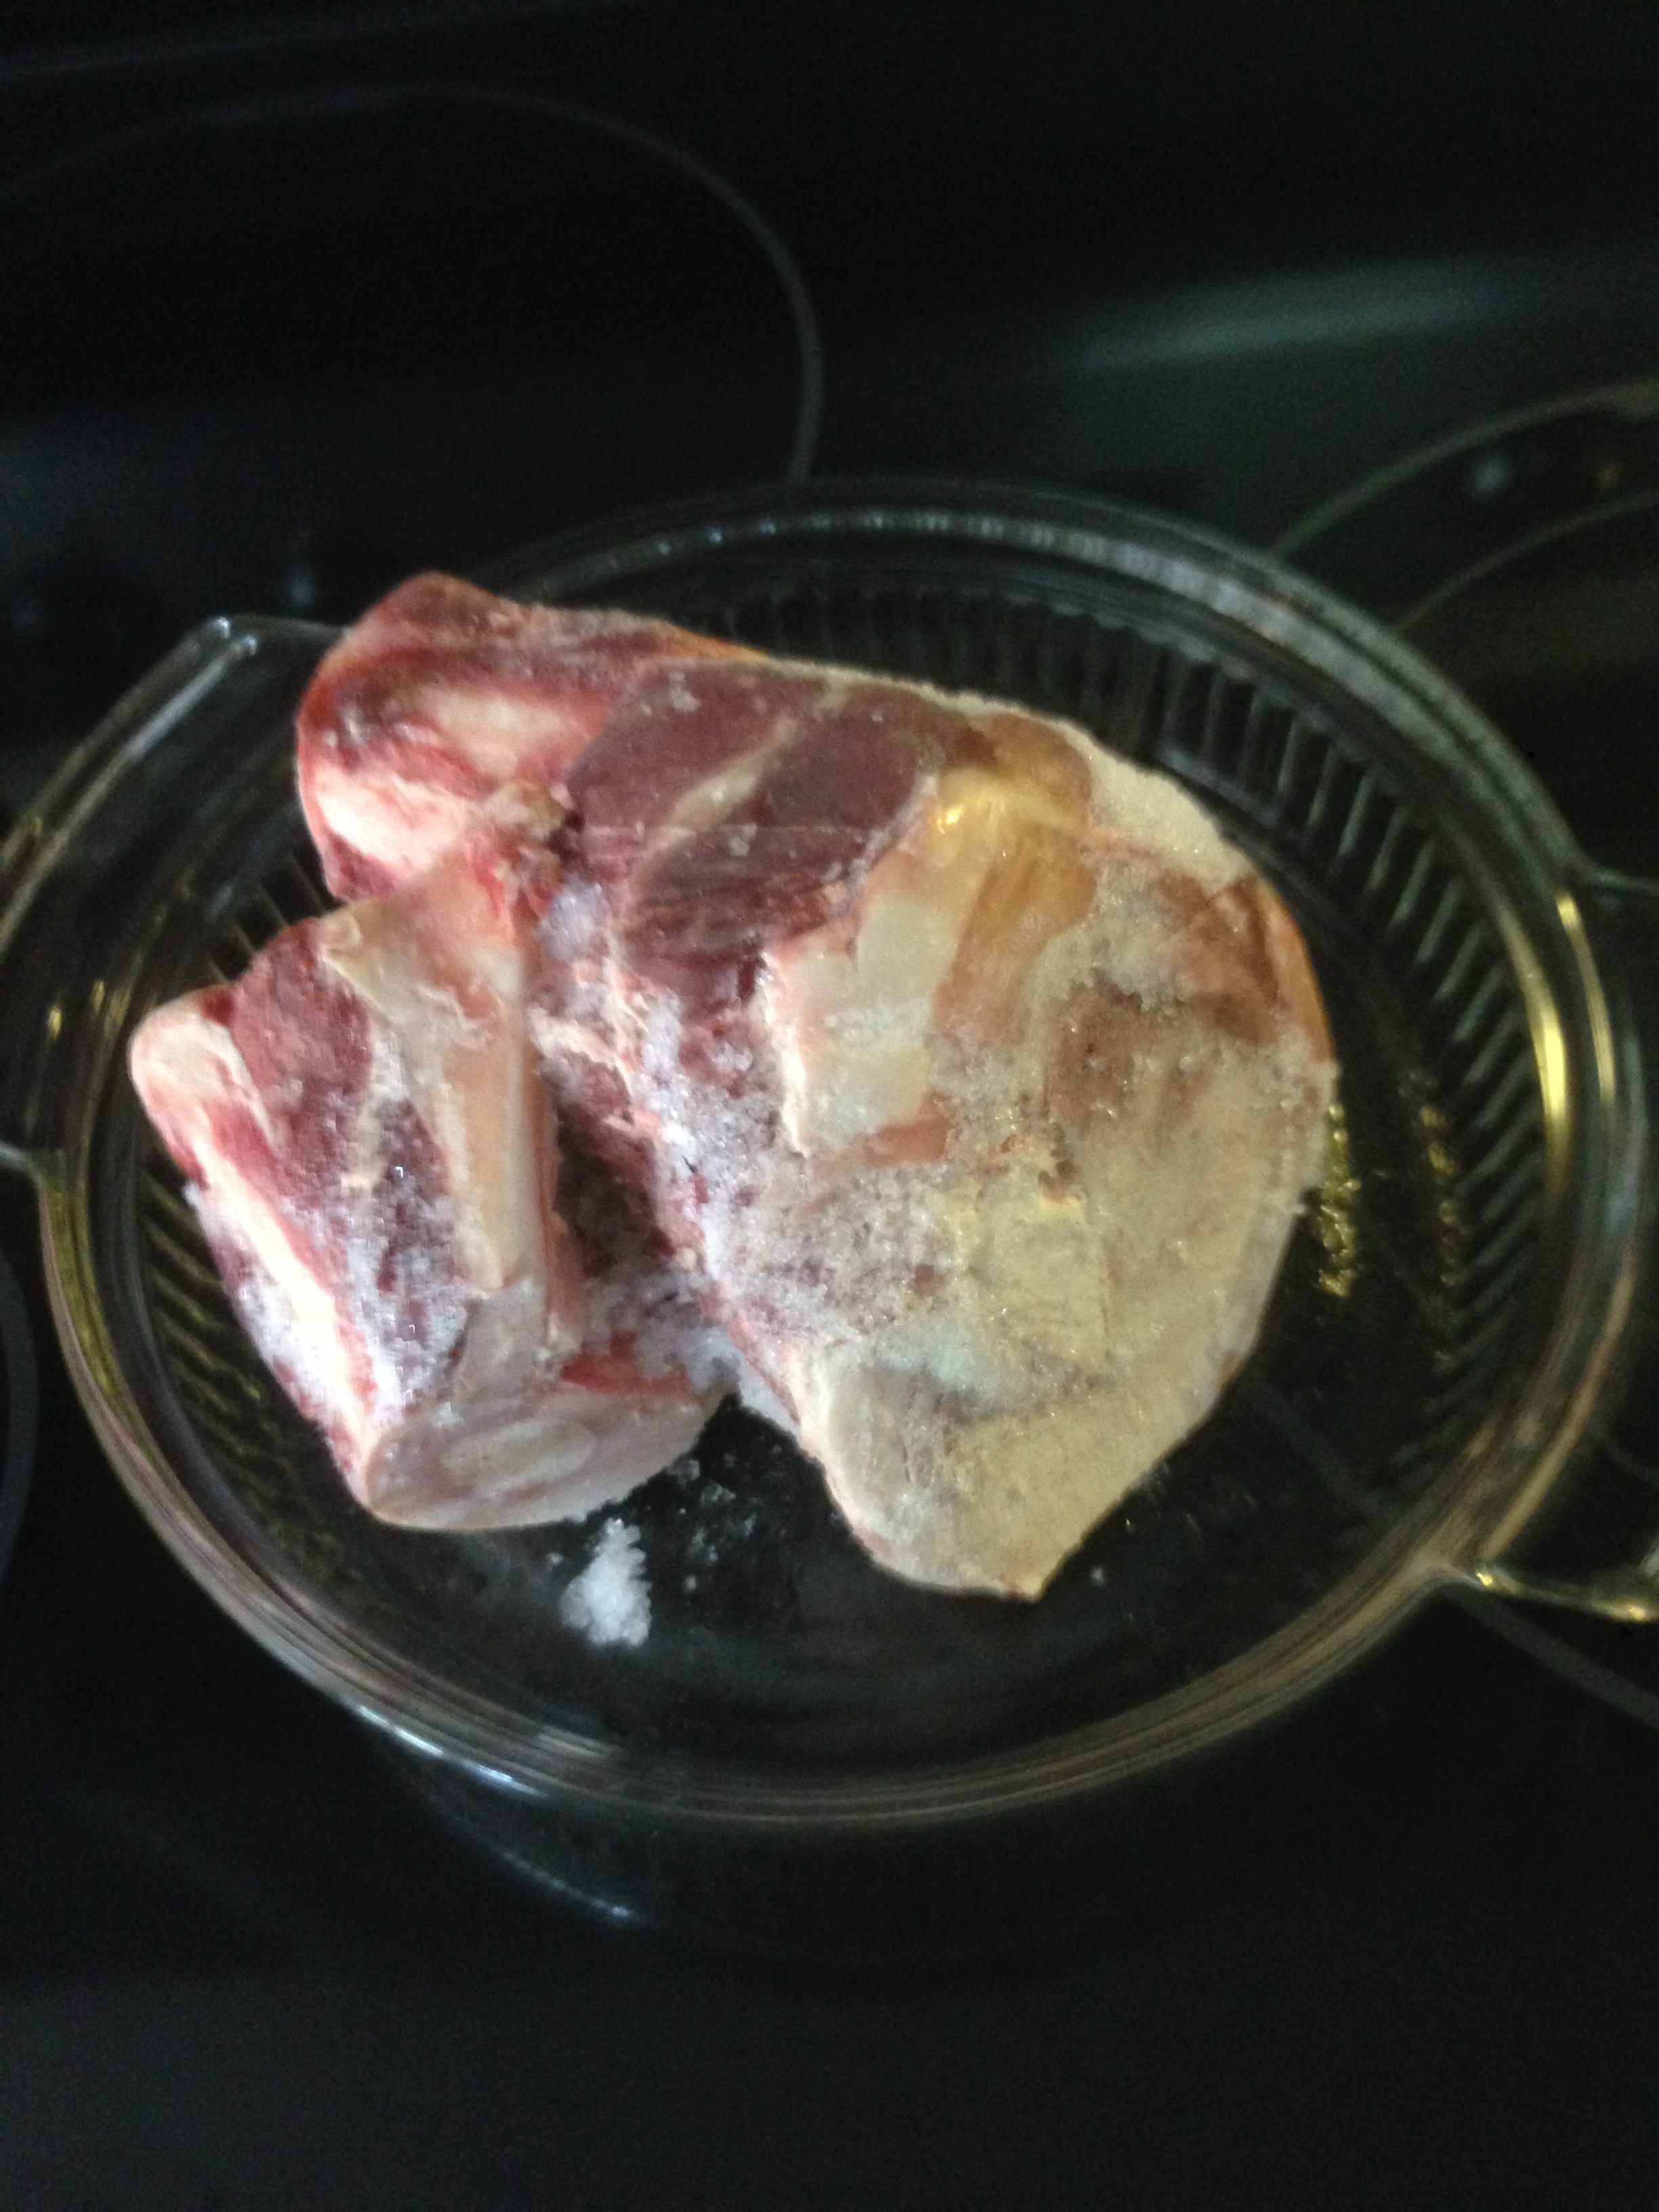 These bones are ready to be broiled.
It actually adds flavor to your broth. If you are not using a beef bone, disregard this step. Then you’ll want to add a couple of Tablespoons (even up to 1/4 cup) of apple cider vinegar. Make sure you use a good quality vinegar with the “mother” not the processed grocery store variety.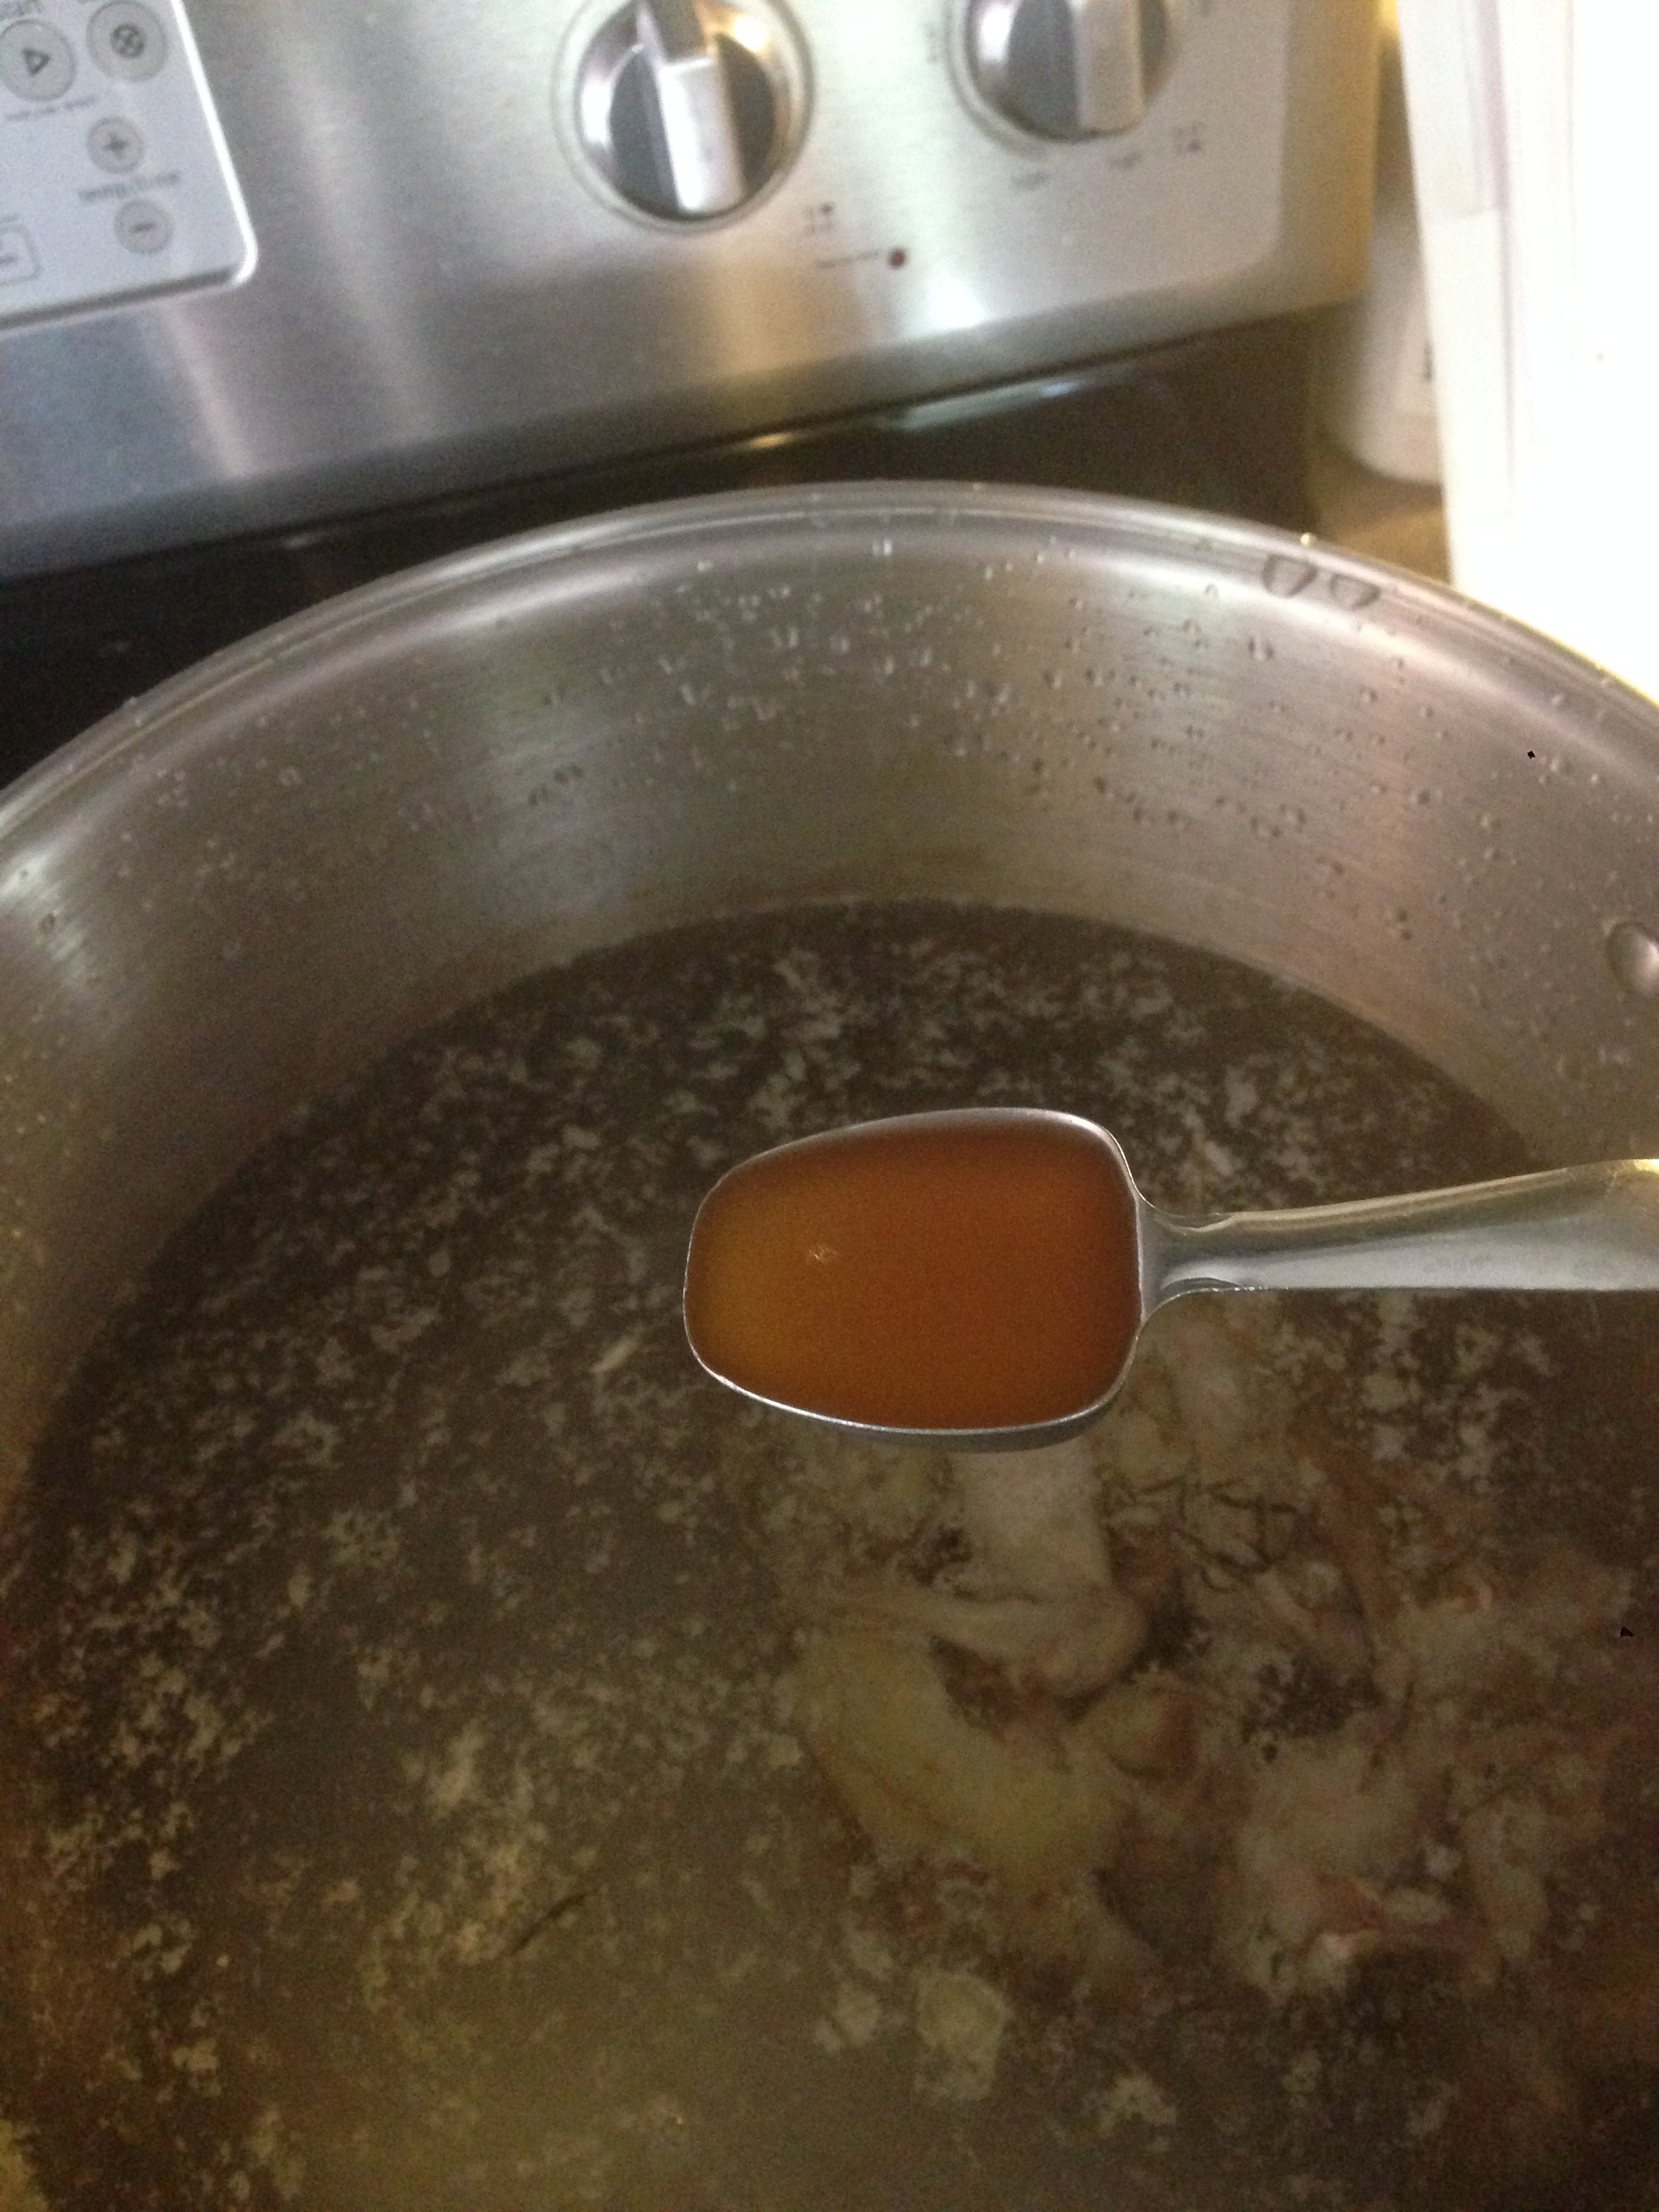 Adding the Vinegar
 This is the kind I use.
Then add salt (and pepper if you want). Turn the burner on and when it begins to boil, turn it down to a simmer, put on the lid and let it cook. For just poultry bones you cook it for 24 hours. For beef bones you cook it for 2-3 days. With the broth I’m making here, I have both poultry bones AND beef bones, so after 24 hours I will take out the chicken bones and leave the beef bones to cook for another 2 days. If you have gas heat, I realize you will not want to leave your stove on overnight. In that case I would always use a crock pot.
Some people, on the last day of cooking, will add garlic cloves, onion, celery, carrots etc and all of those things are good and do add some extra flavor and vitamins etc. I just have a really hard time cooking and throwing away veggies, and they are cooked to death when you are done. I don’t add those things, because I use the broth in recipes and soups and I add all of my veggies there. You can do either, and it’s just fine either way. My goal is to get the goodness from the bones, and add my veggies with my meal.
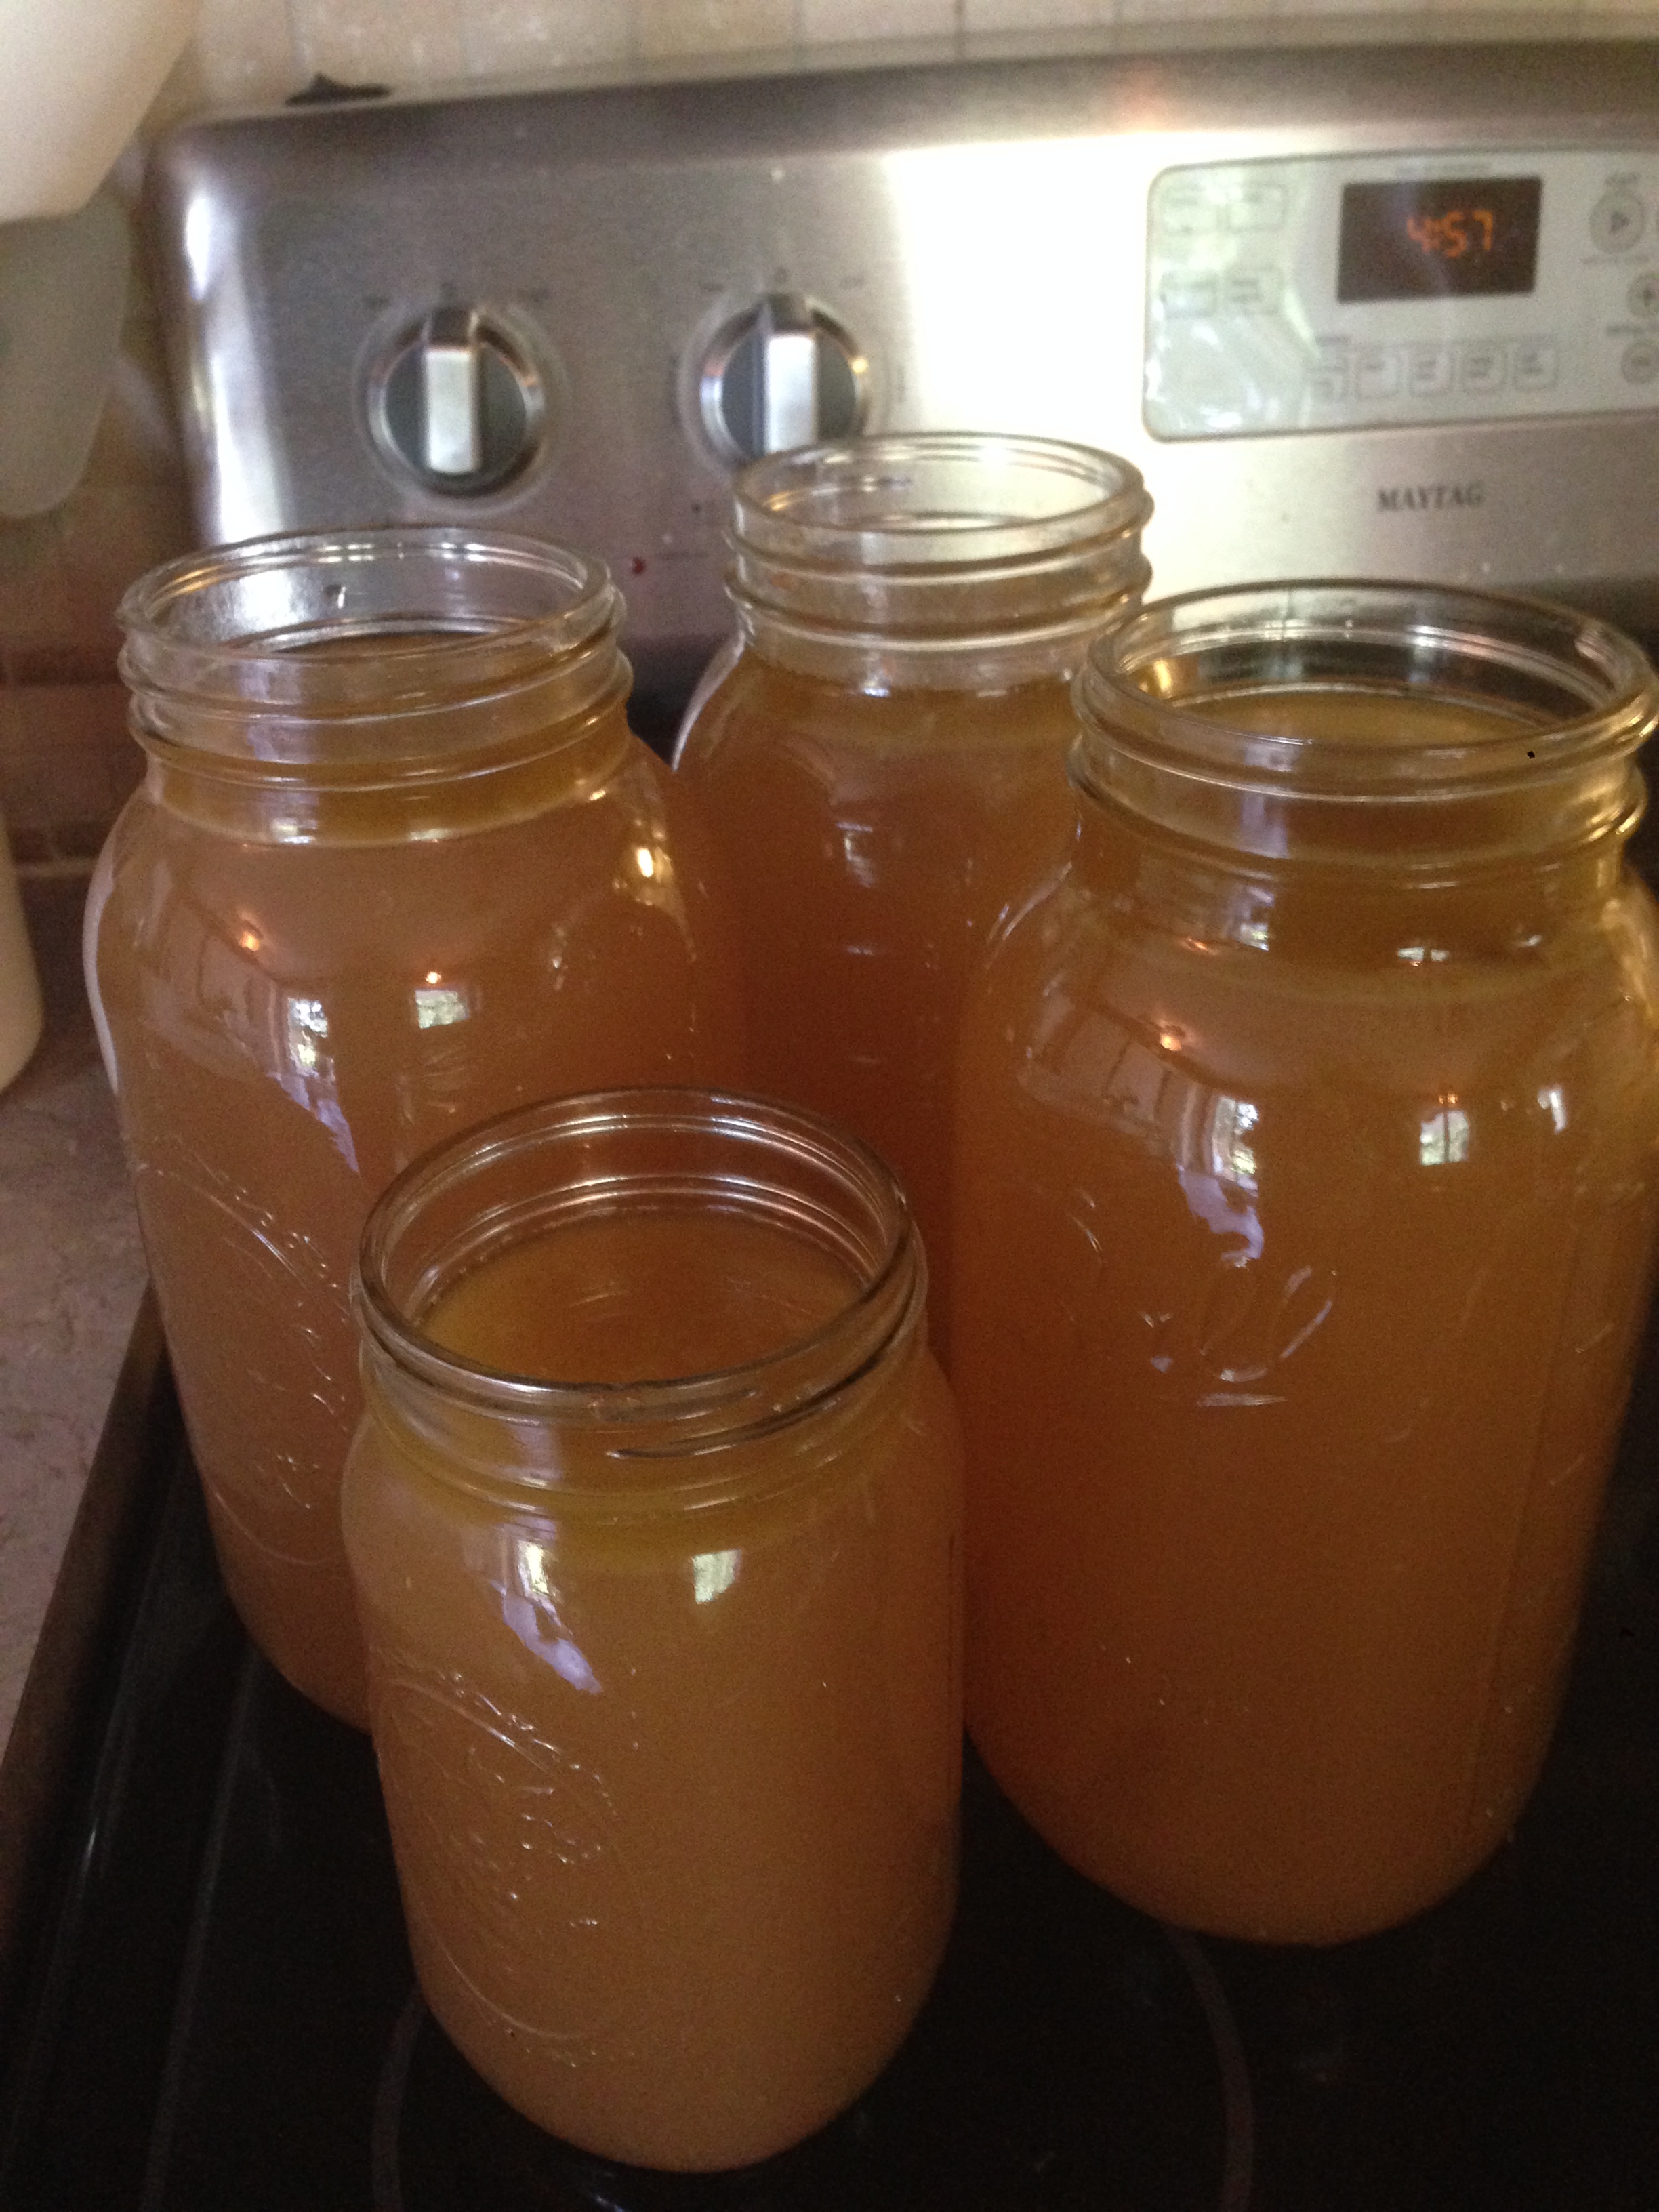
This next step is kind of messy (sort of like de-boning a chicken which is not my favorite task. I don’t like getting all greasy, but I do it anyway…..) I let the broth cool a bit, and when it’s warm I take a metal strainer (not your good nylon strainer that you use in ferments…..they will melt). Put the strainer over a large measuring cup and ladle the broth through the strainer. The strainer catches all of the bones and such to be thrown away. Then pour the broth into quart or half gallon jars. If you are going to freeze part of your broth do NOT use half gallon jars. We have broken several….they don’t seem to handle the freezer well. Fill your quart sized jars up about 3/4 way up, leaving plenty of room for expansion when it freezes. Glass will crack in the freezer if your jars are too full. The pics below I am not planning to freeze, so I have them filled clear to the top.
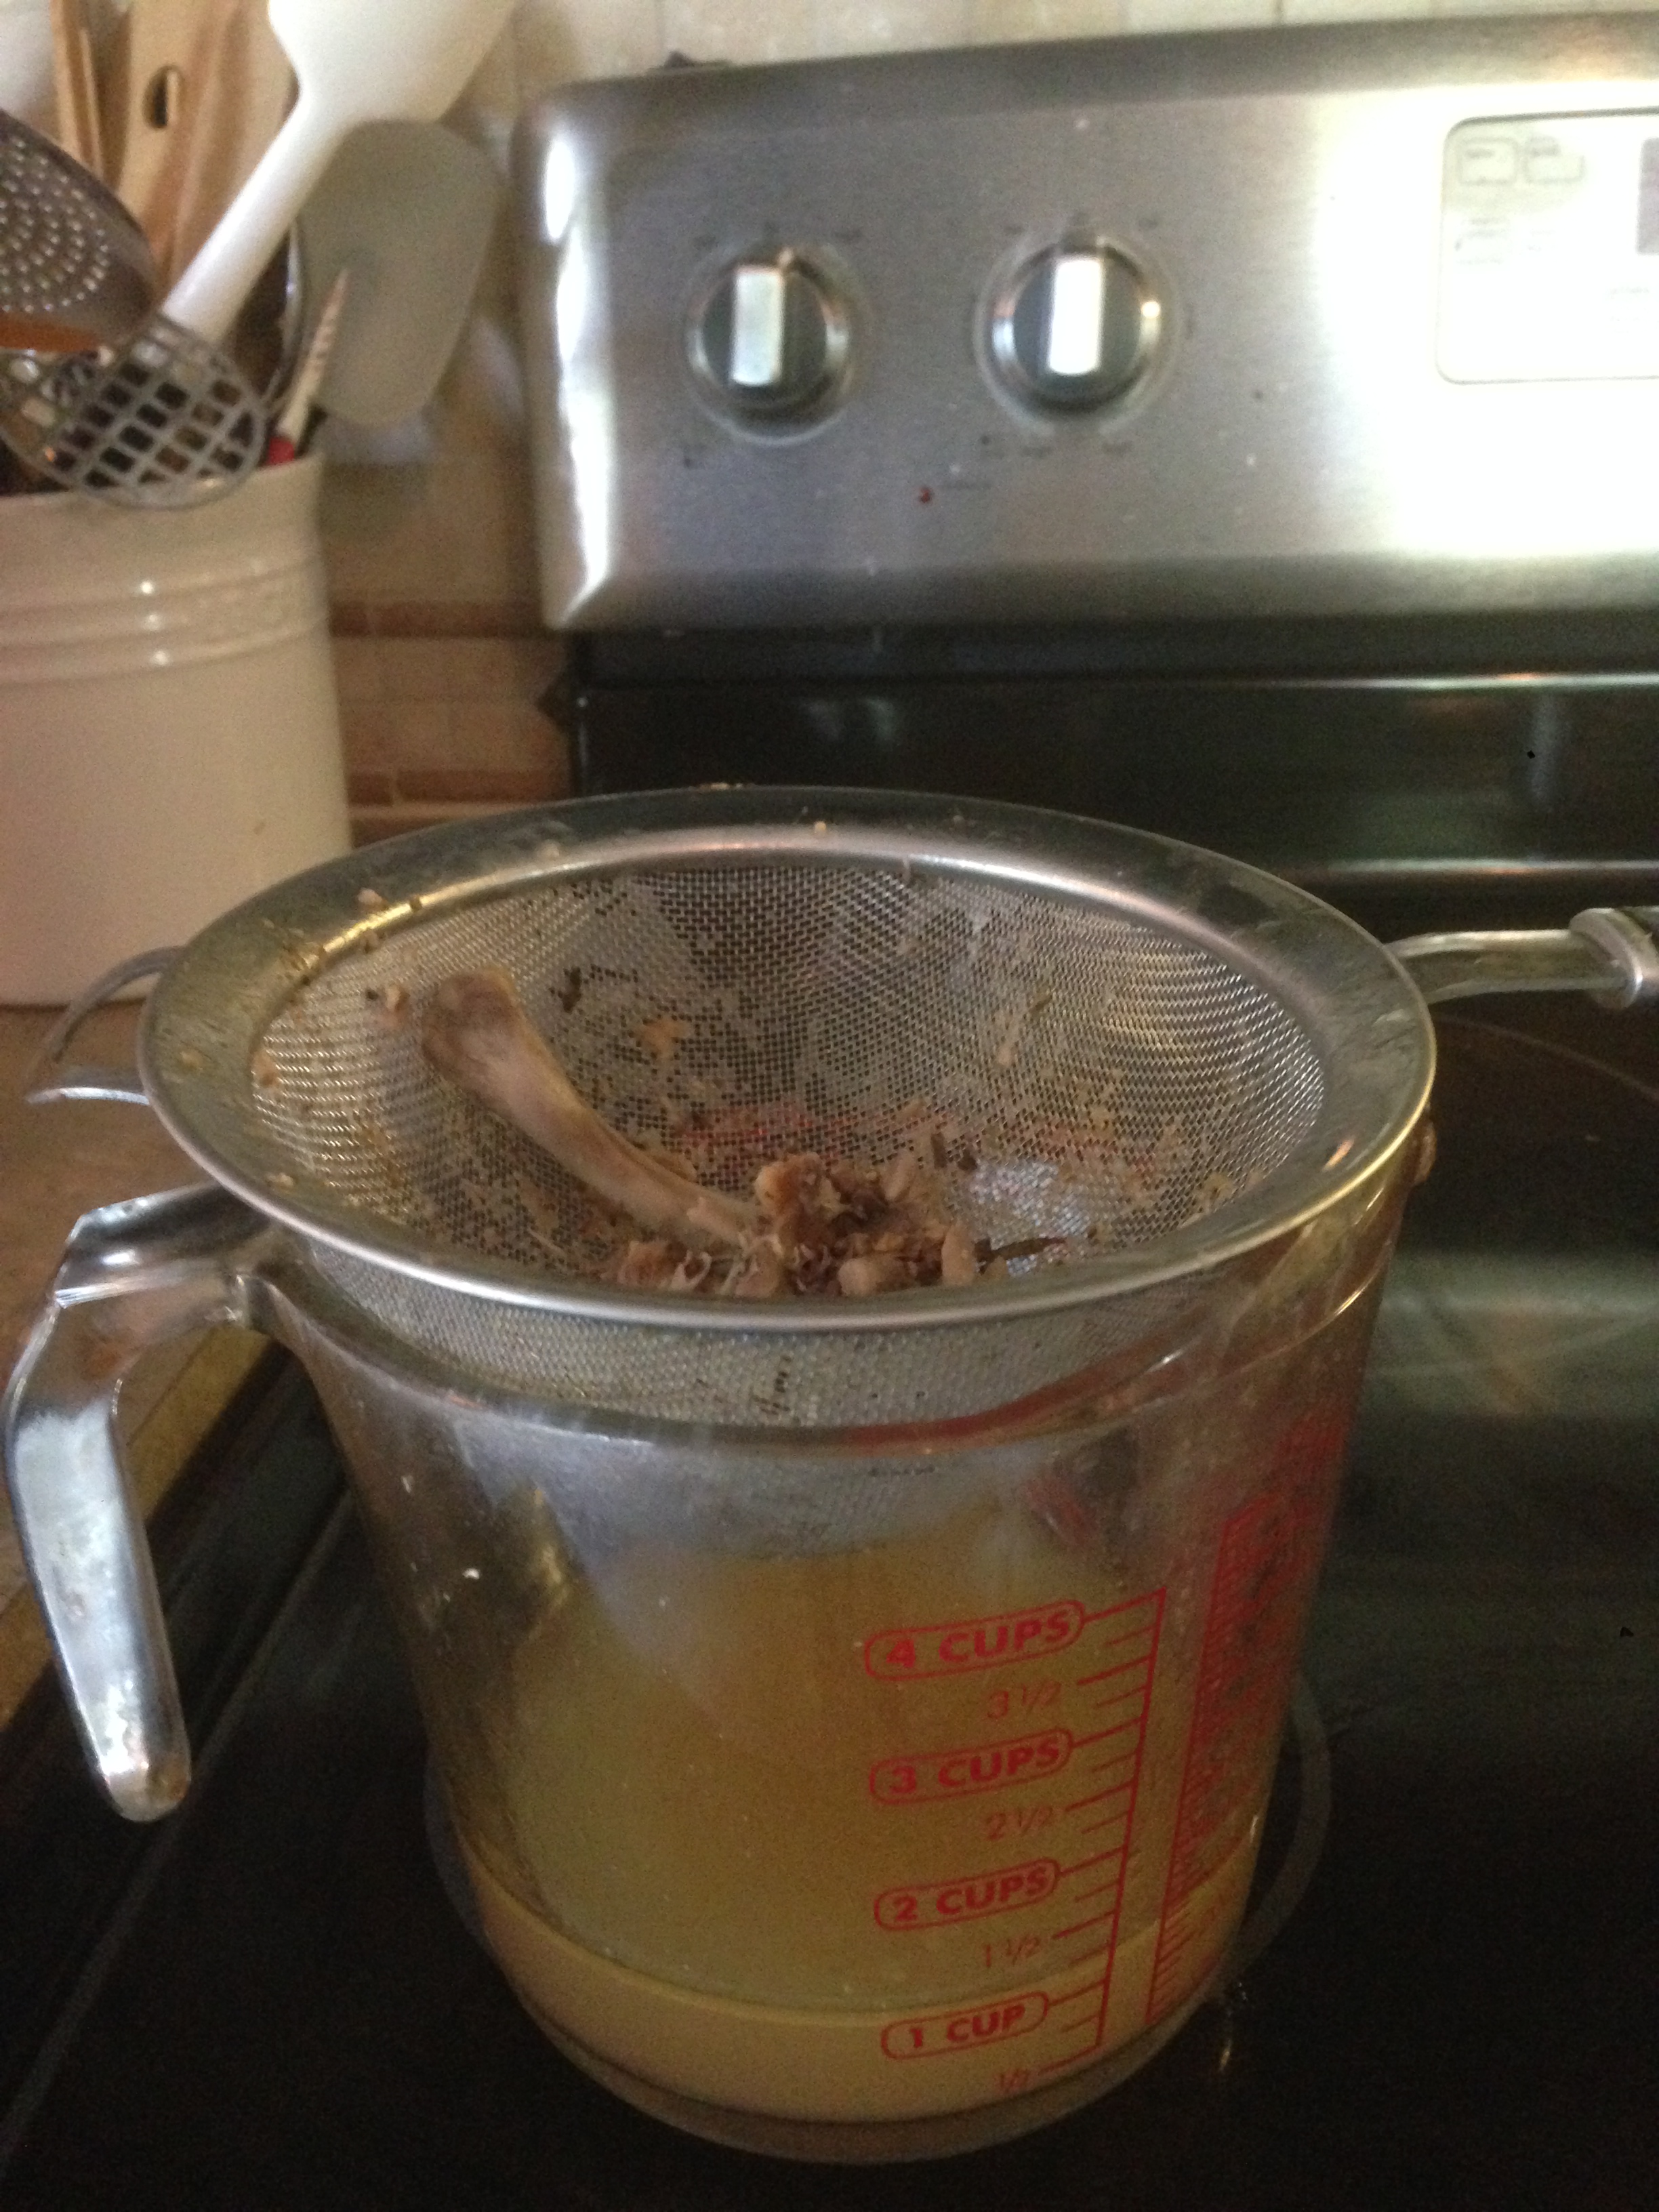 Straining the bones out
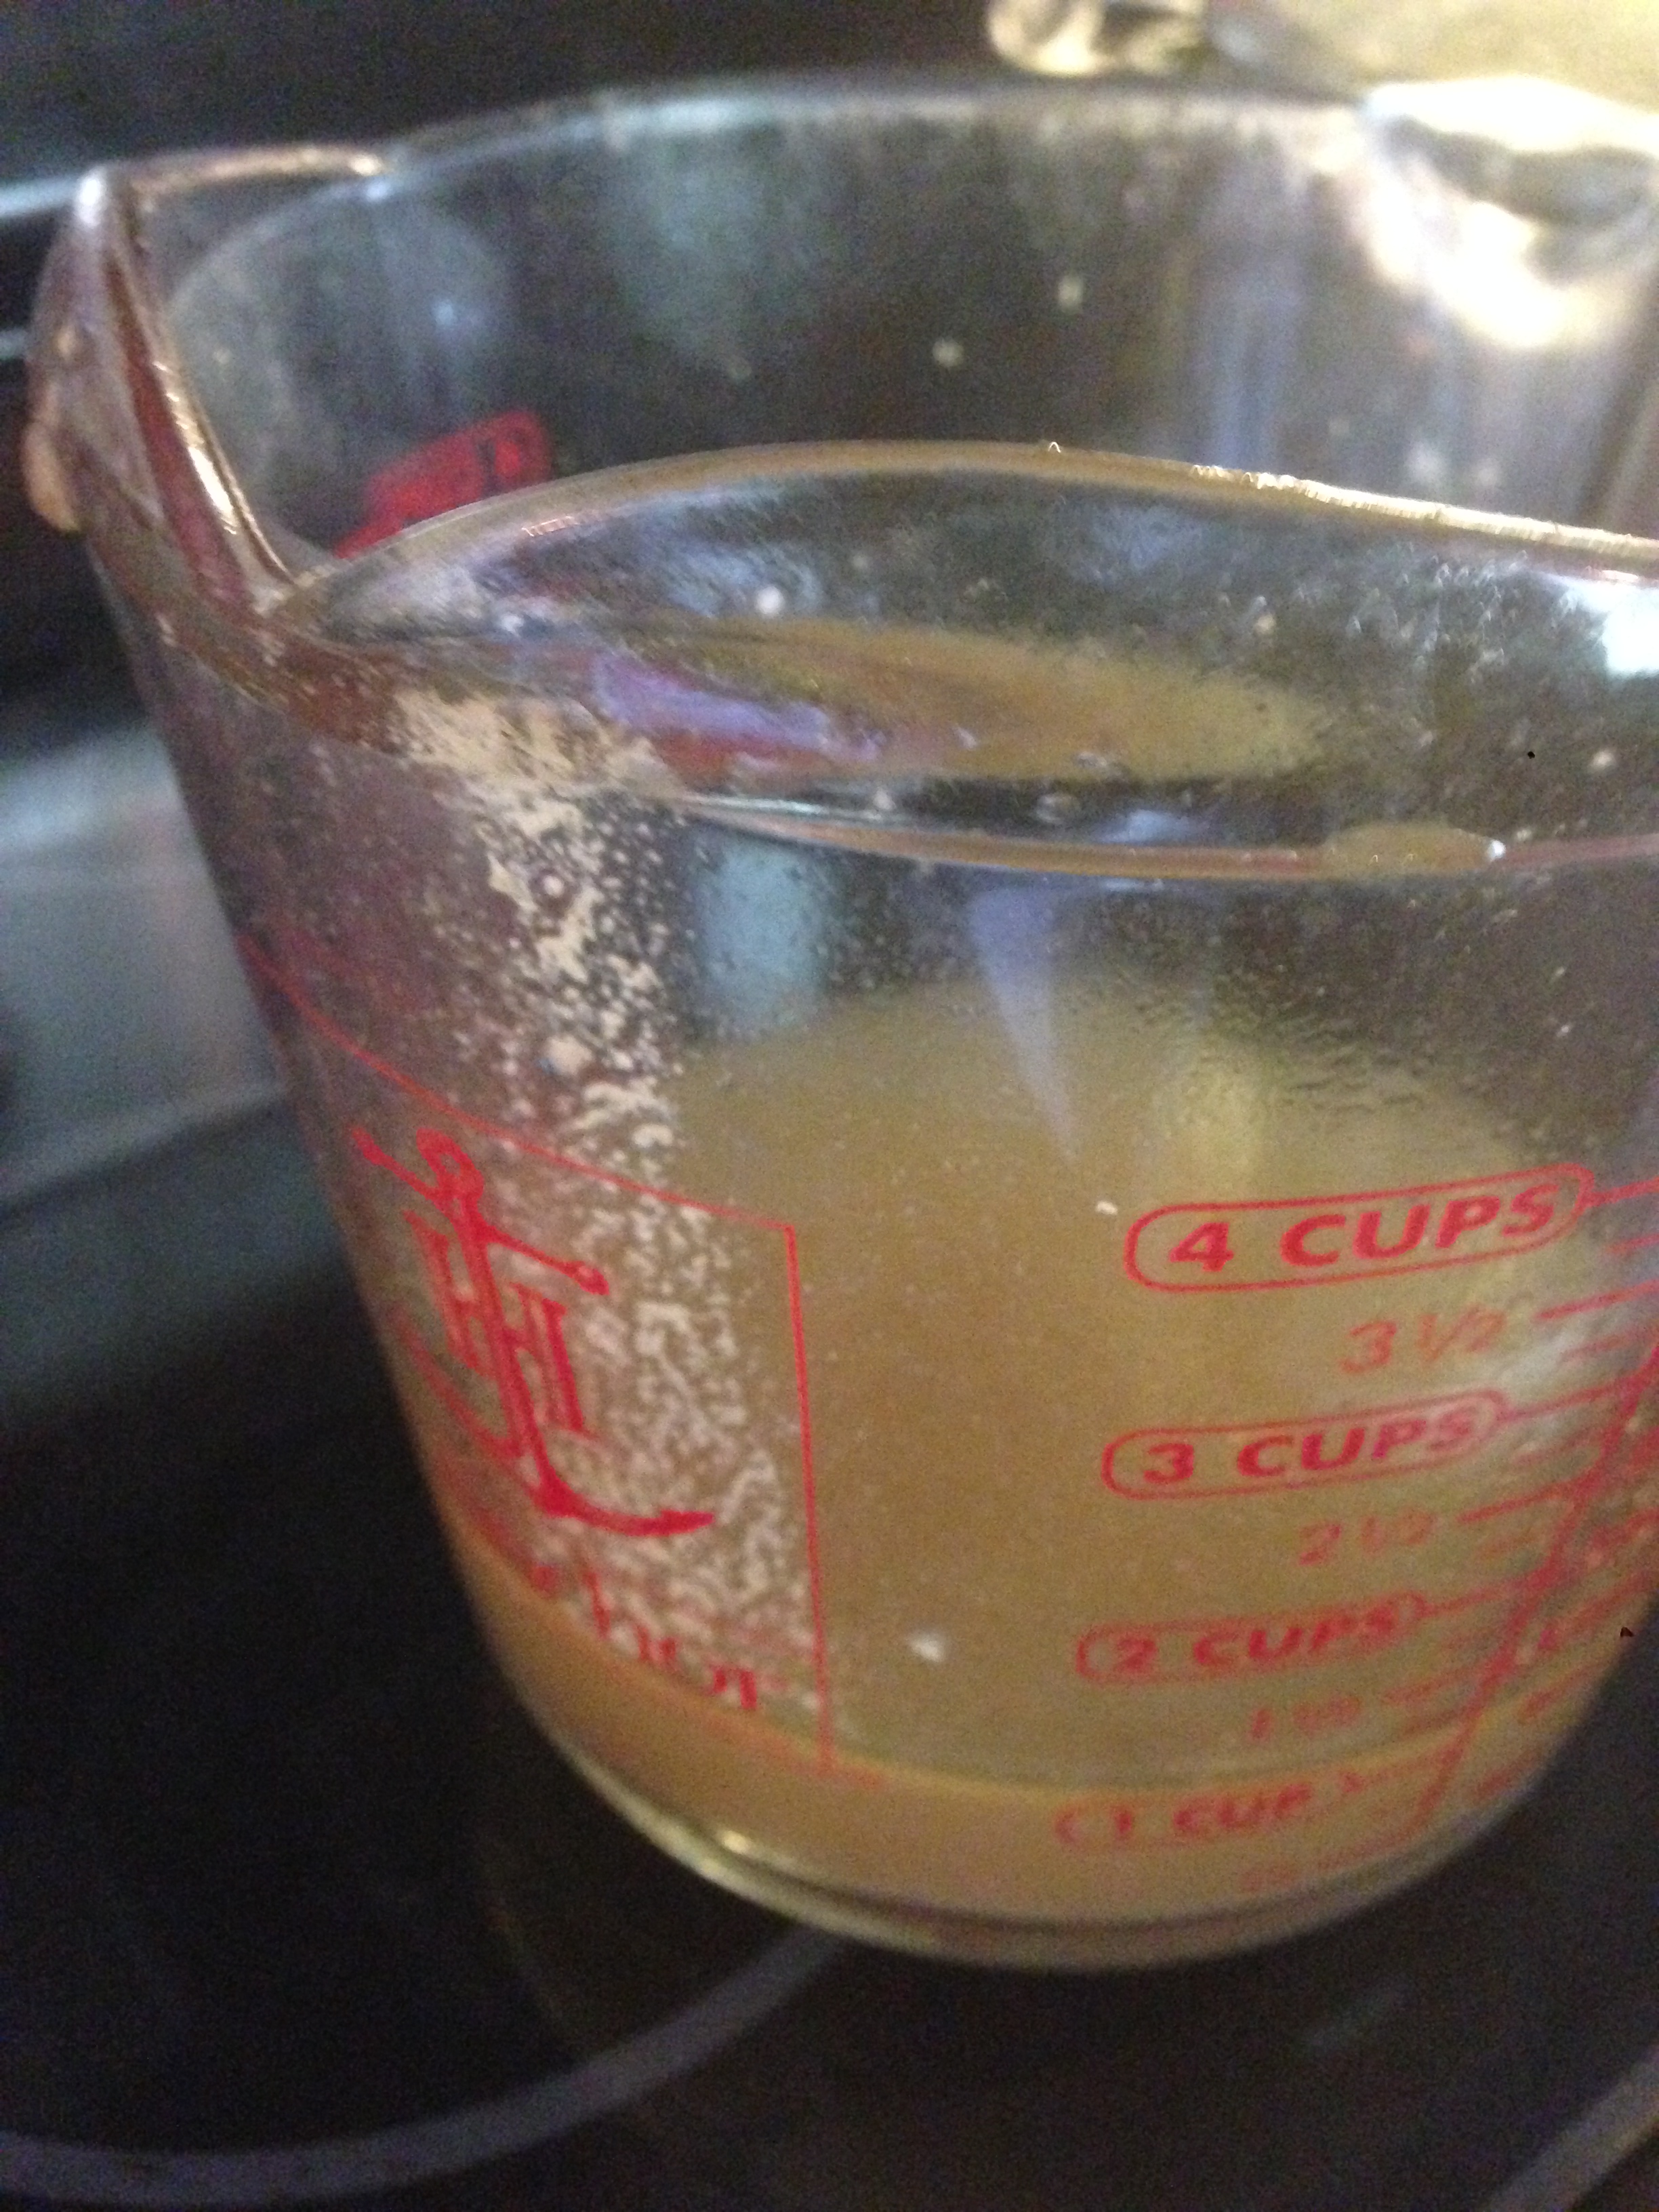 See this sediment. This is literally bone that has disintegrated into the broth. This is part of the reason it’s so full of minerals.
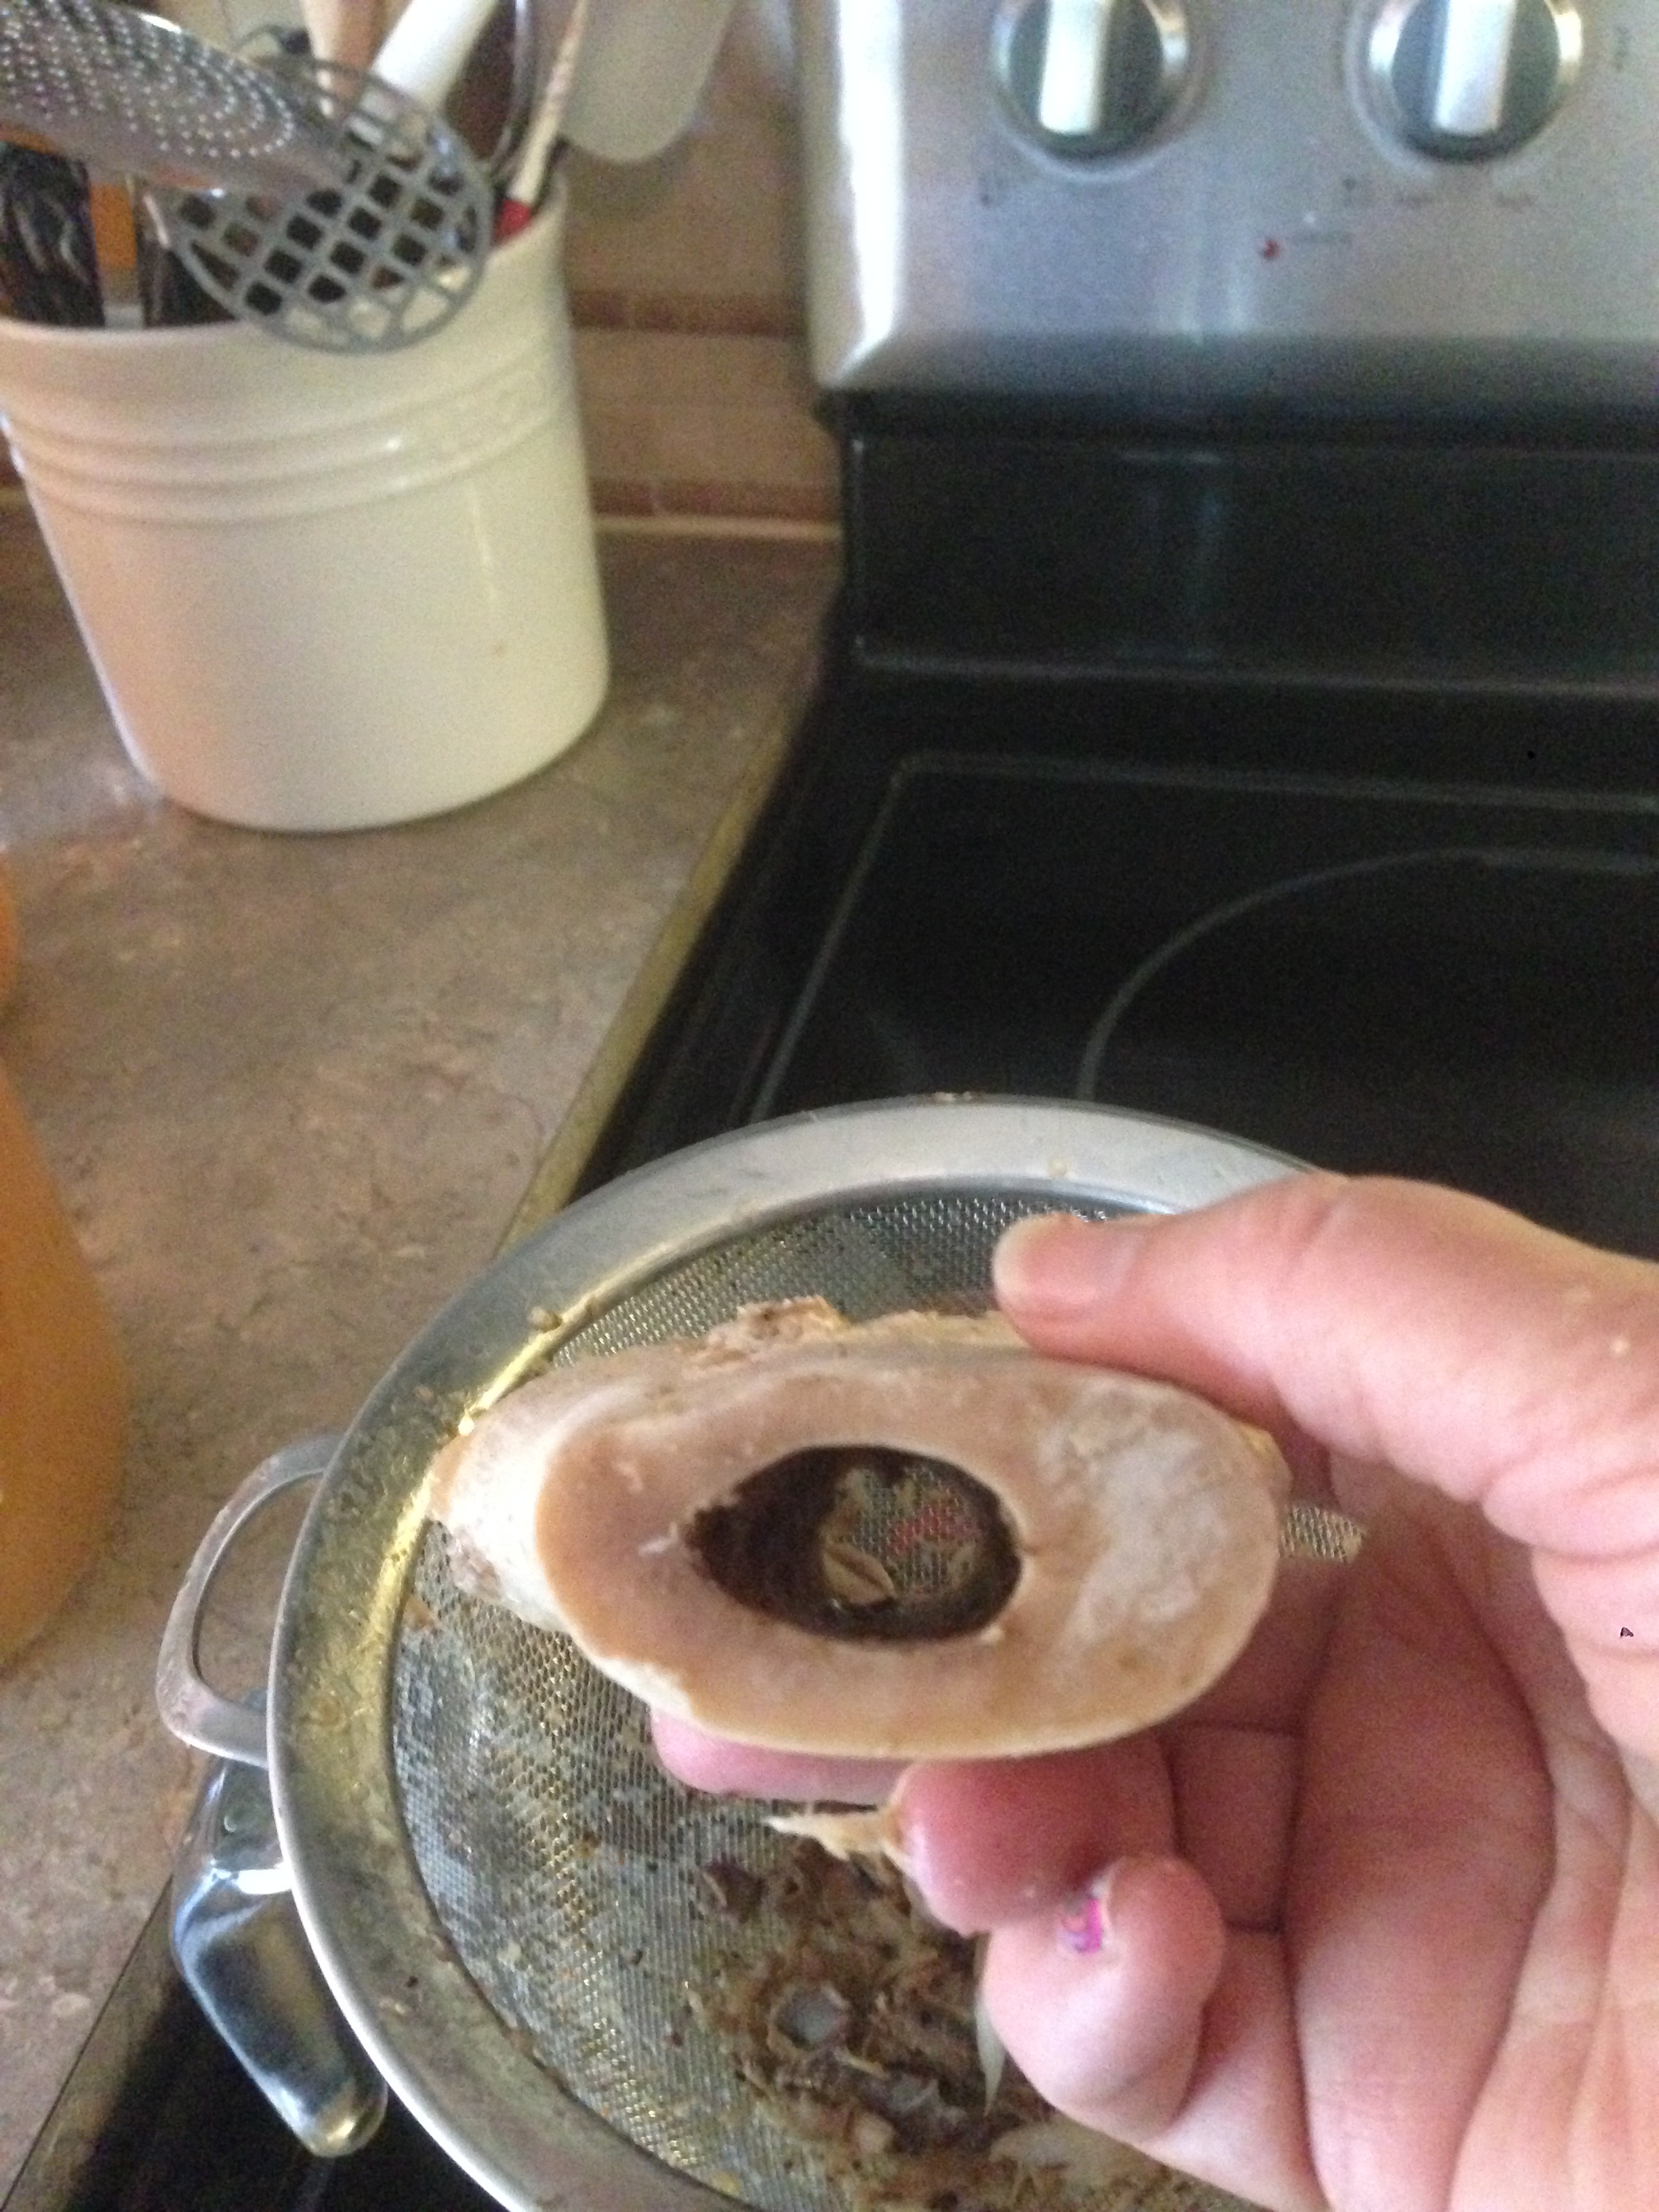 Where the marrow was…
The marrow had to be tapped out of the bone up above. You will see it as a gelatenous mass (think of what a roast bone looks like when it’s been baked). You tap in out, mash it up and you can add it to the broth. If you look closely you can probably see some floating in the top of the jars. I always use it because it is so healthy for you.
That’s pretty much it. Your stock is ready to go. You can use it to make soup or add it to casseroles instead of water in a recipe. You can heat up a cup and drink it. Sometimes when I do that I will add a few spices…..whatever I’m hungry for at the time.
You can Google bone broth and read all kinds of information about it. Here are a few more links if you want to know more
http://www.naturalnews.com/040493_bone_broth_immune_health_nutrients.html
http://doctorauer.com/benefits-of-bone-broth/
And here is an article of GAPS if you want to know more about it.
