
I have had several people lately ask me how to make liquid soap. Whether it be Castile or a body wash, it’s all the same process. The pictures included in this blog were from when I made Jewel Weed soap so the paste that is being made is dark brown. If you were to make a body wash, it would be slightly yellow, so don’t expect your soap to be the same color.
Hot process soap making take a LOT of time. I use a crockpot so I don’t have to stand at the stove for hours making sure the temps stay at a good temperature. It also takes a different lye than cold process soap…..yes, it takes lye. All true soaps require lye to saponify the oil and water into a new substance….soap. You will see people out there saying that lye isn’t good and you should never use it, but if you are going to make soap you have to use lye. The body washes etc. that you buy in the store do not use lye, but they are not soap, they are detergents made from petroleum products….in my opinion you should not use THOSE on your skin as the petroleum goes into your blood stream….yuck! Anyway, I digress. The lye that you use for hot process soap in Potassium Hydroxide. If you use Sodium Hydroxide (which is what you use to make bar soap) your liquid soap will not saponify correctly….believe me, I made that mistake with my second batch of castile soap and it was not correct. Lesson learned 🙂
I am not going to give you a specific recipe, as there are many out there, and it depends on whether you are making Castile soap, shampoo or a body wash. These are just specifics on the process.
First you heat up your oil. Measure and put your oils in the crock pot and turn it on high so they will heat up faster. Don’t mix your lye with the water at this time, The oils take longer to heat than the lye process that I will explain in a minute.
You will need 2 thermometers for this process. One to test the temperature of the oils, and one to test the temperature of the lye water. You want your oils to heat up to 160 degrees. I would give this about 30 minutes. If the oils heat up and you have not got the lye mixture cooled down yet, then turn your crockpot to low.
With glasses, and a long sleeved shirt to protect your arms, take your lye that you have measured out, along with distilled water (don’t use tap water because of the minerals etc.) and while stirring the water, slowly pour the lye into the water. I use a plastic bowl that is only used for that purpose for my lye mixture. In fact, the crockpot I use and all the other supplies are only for soap making. I don’t mix my cooking gear and soap making gear together. I used a wooden spoon, specifically set aside for soap making, and the lye ate it up, so I would recommend a stainless steel spoon. So, back to pouring the lye into the water…..gently stir the water as the lye is being poured in, being very careful not to spash any out as it is very caustic and will burn. The water will immediately surge up to 150 degrees or higher and you will need to let it cool down to 140.

This is my lye and water mixture cooling down to 140
In the picture above, the water is dark brown because it was infused with Jewel Weed. Your water will most likely be clear. When your lye mixture is cooled to 140 and your oils have heated up to 160 you pour the lye in a steady stream into the oils, stirring constantly.
I invested in a stick blender because it is wonderful to help stir the soap for this next step, which is rather long.
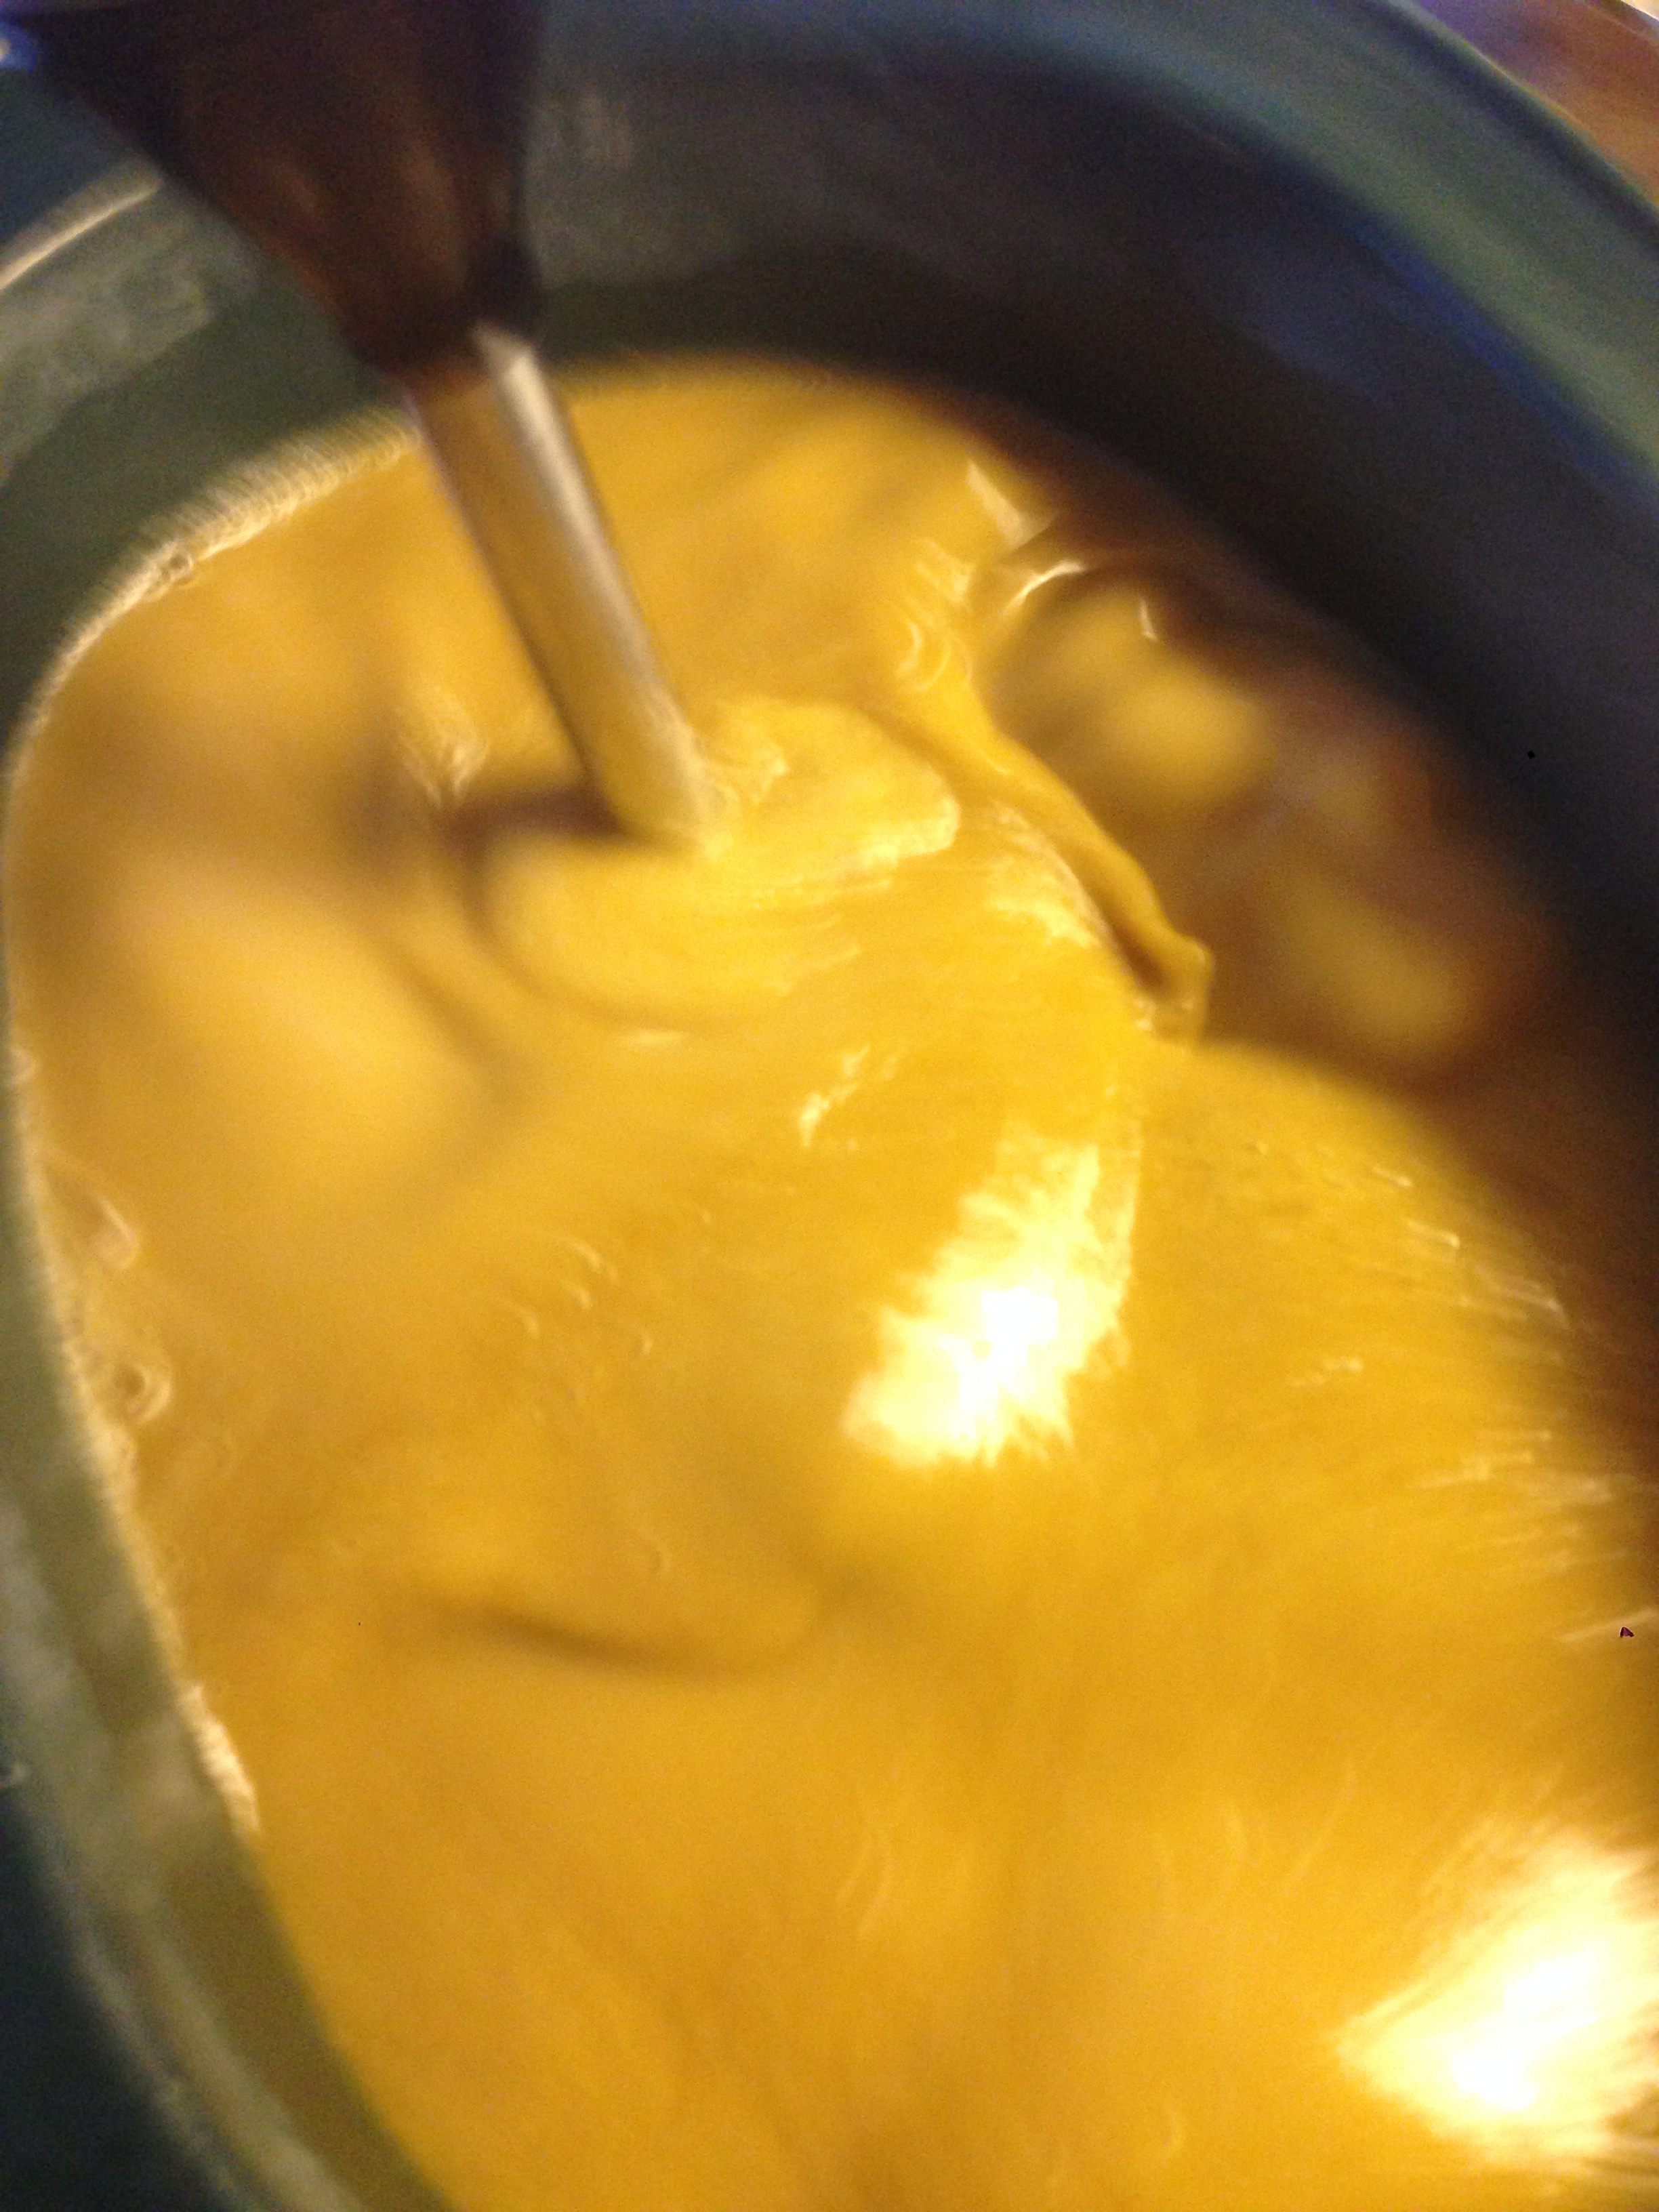
Here the soap has been cooking for a few minutes. It starts out thin and will thicken to different stages while cooking
The steps that your soap will go through are a thin liquid as they are coming together, then a taffy stage, a mashed potato stage and finally a stage that can hardly be stirred. Below are pictures of each. This process can take a couple of hours. It’s not an exact amount of time between steps and that’s why the stick blender comes in handy as it really saves your arm. I did burn one out though, so I use the blender for a few minutes than stir back and forth.

You can see here that the soap has changed a bit. I call this the cream of wheat stage 🙂
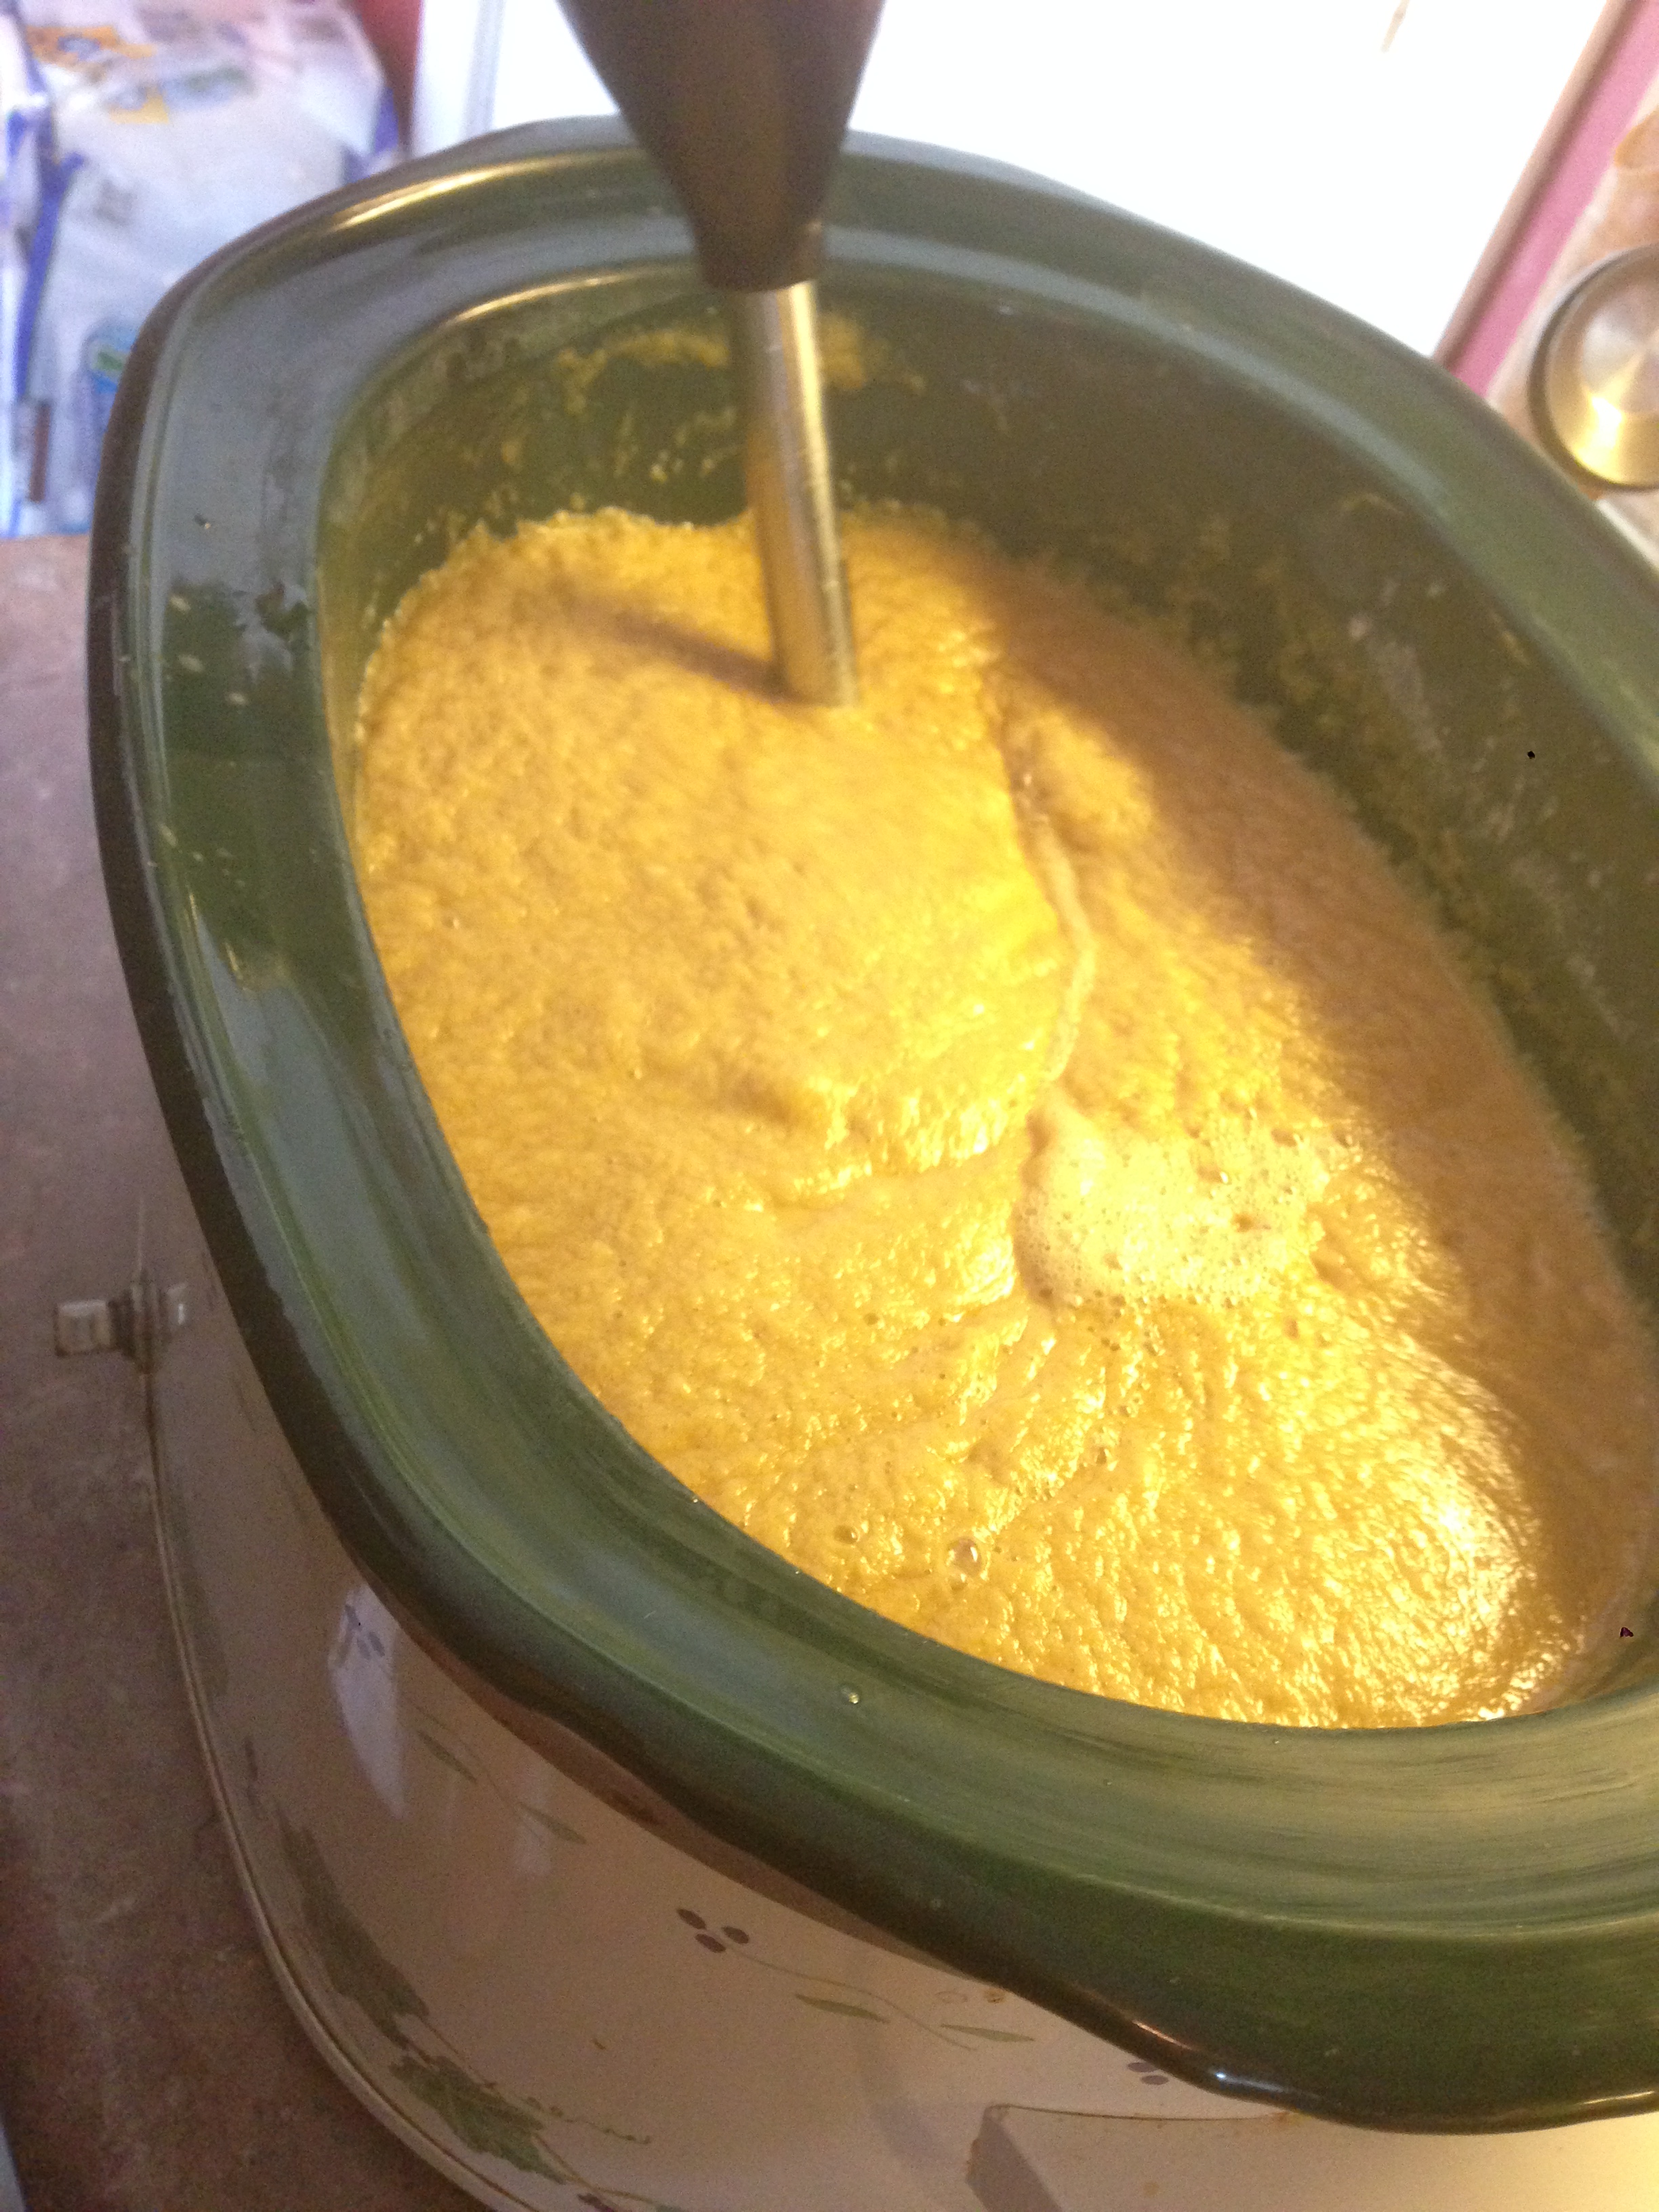
See how it is getting a little more grainy looking?
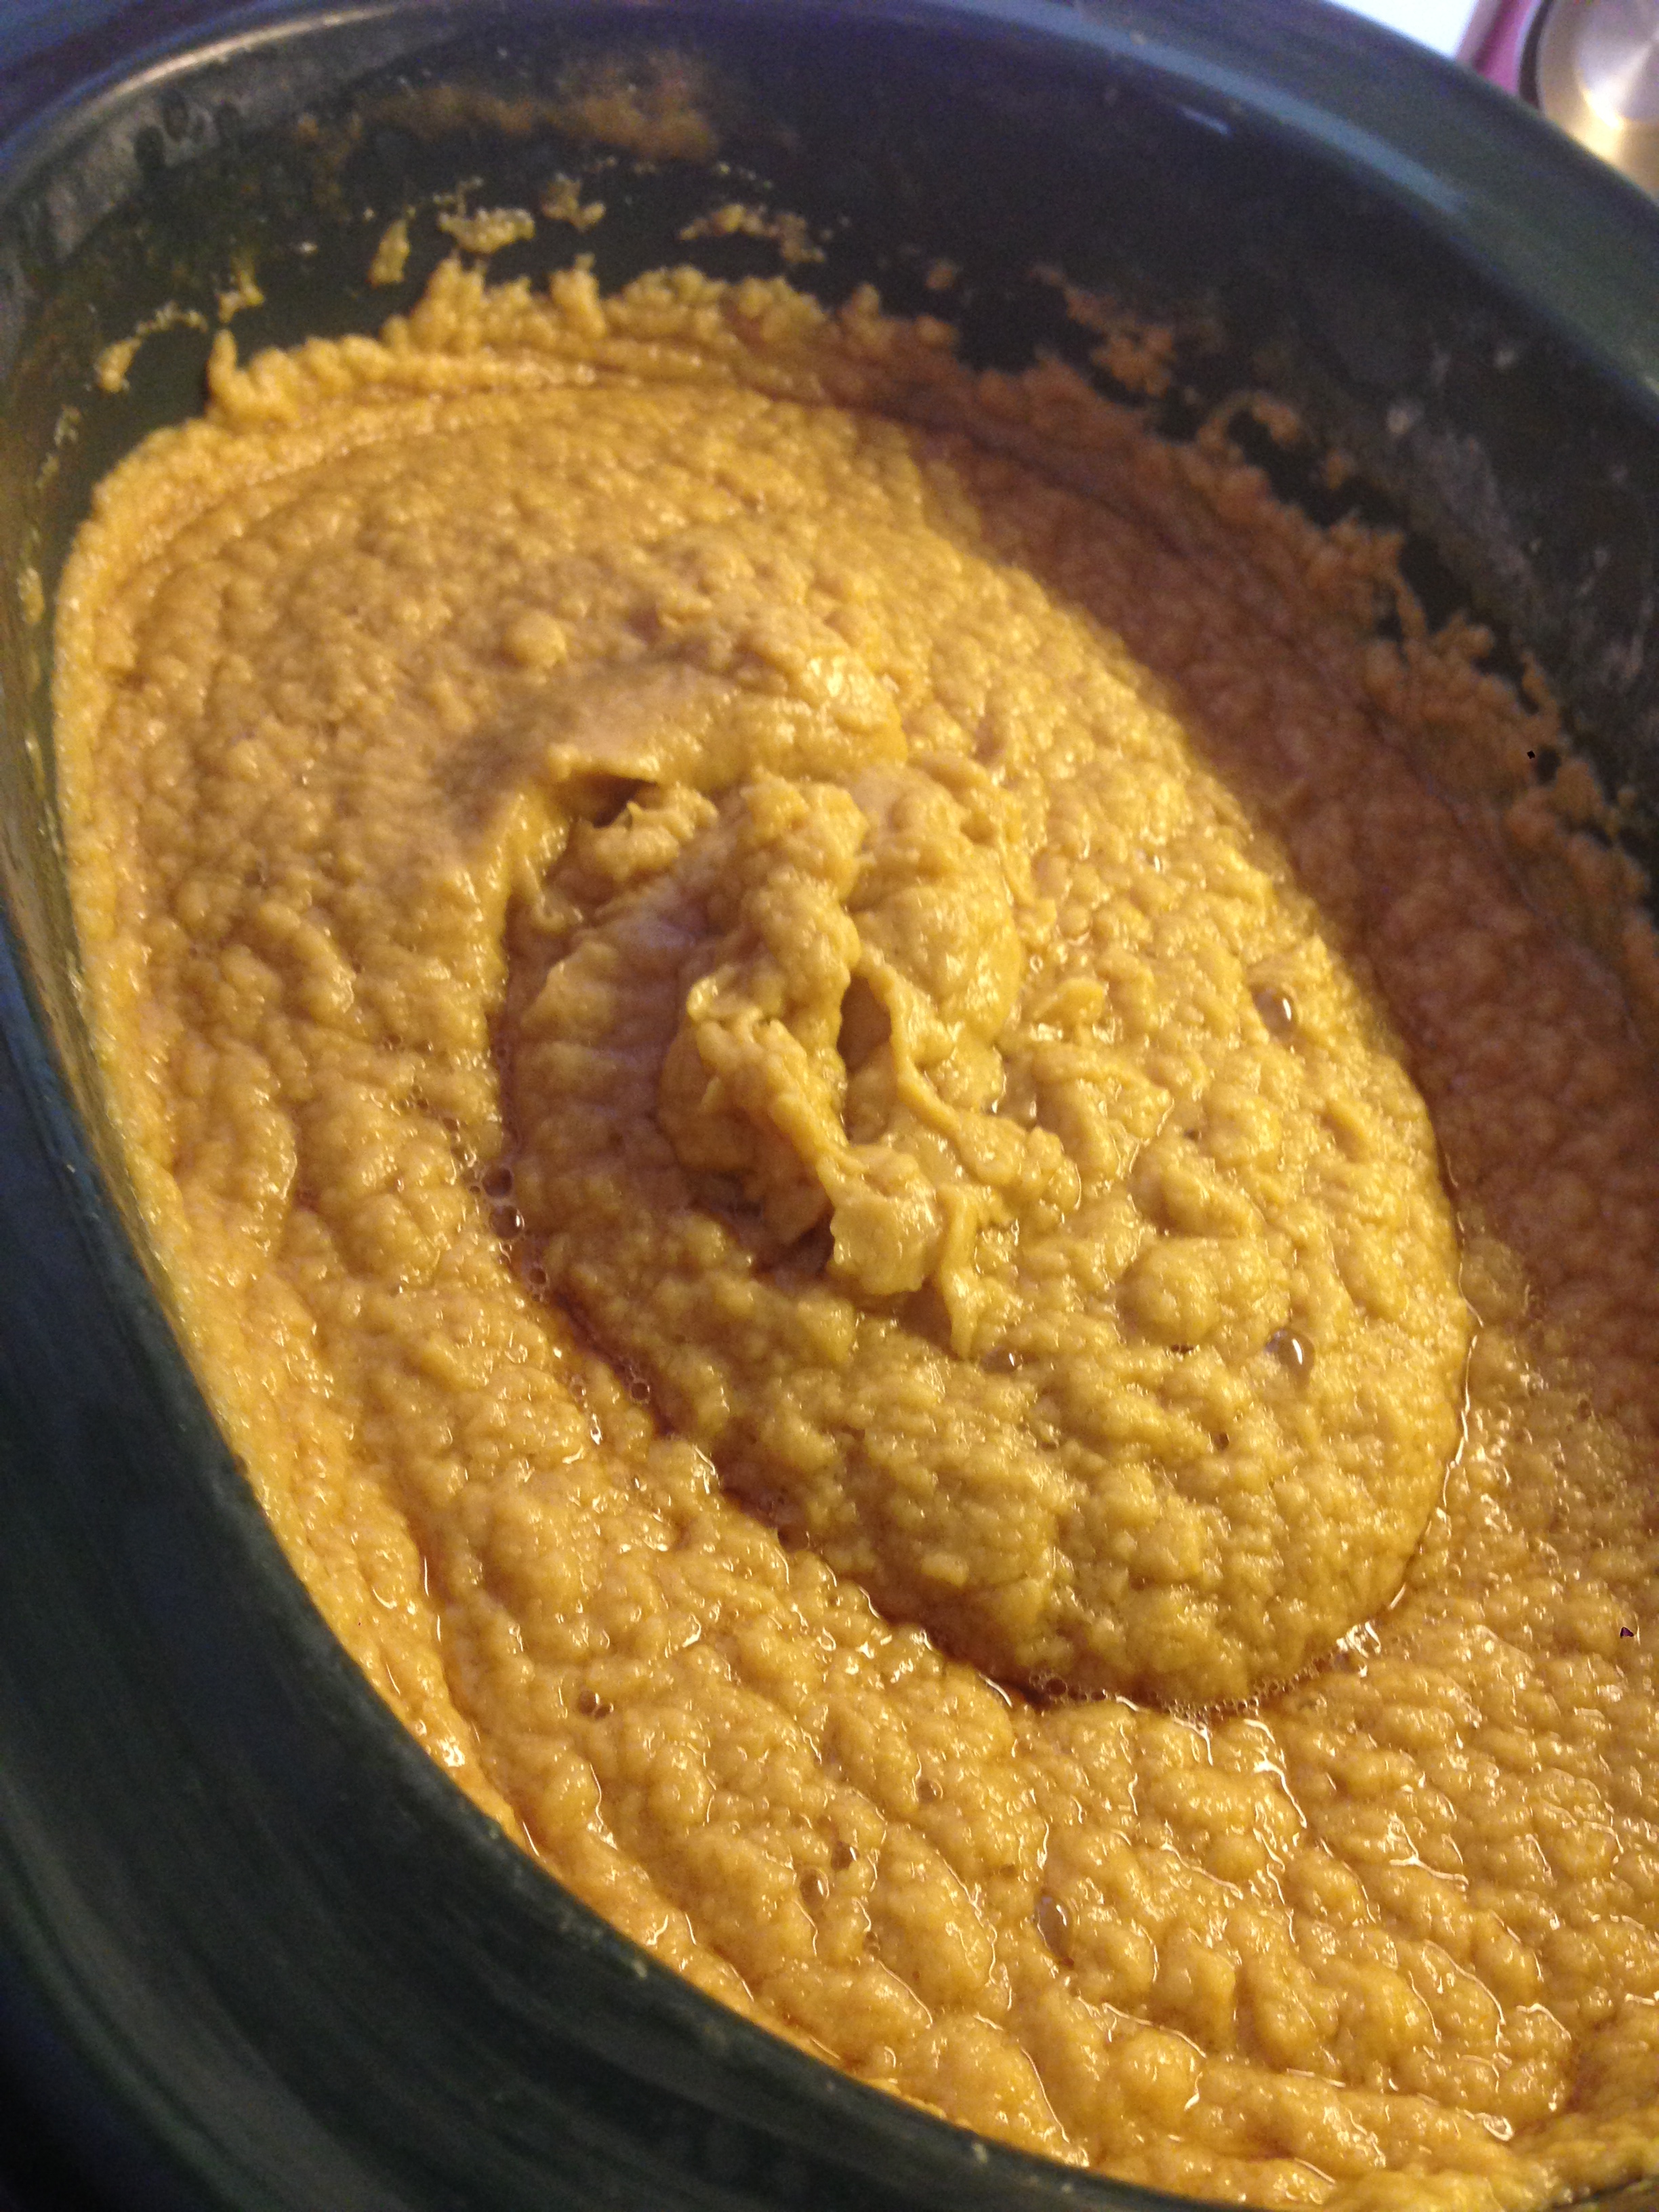
This is mashed potato stage
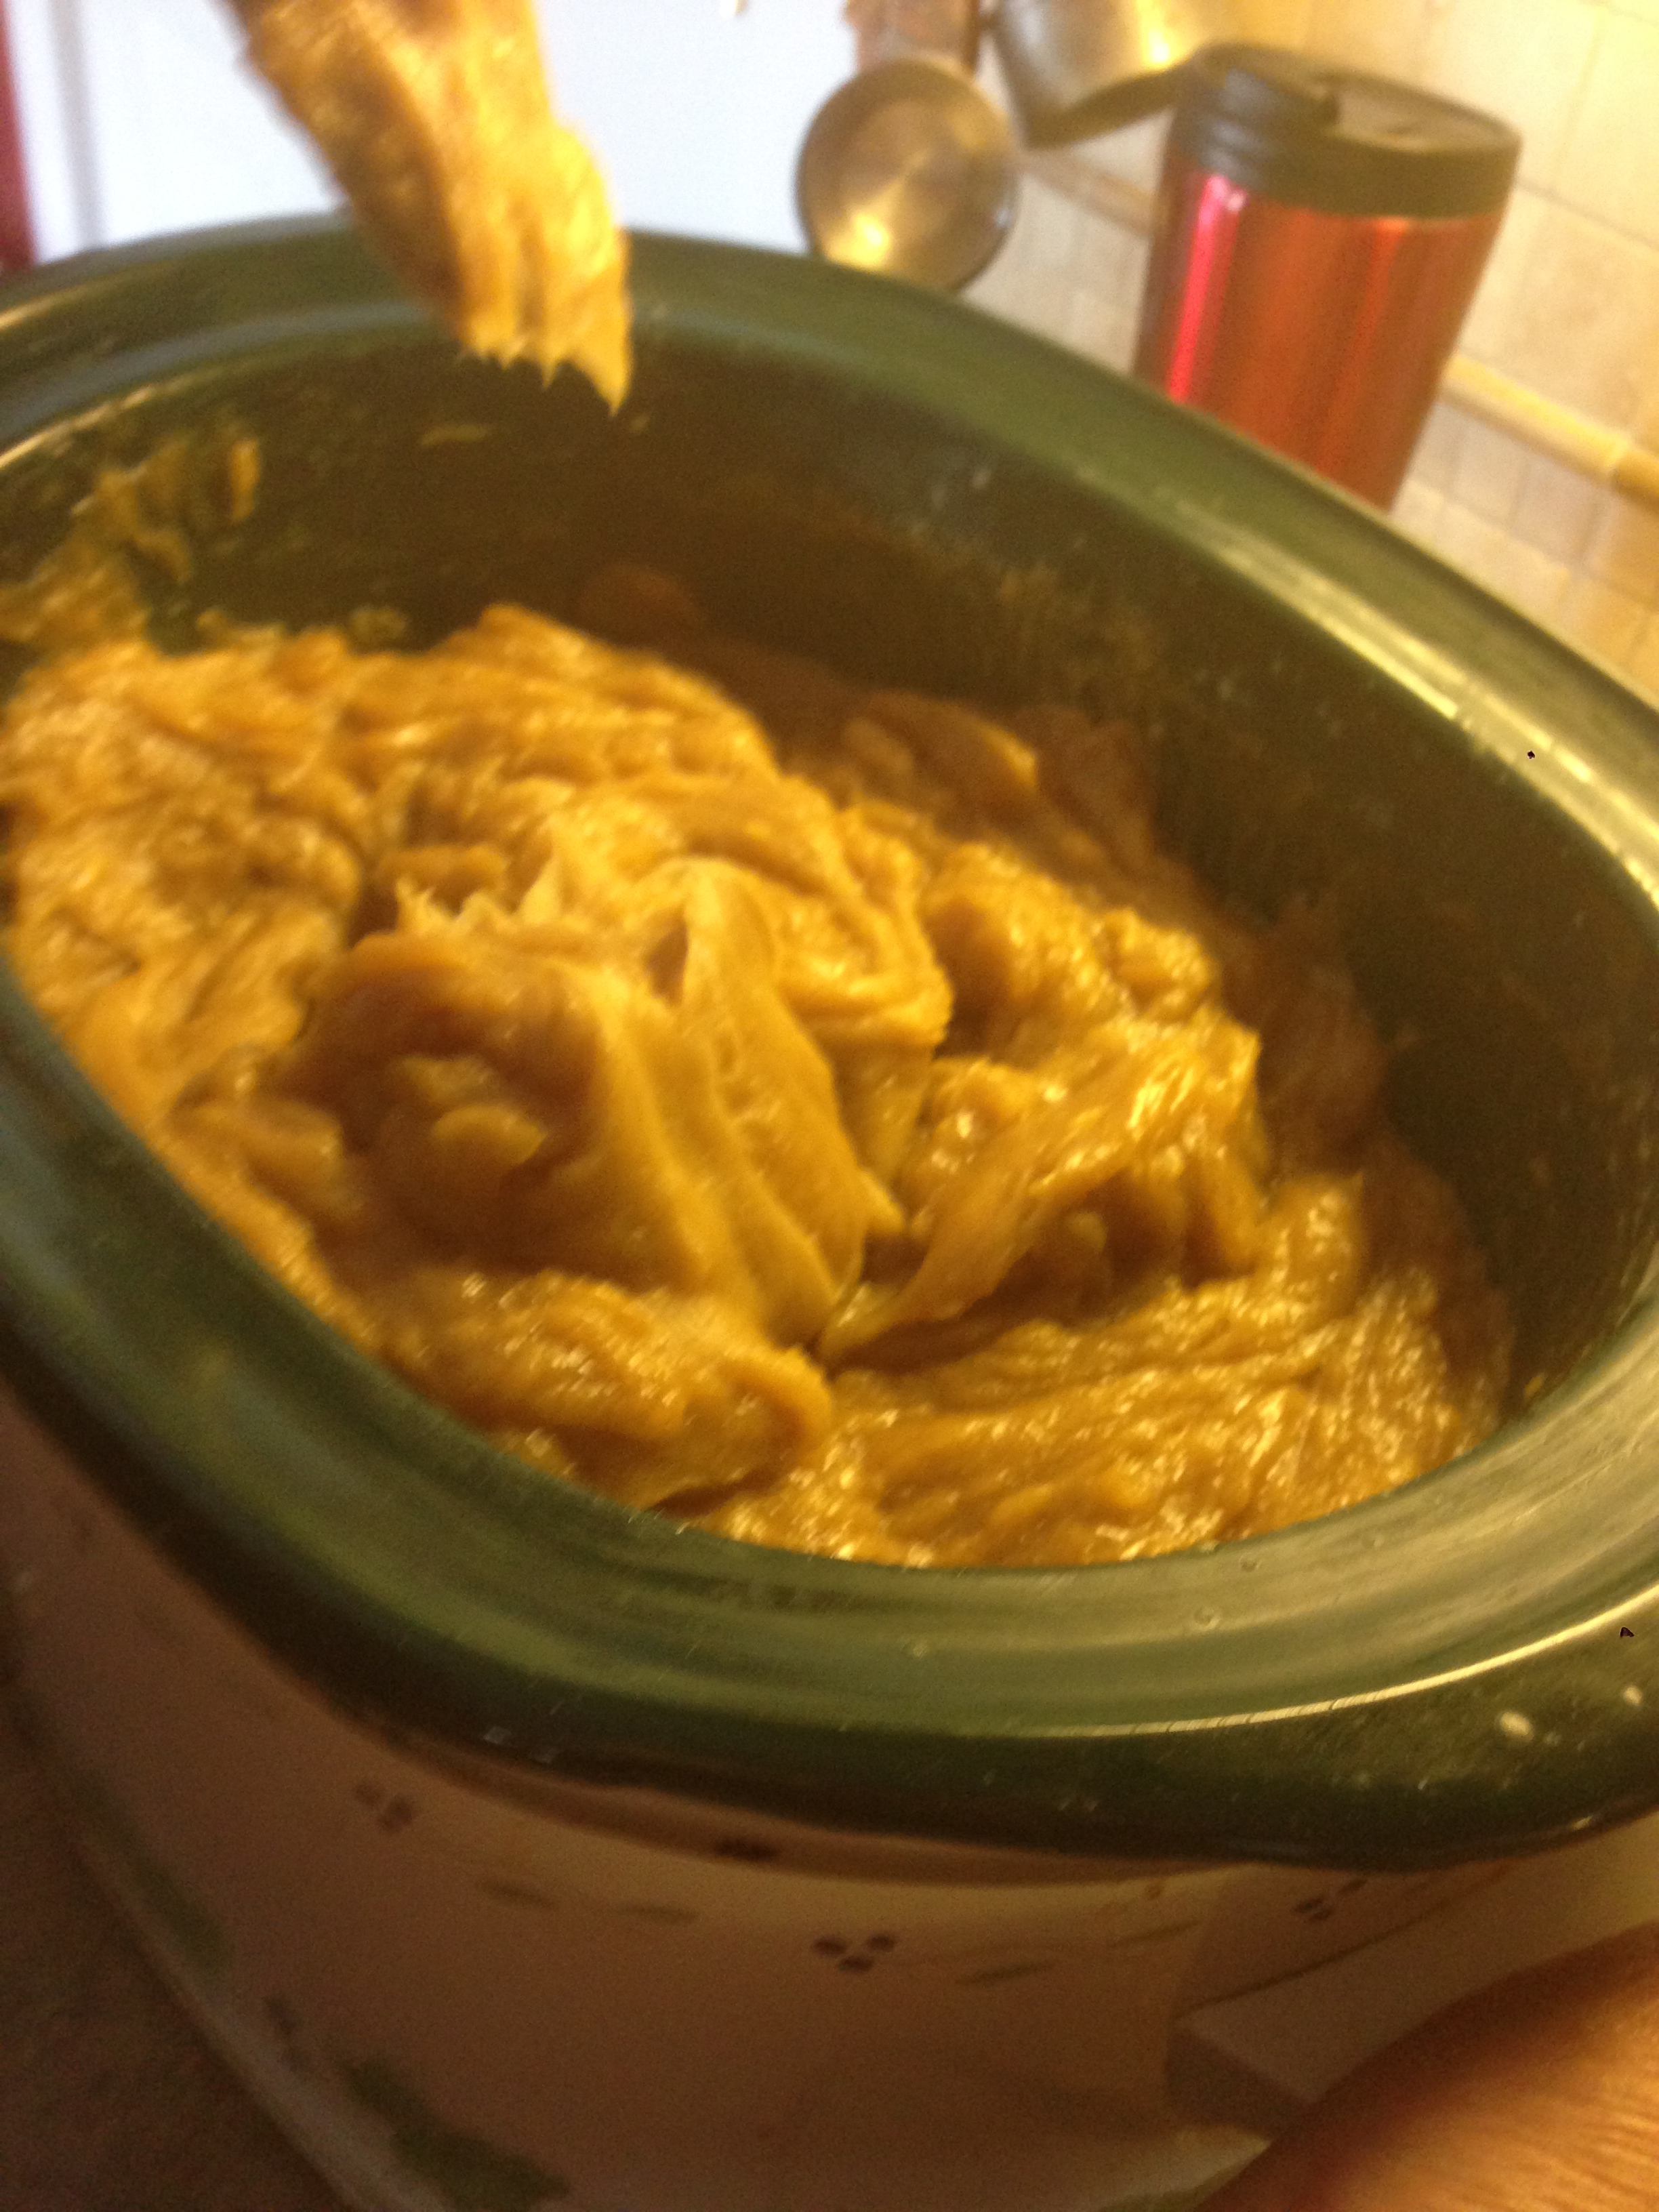
Now the paste is at a point where it is very difficult to stir. Now the cooking begins. Just put on the lid and check it every 30 minutes or so.
Here the soap has cooked for the first 30 minutes. Take your stainless steel spoon and stir it very good. Then just put the lid back on and check again in another 30 minutes.
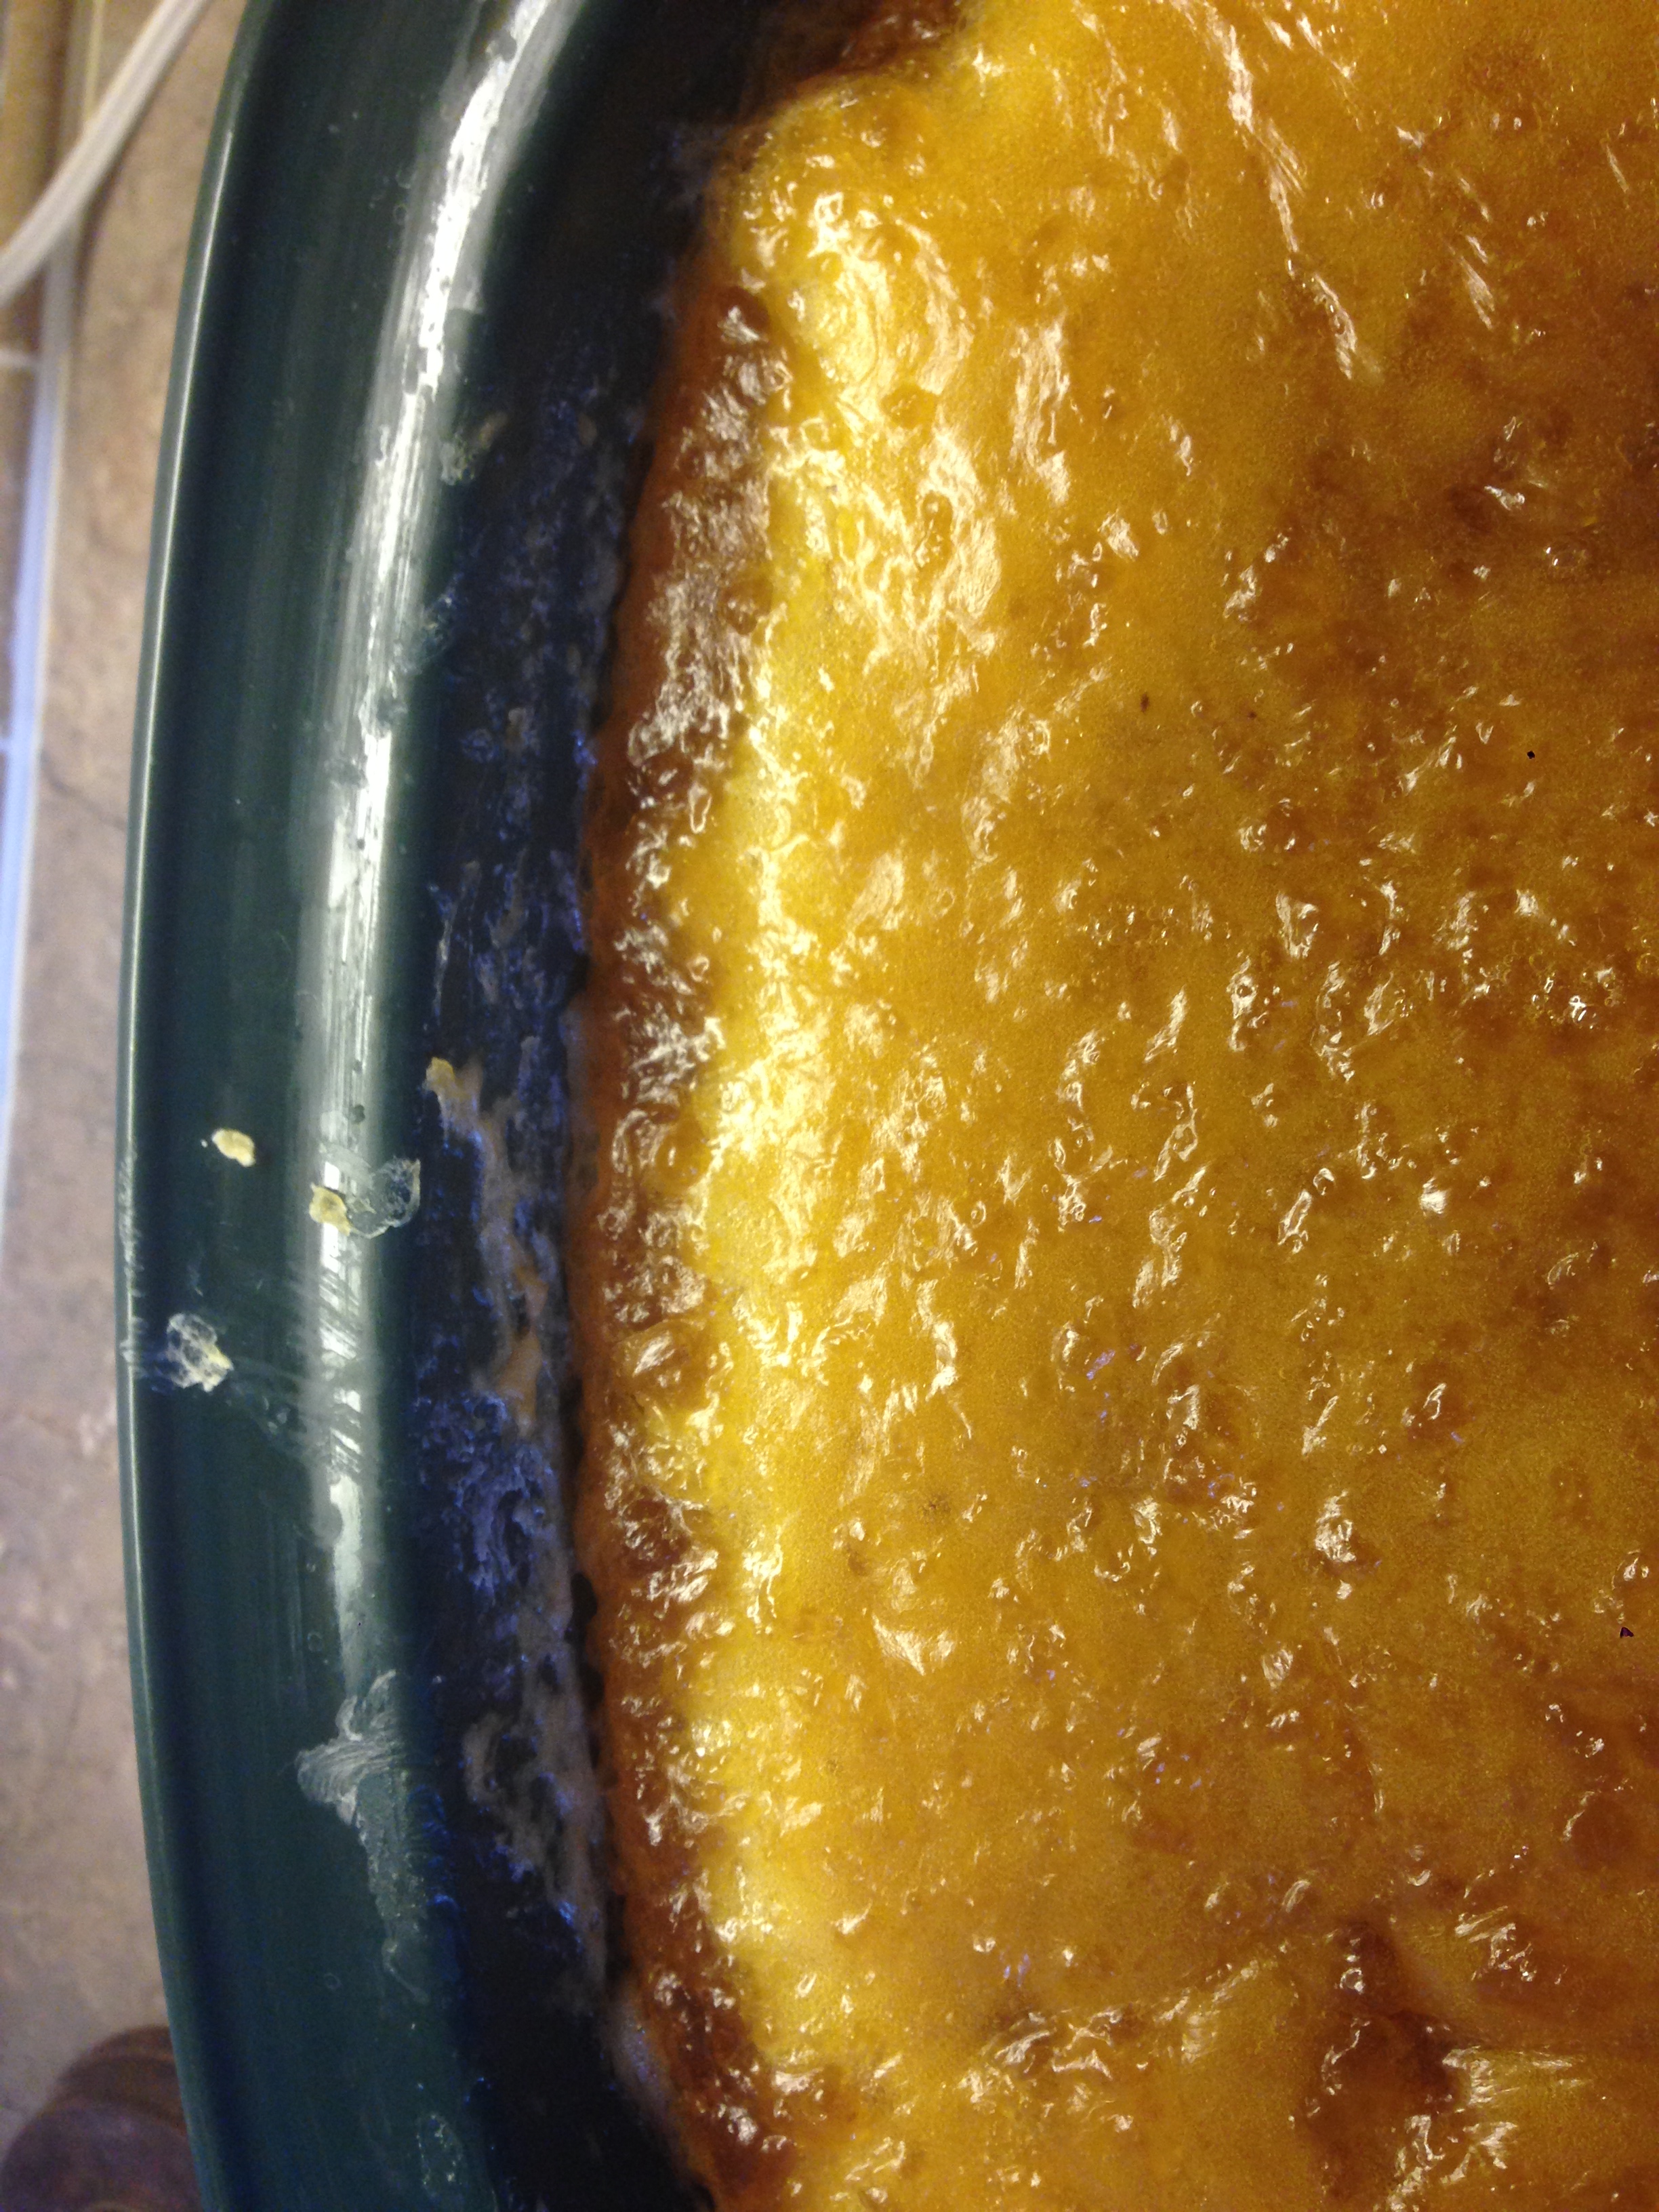
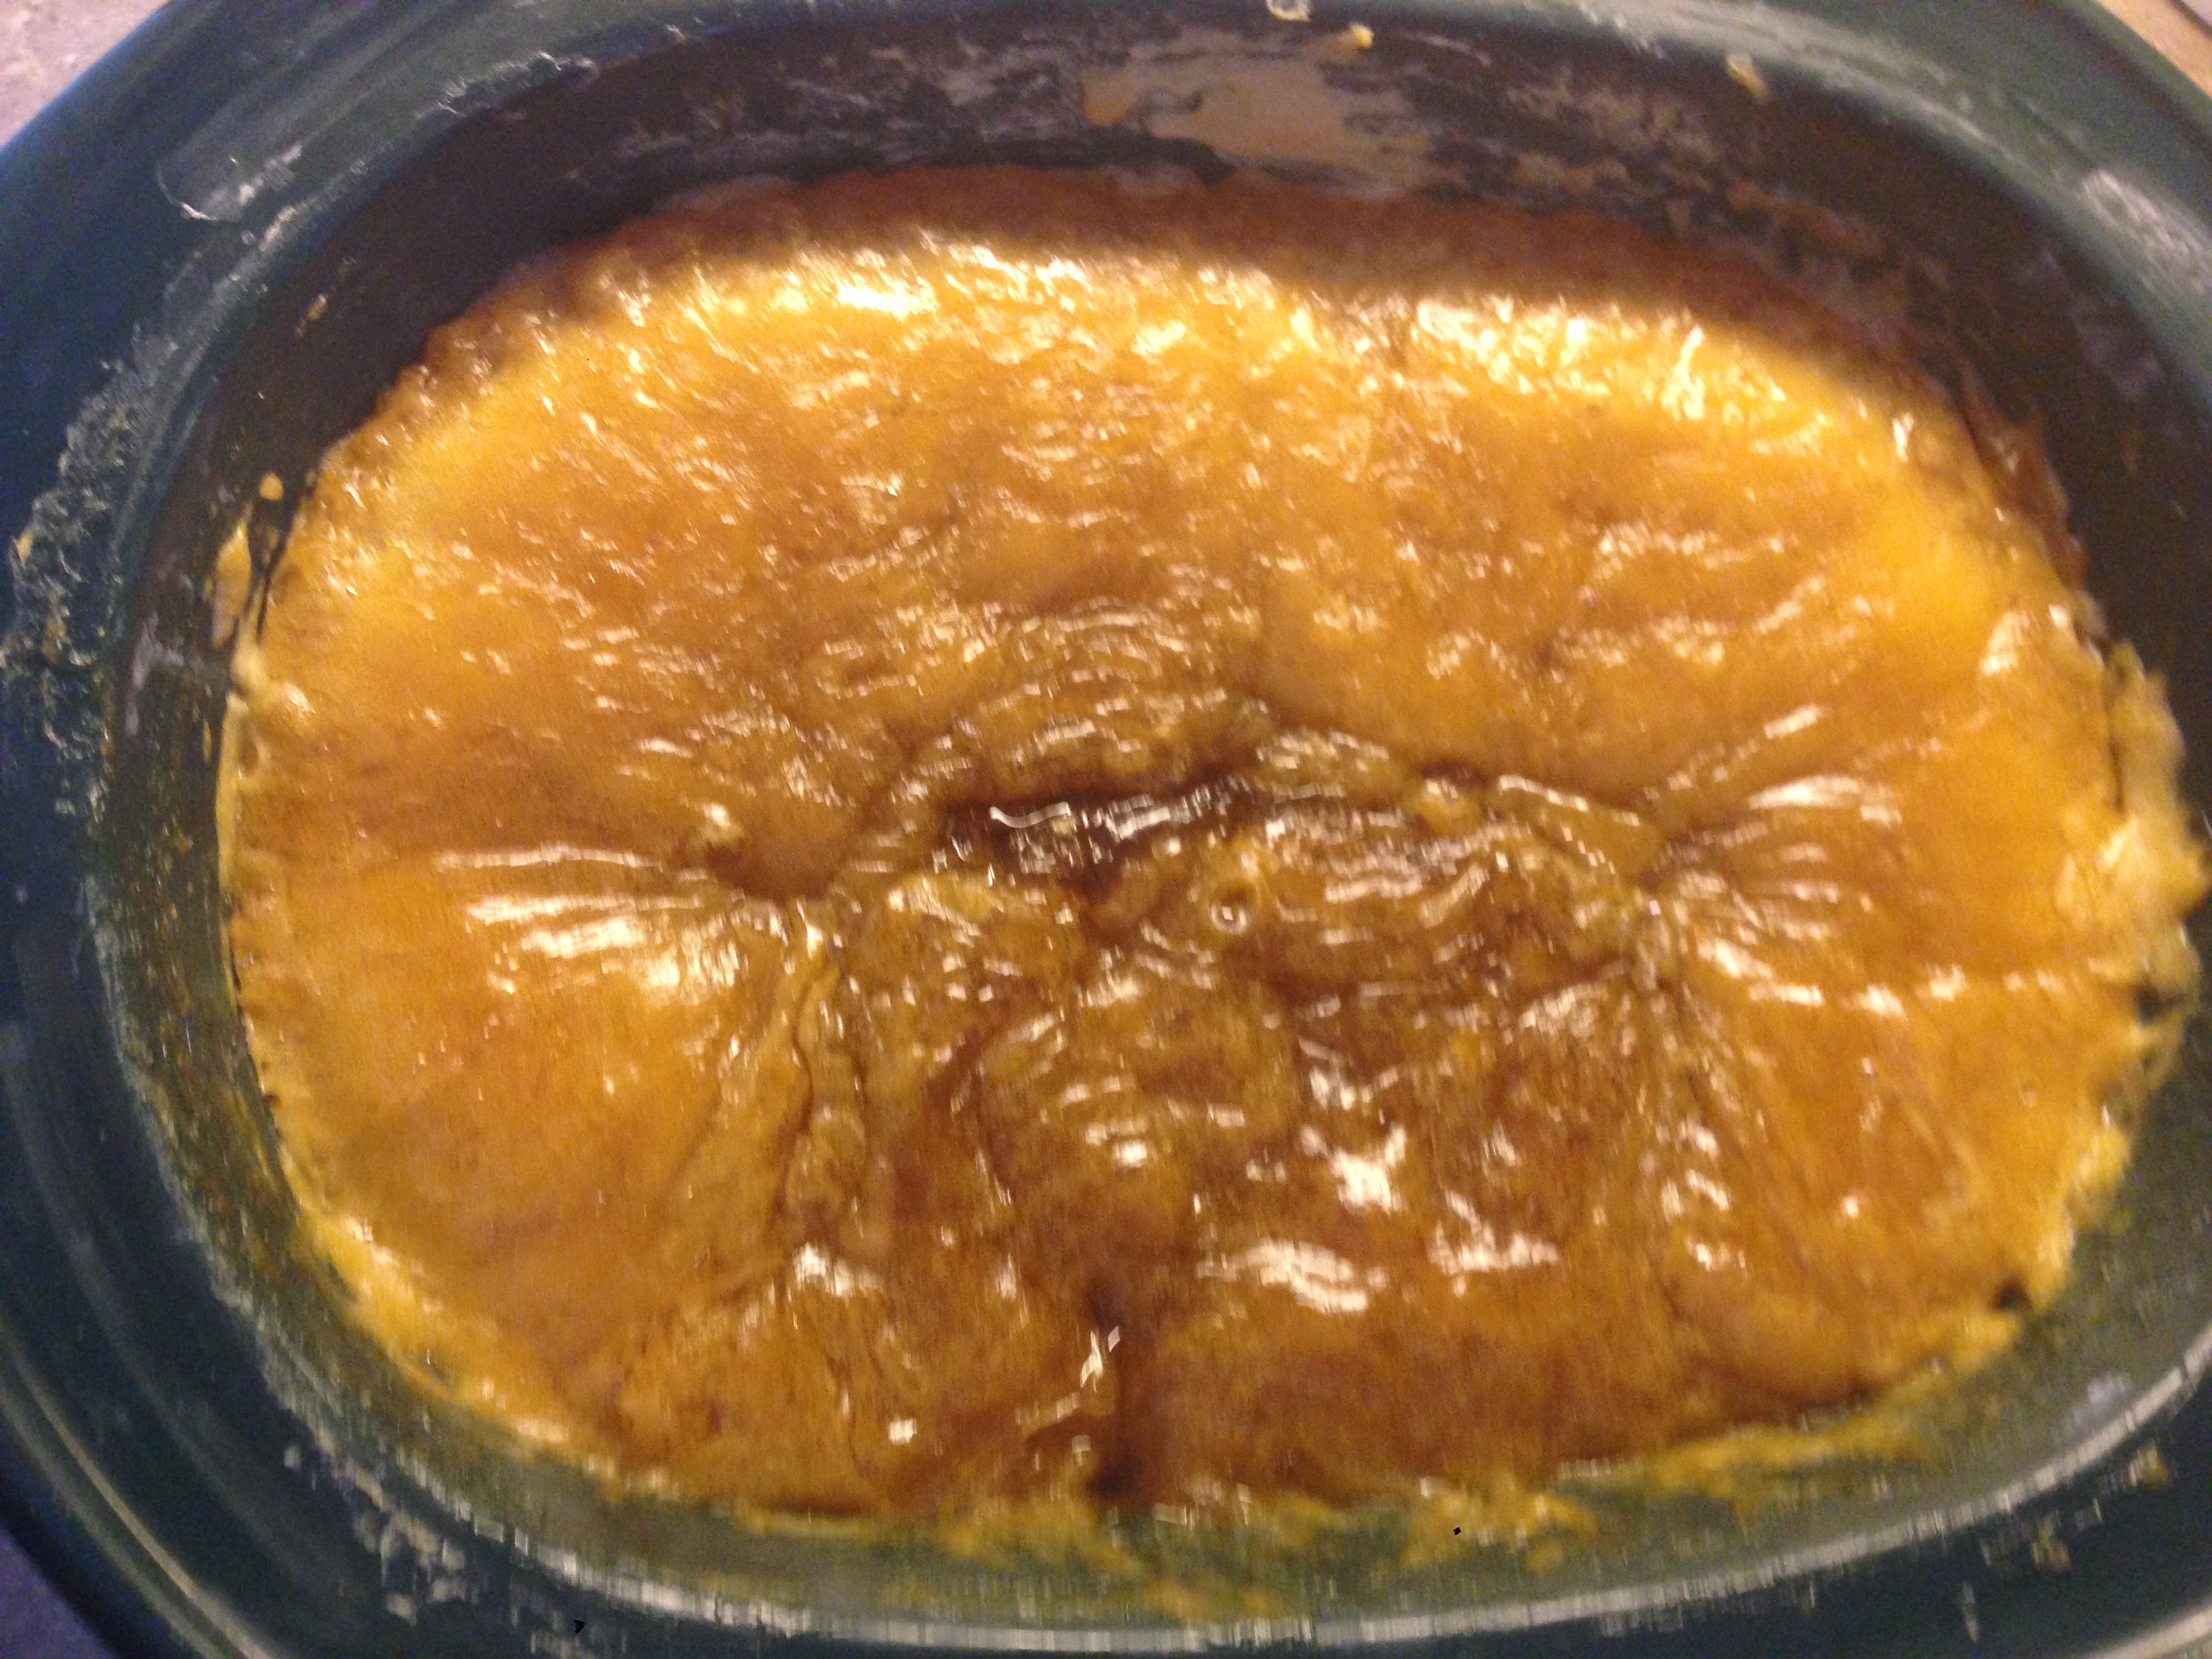
I added this close up picture to show you how the edge is getting translucent. This is what your whole batch to finally get to. This step could take hours. I started cooking this paste around 10:30 AM and didn’t finish until around 11 PM.
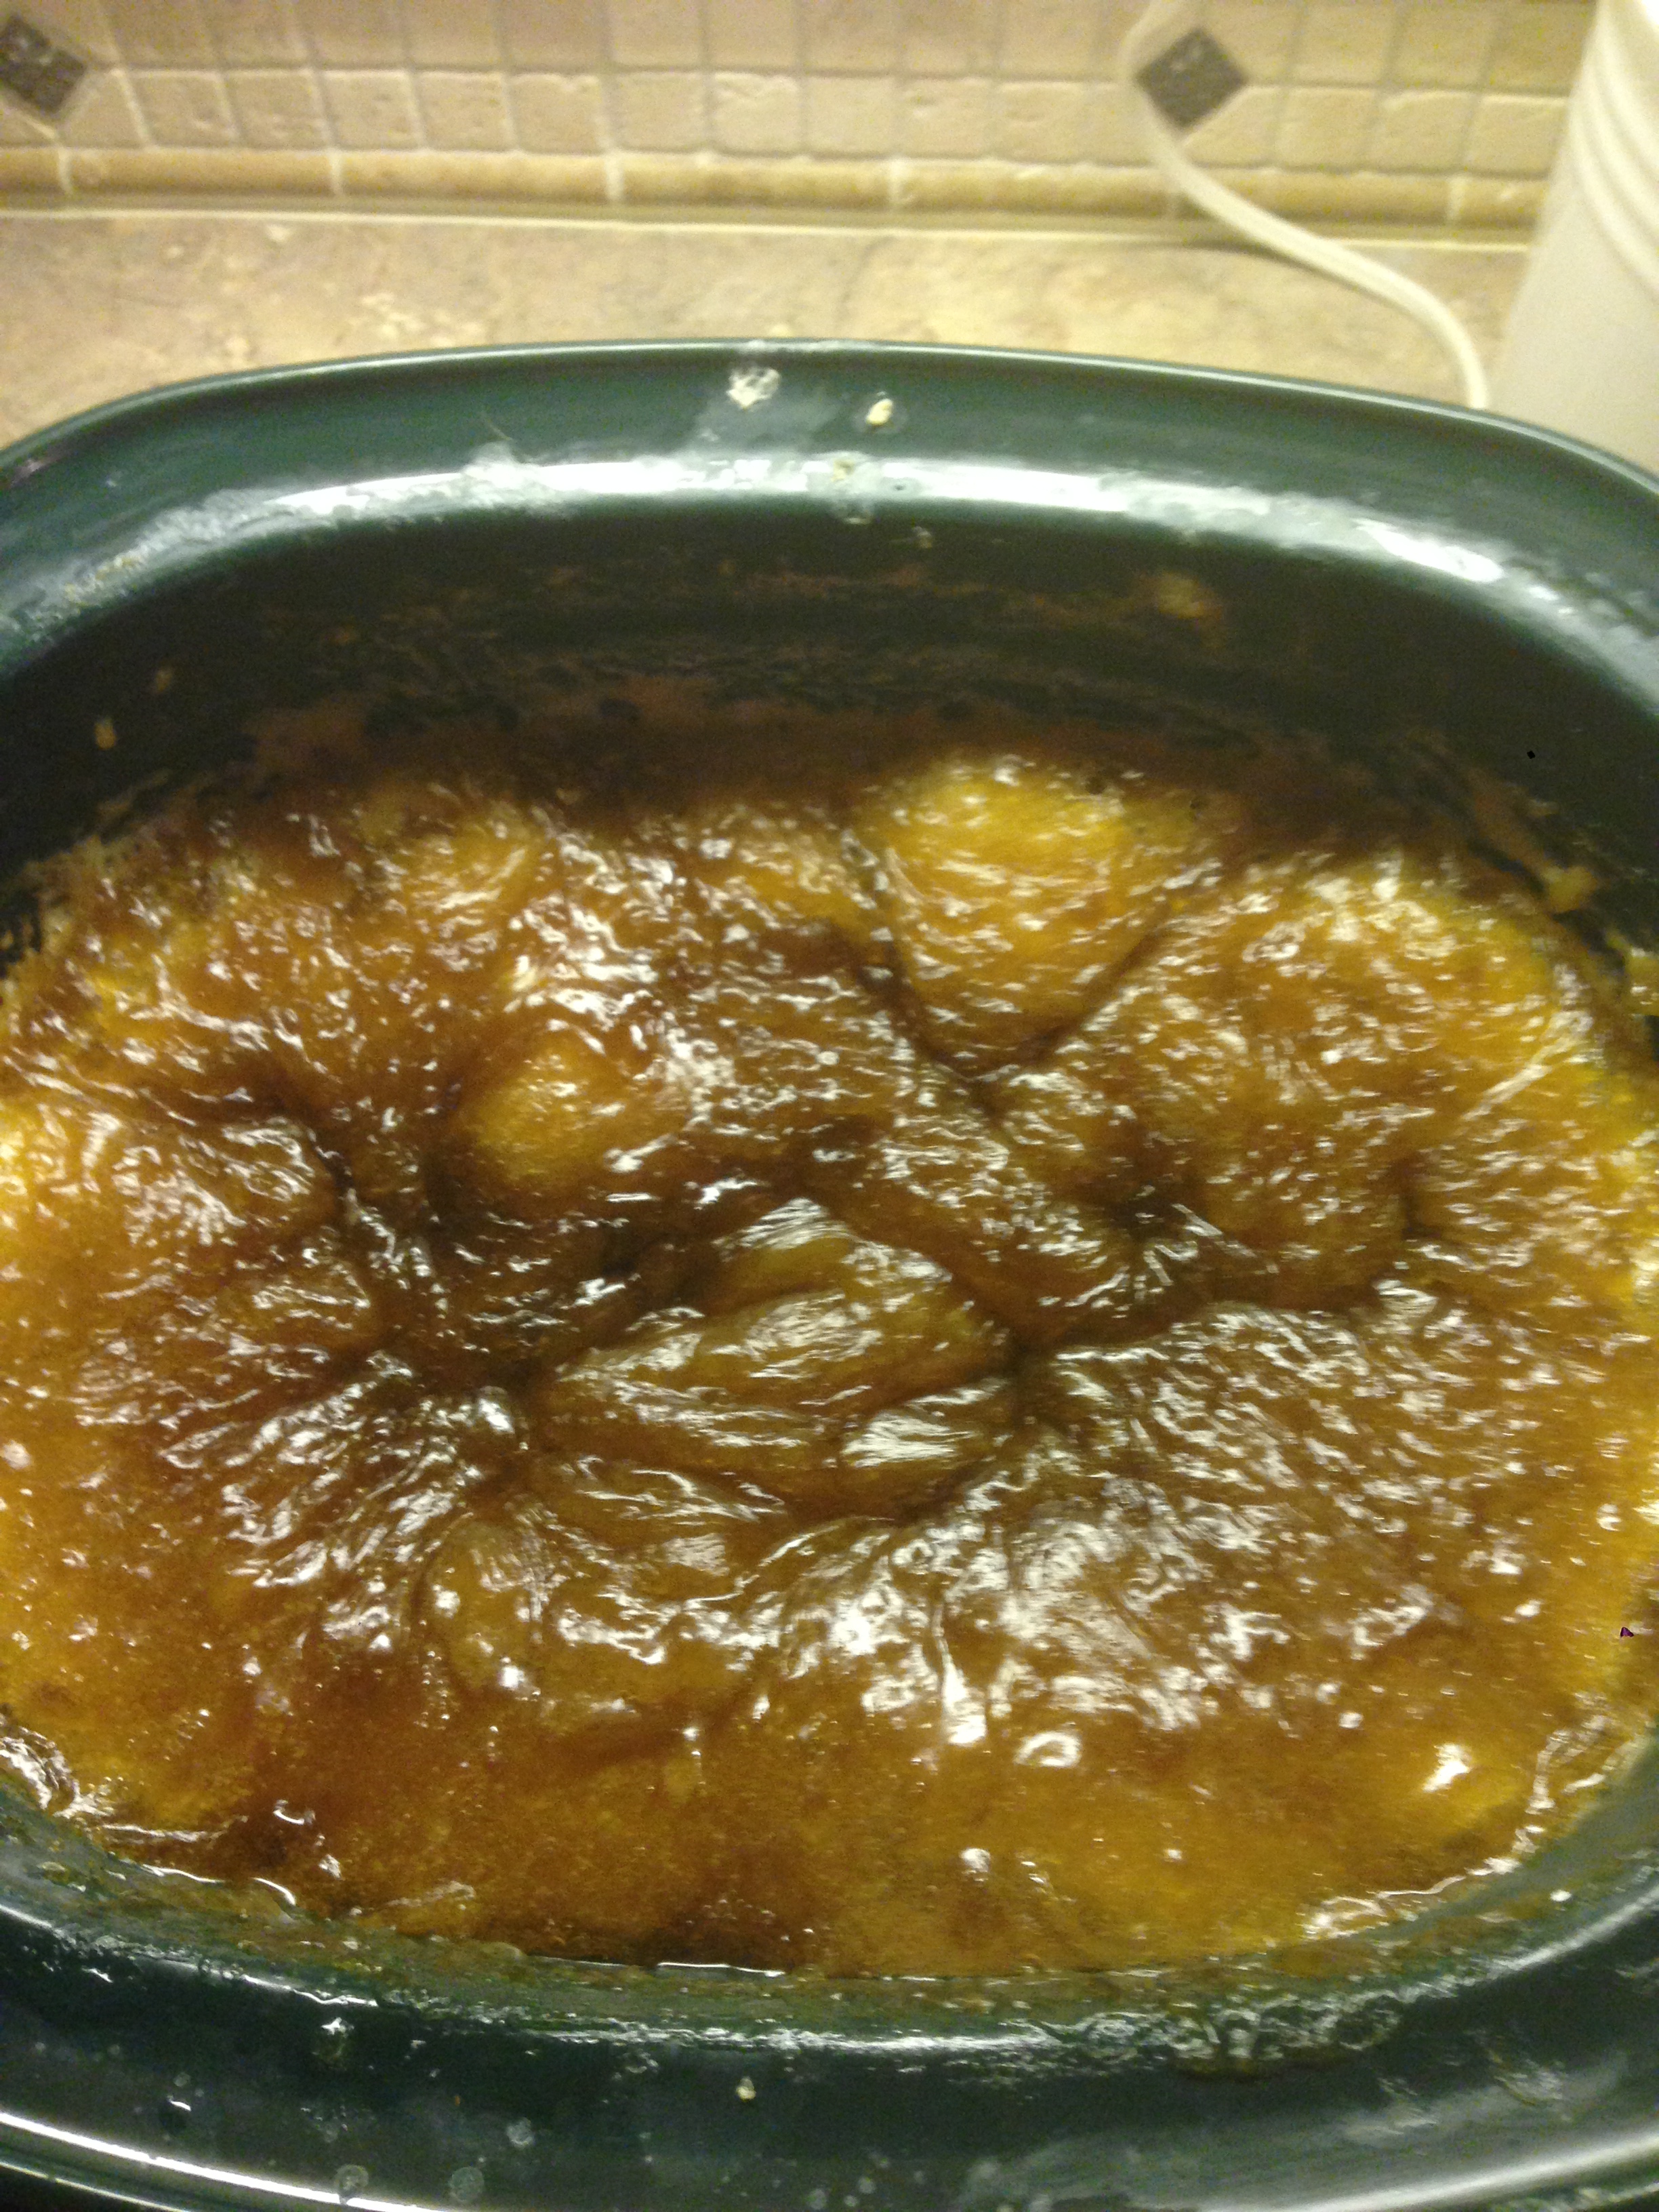
It’s getting close….this is probably after 5 hours.
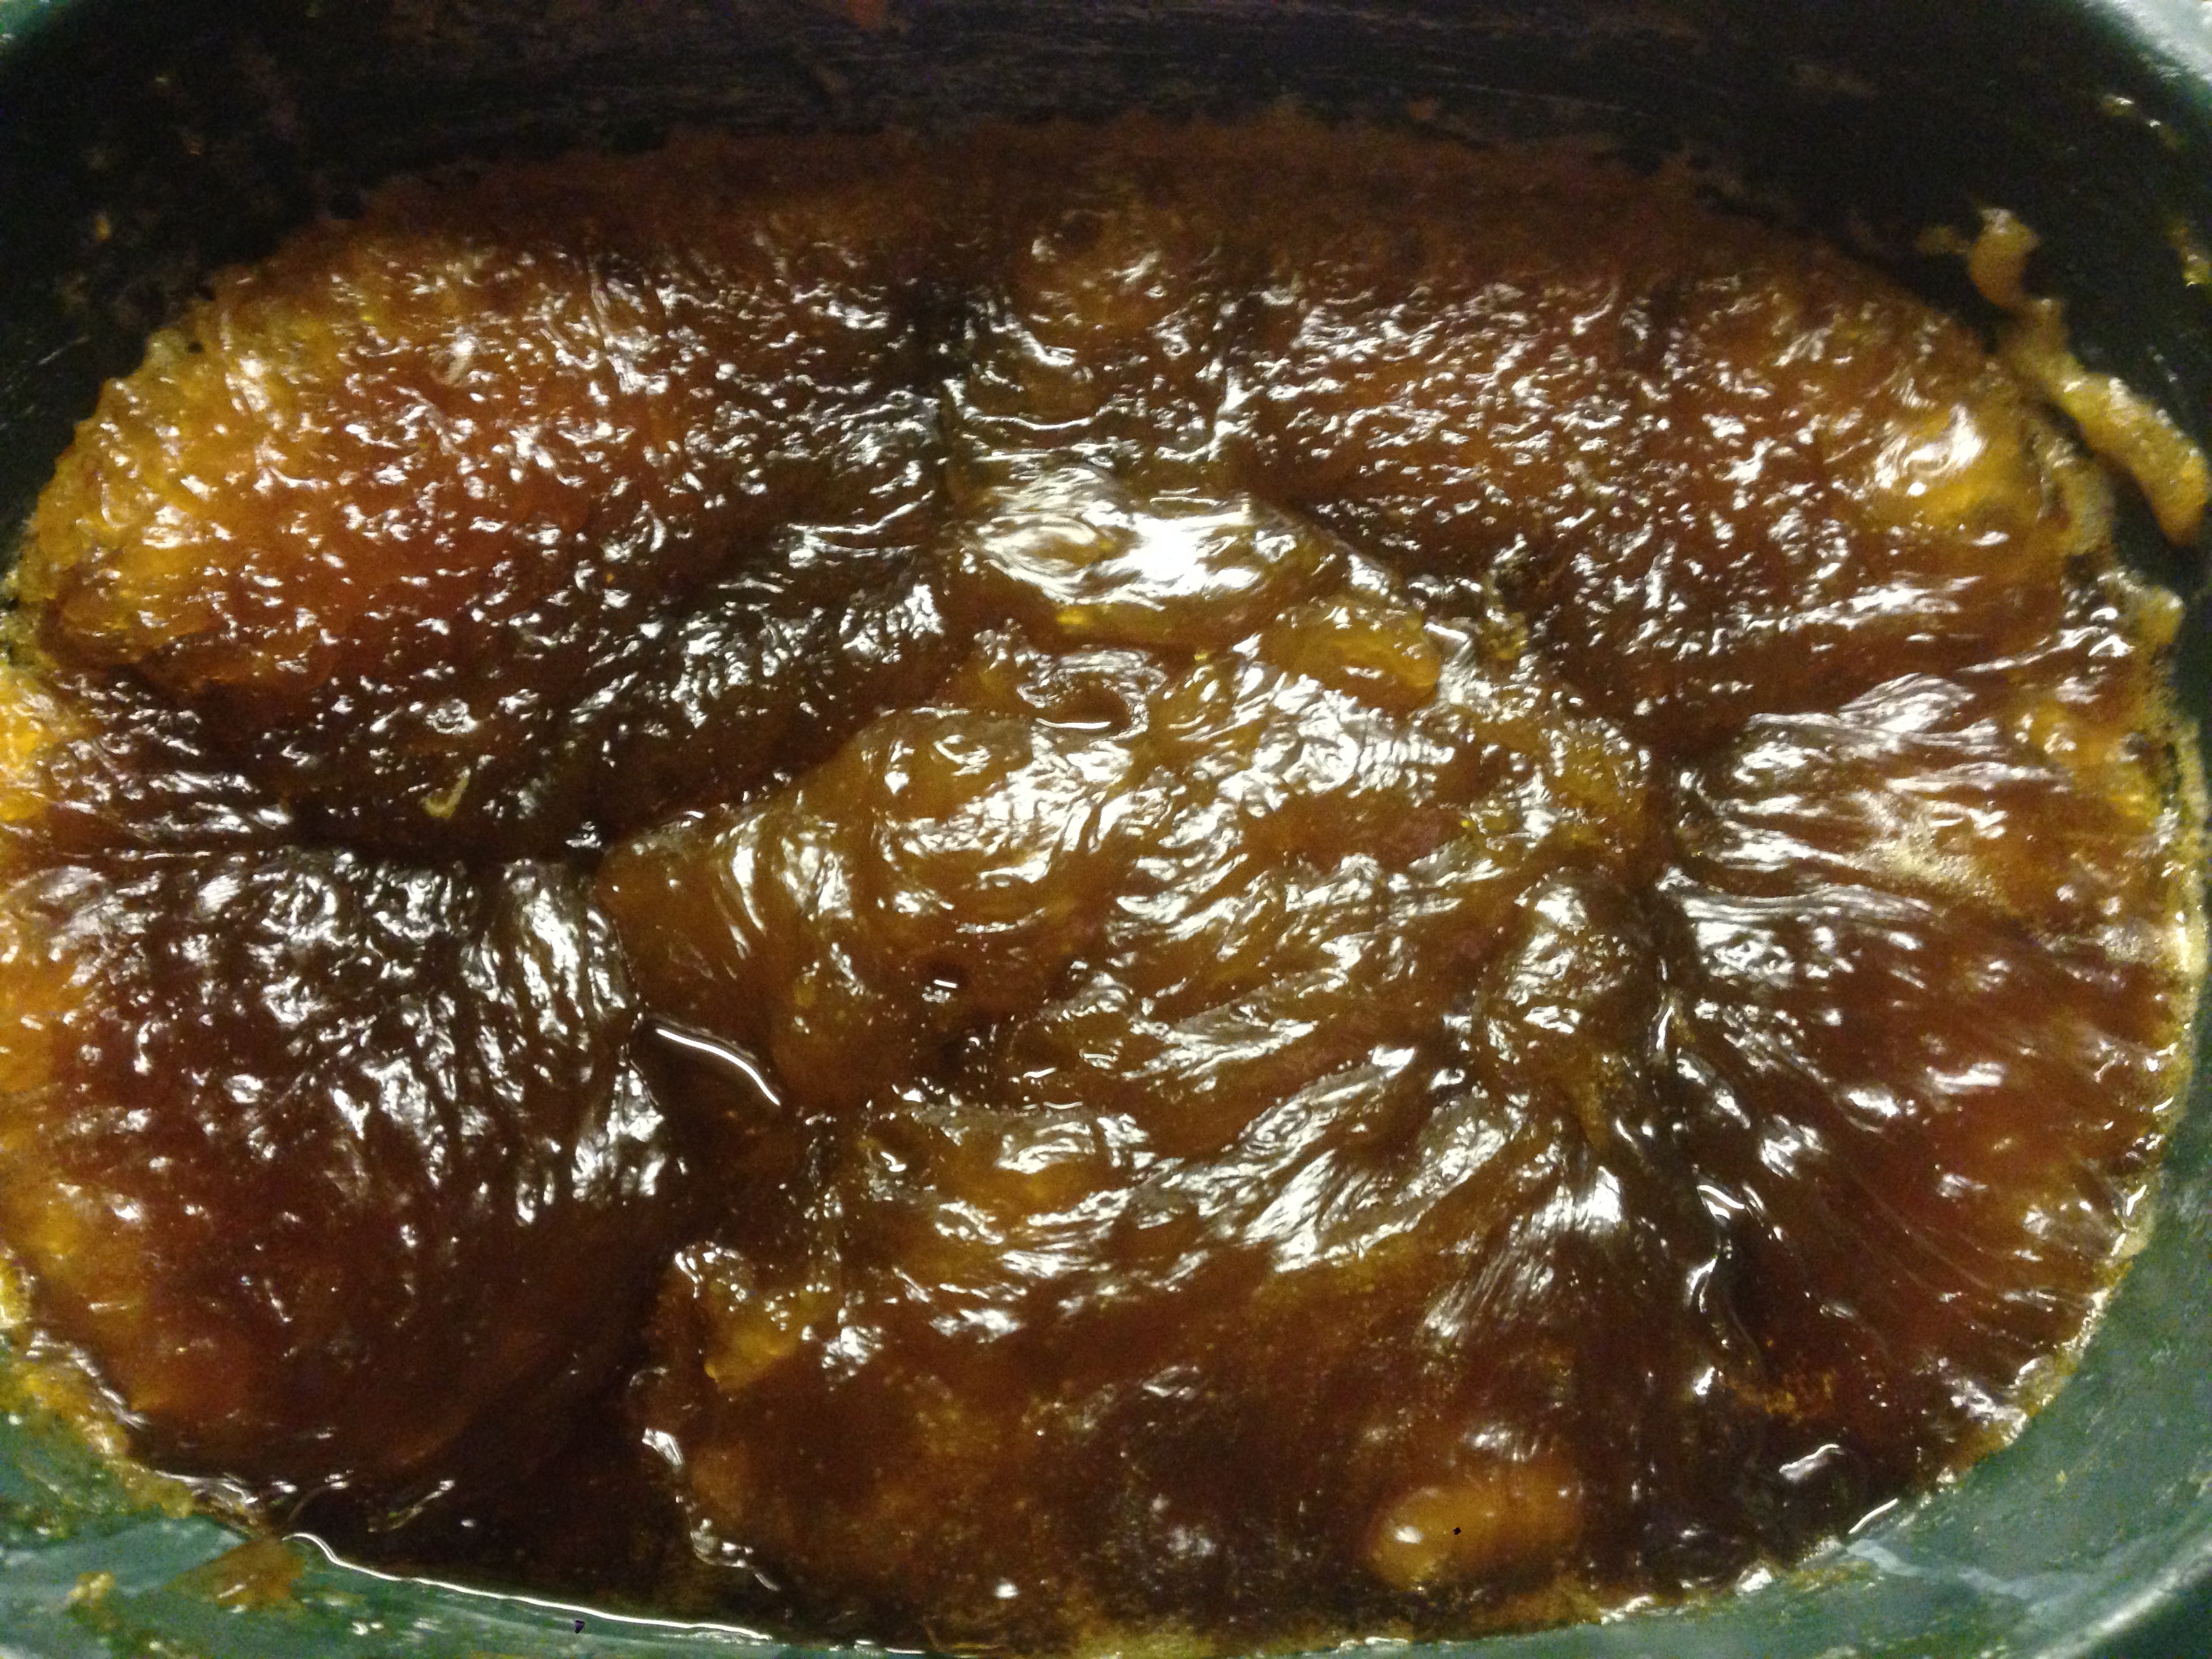
Just about done….I think I cooked this another 30 minutes.
When your paste is done, you need to weigh it. I take a bowl, and putting it on my kitchen scale, I set the scale back to zero. Then place your soap paste in the bowl and weigh it. The approximate measurements is 1 to 2 pounds of water (to dissolve the paste in) for every pound of soap. This batch was 4 pounds 3.6 oz.
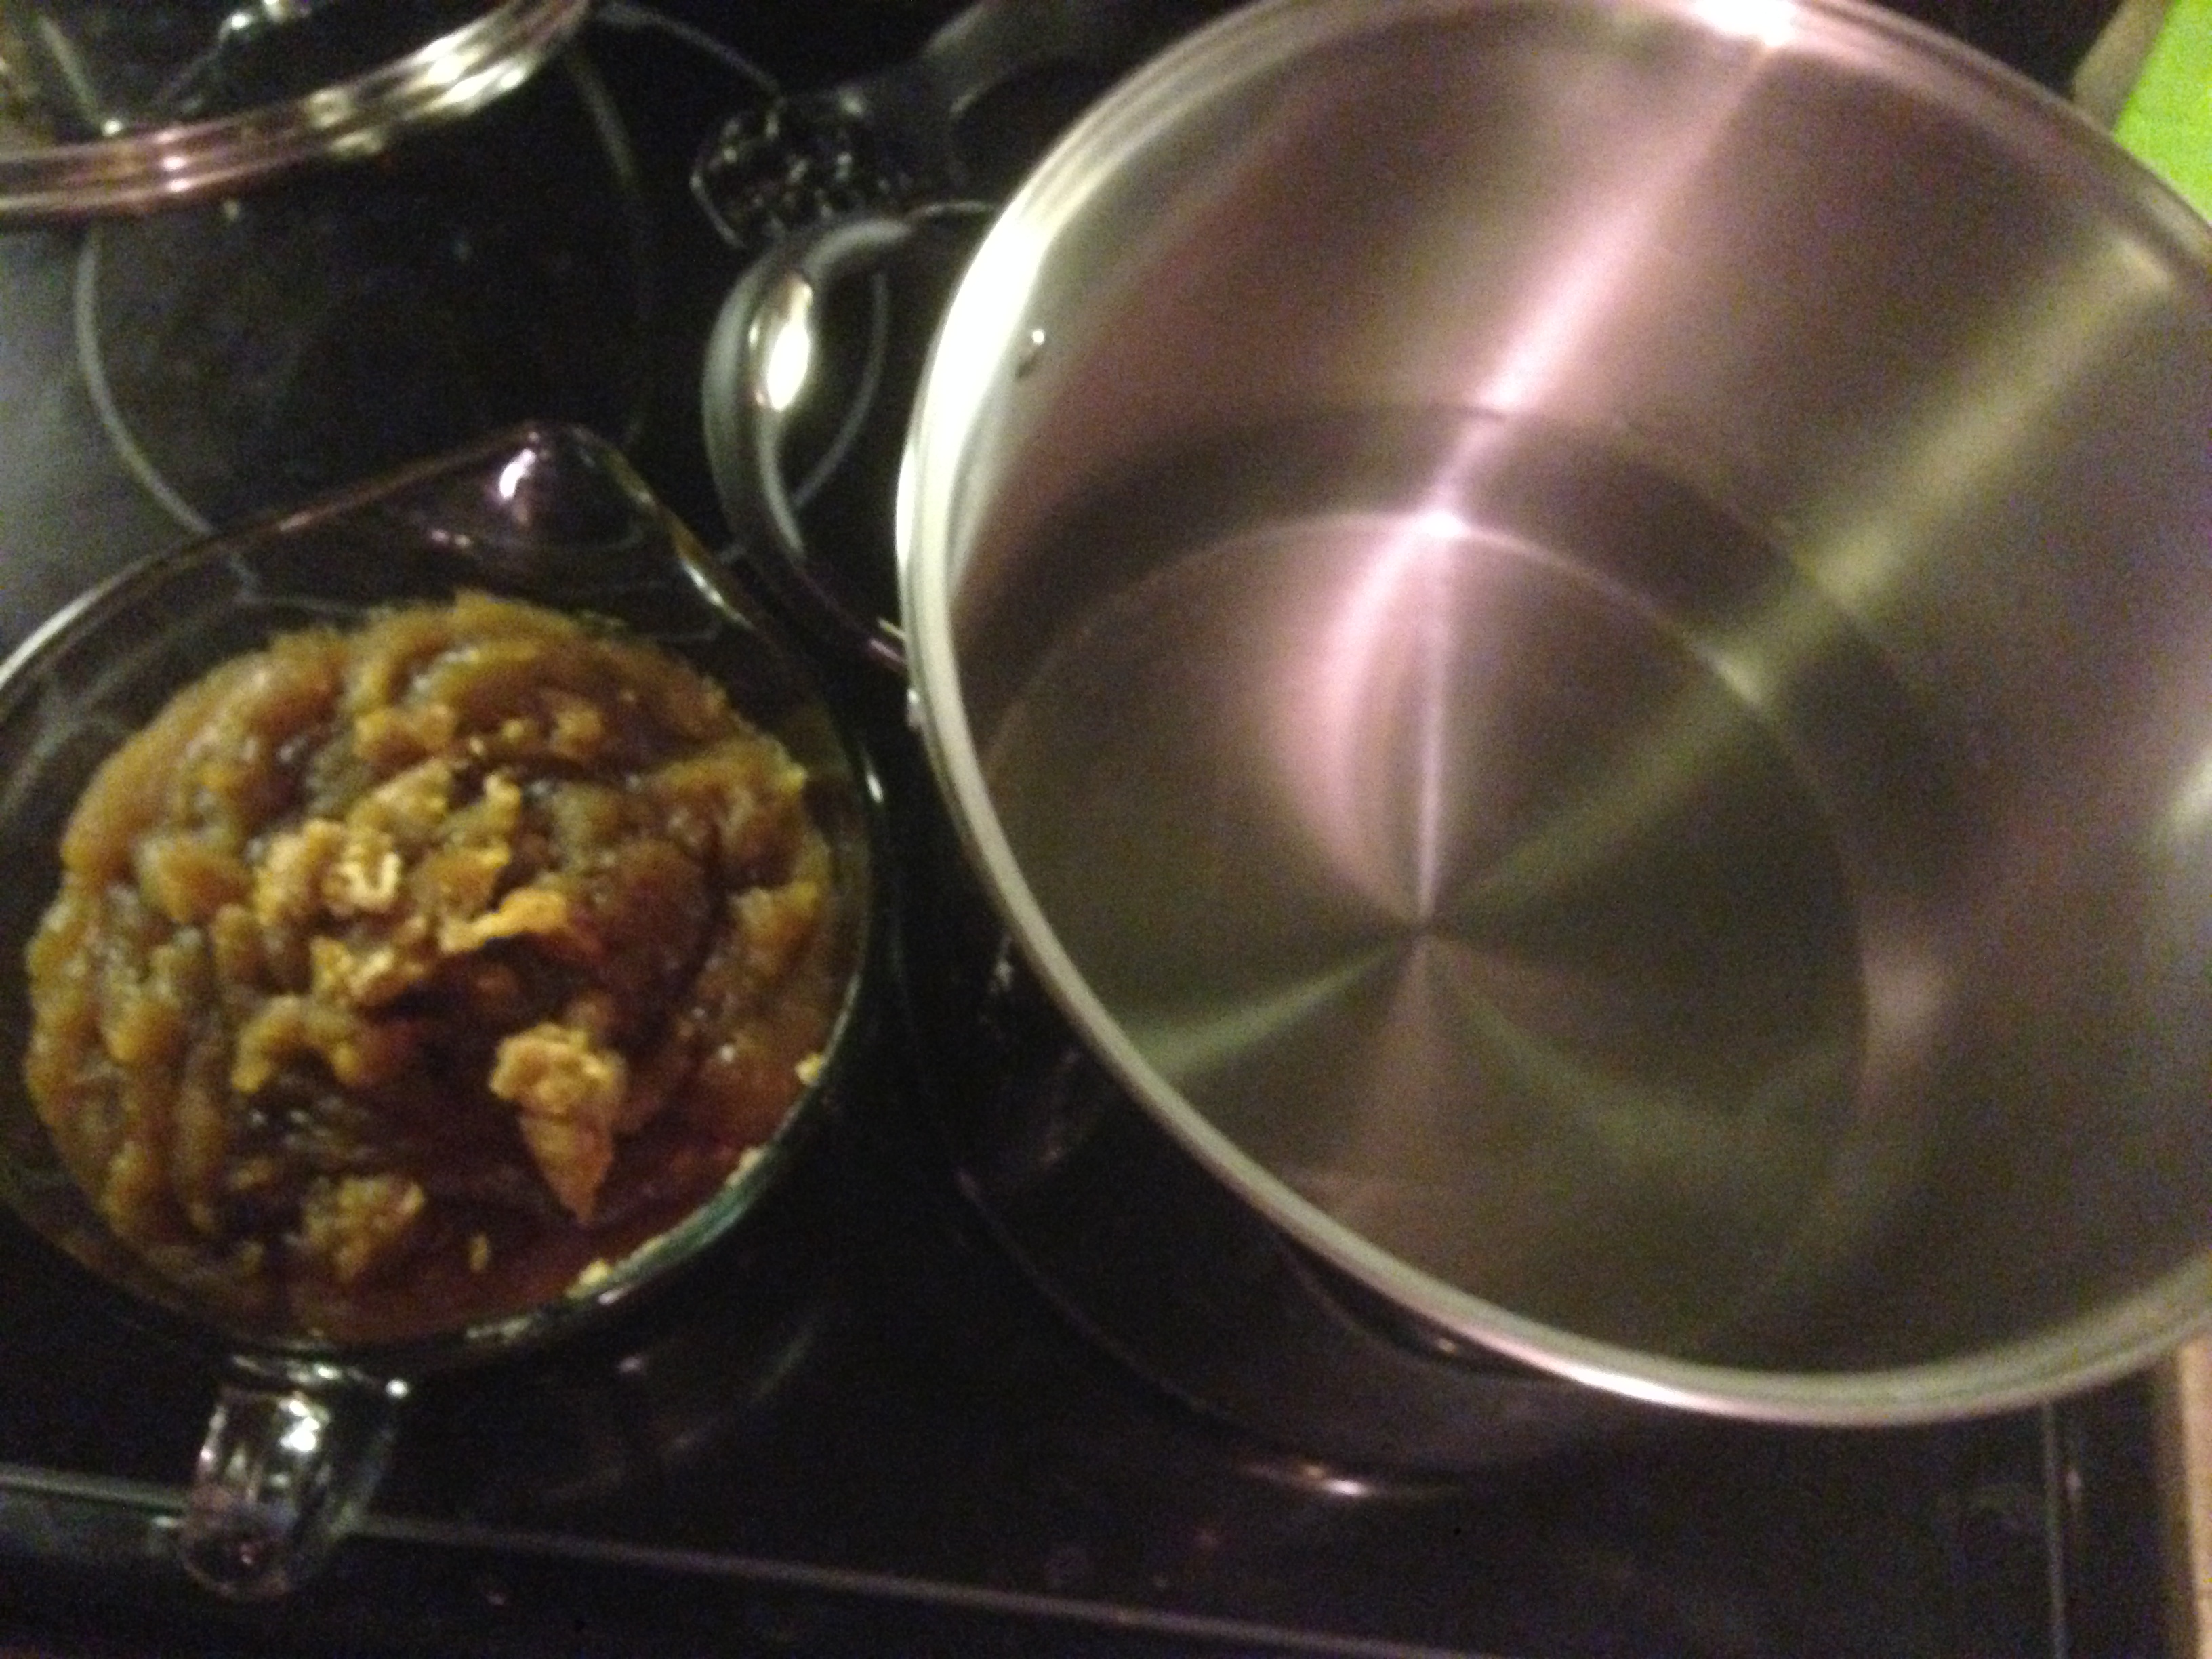
Here is the soap paste sitting next to my measured water in my large stock pot.
Turn the water on and let it heat up. When the water is starting to boil, turn it down to a simmer and add the paste. If you want, at this point you can just turn off the stove, leave the lid on and let the paste eventually dissolve. That is what I did since this batch was done at 11 o’clock at night. I went to bed 🙂
When your paste is dissolved, you will need to neutralize it. I use cosmetic grade sodium borate for this since it’s a neutralizer AND a thickener. This will turn your soap into a gel. If you are making castile soap and not using it as a body wash, you can skip this step, but if you will be using it for shampoo or body wash you will want to neutralize it so the PH is not too high. That can be drying to your skin.
To neutralize you add a sodium borate and water mixture to your hot soap. If you left it over night, you can reheat it, pour in the correct amount based on your recipe, and stir. You will see it visibly thicken as you stir.
The next step is to test the PH. I used a PH strip for this batch, but I’m in the process of buying a PH meter for future batches.
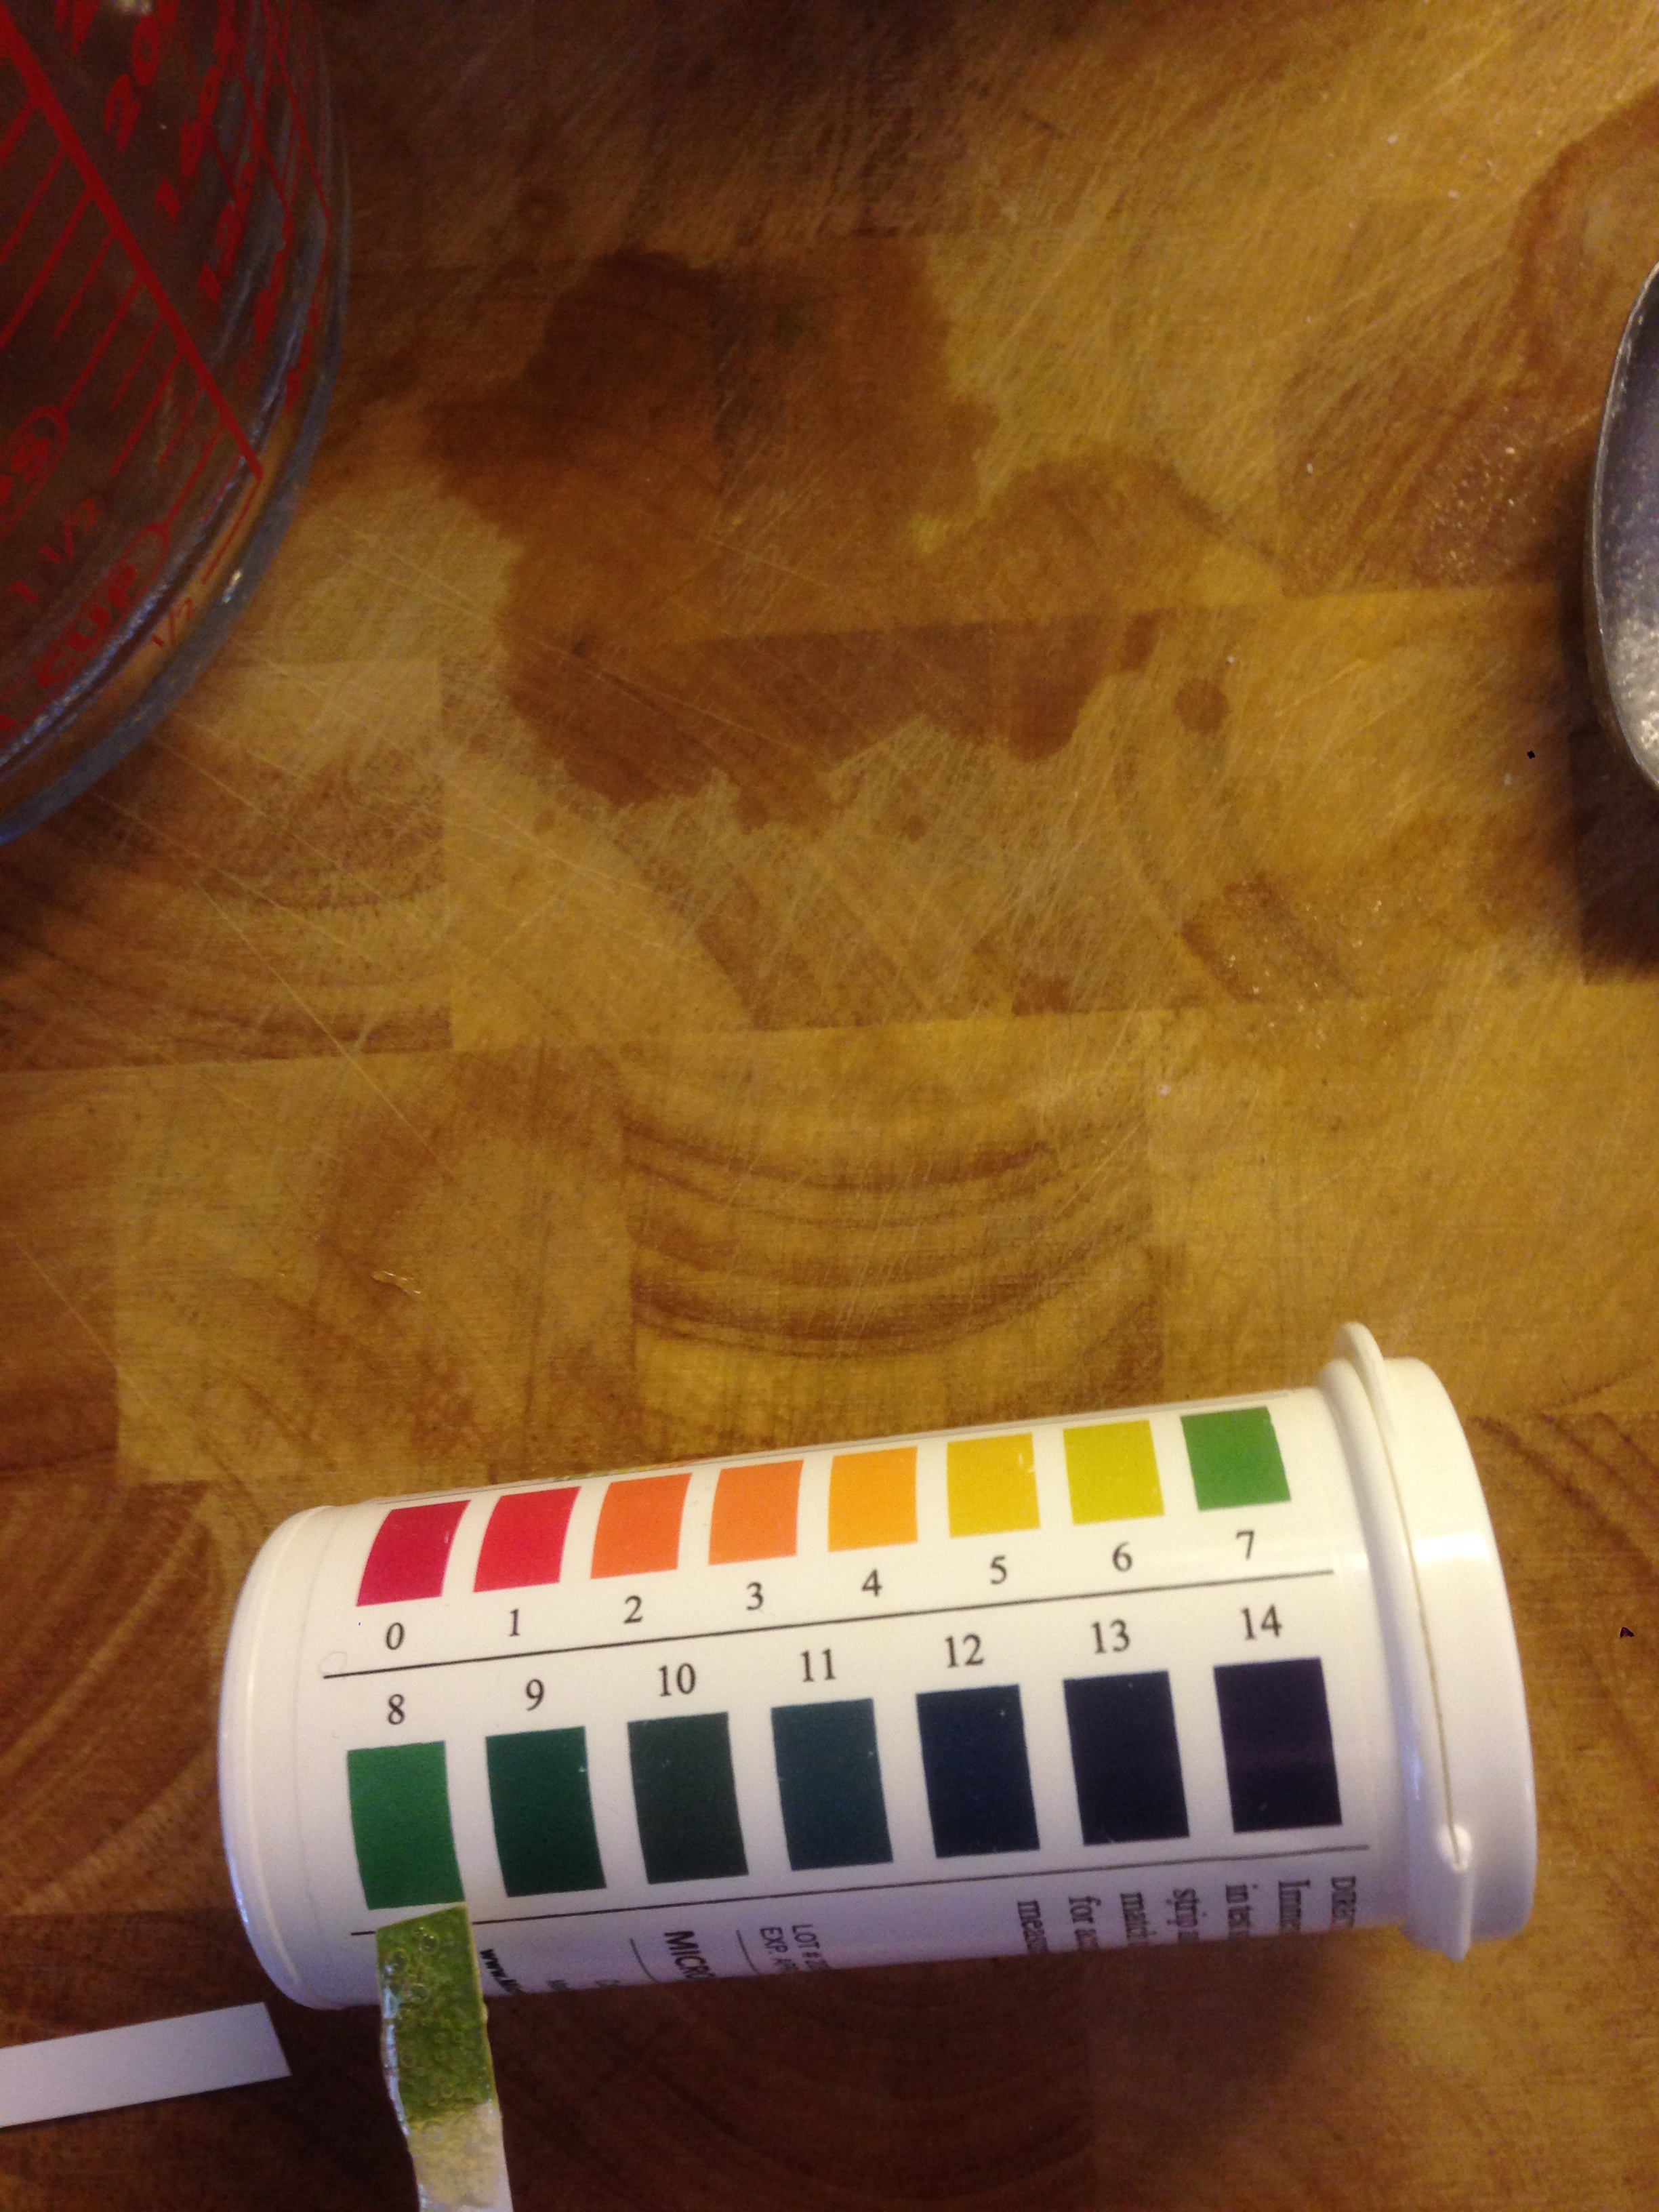
Some sites say PH strips are not completely accurate. I have had no trouble, but if you use them you need to have a full spectrum strip that is shown here. Like I said, a PH meter will be completely accurate.
Here is my finished product. Your soap will need to sequester for a few days. I always use large mouth bottles because I’m not exactly sure how thick it will be when it cools. It will always be a bit thicker when it has cooled off and I don’t want to put it into anything with a small opening and then not be able to get it back out. I had a batch that was too thick once and I put it back into a pan with hot water and kept adding water until it was the consistency I wanted. This soap, because of the Jewel Weed infusion is not clear. The water was like a tea when I added it, I also infused the oils for a couple of months, so this is a double infused jewel weed soap.
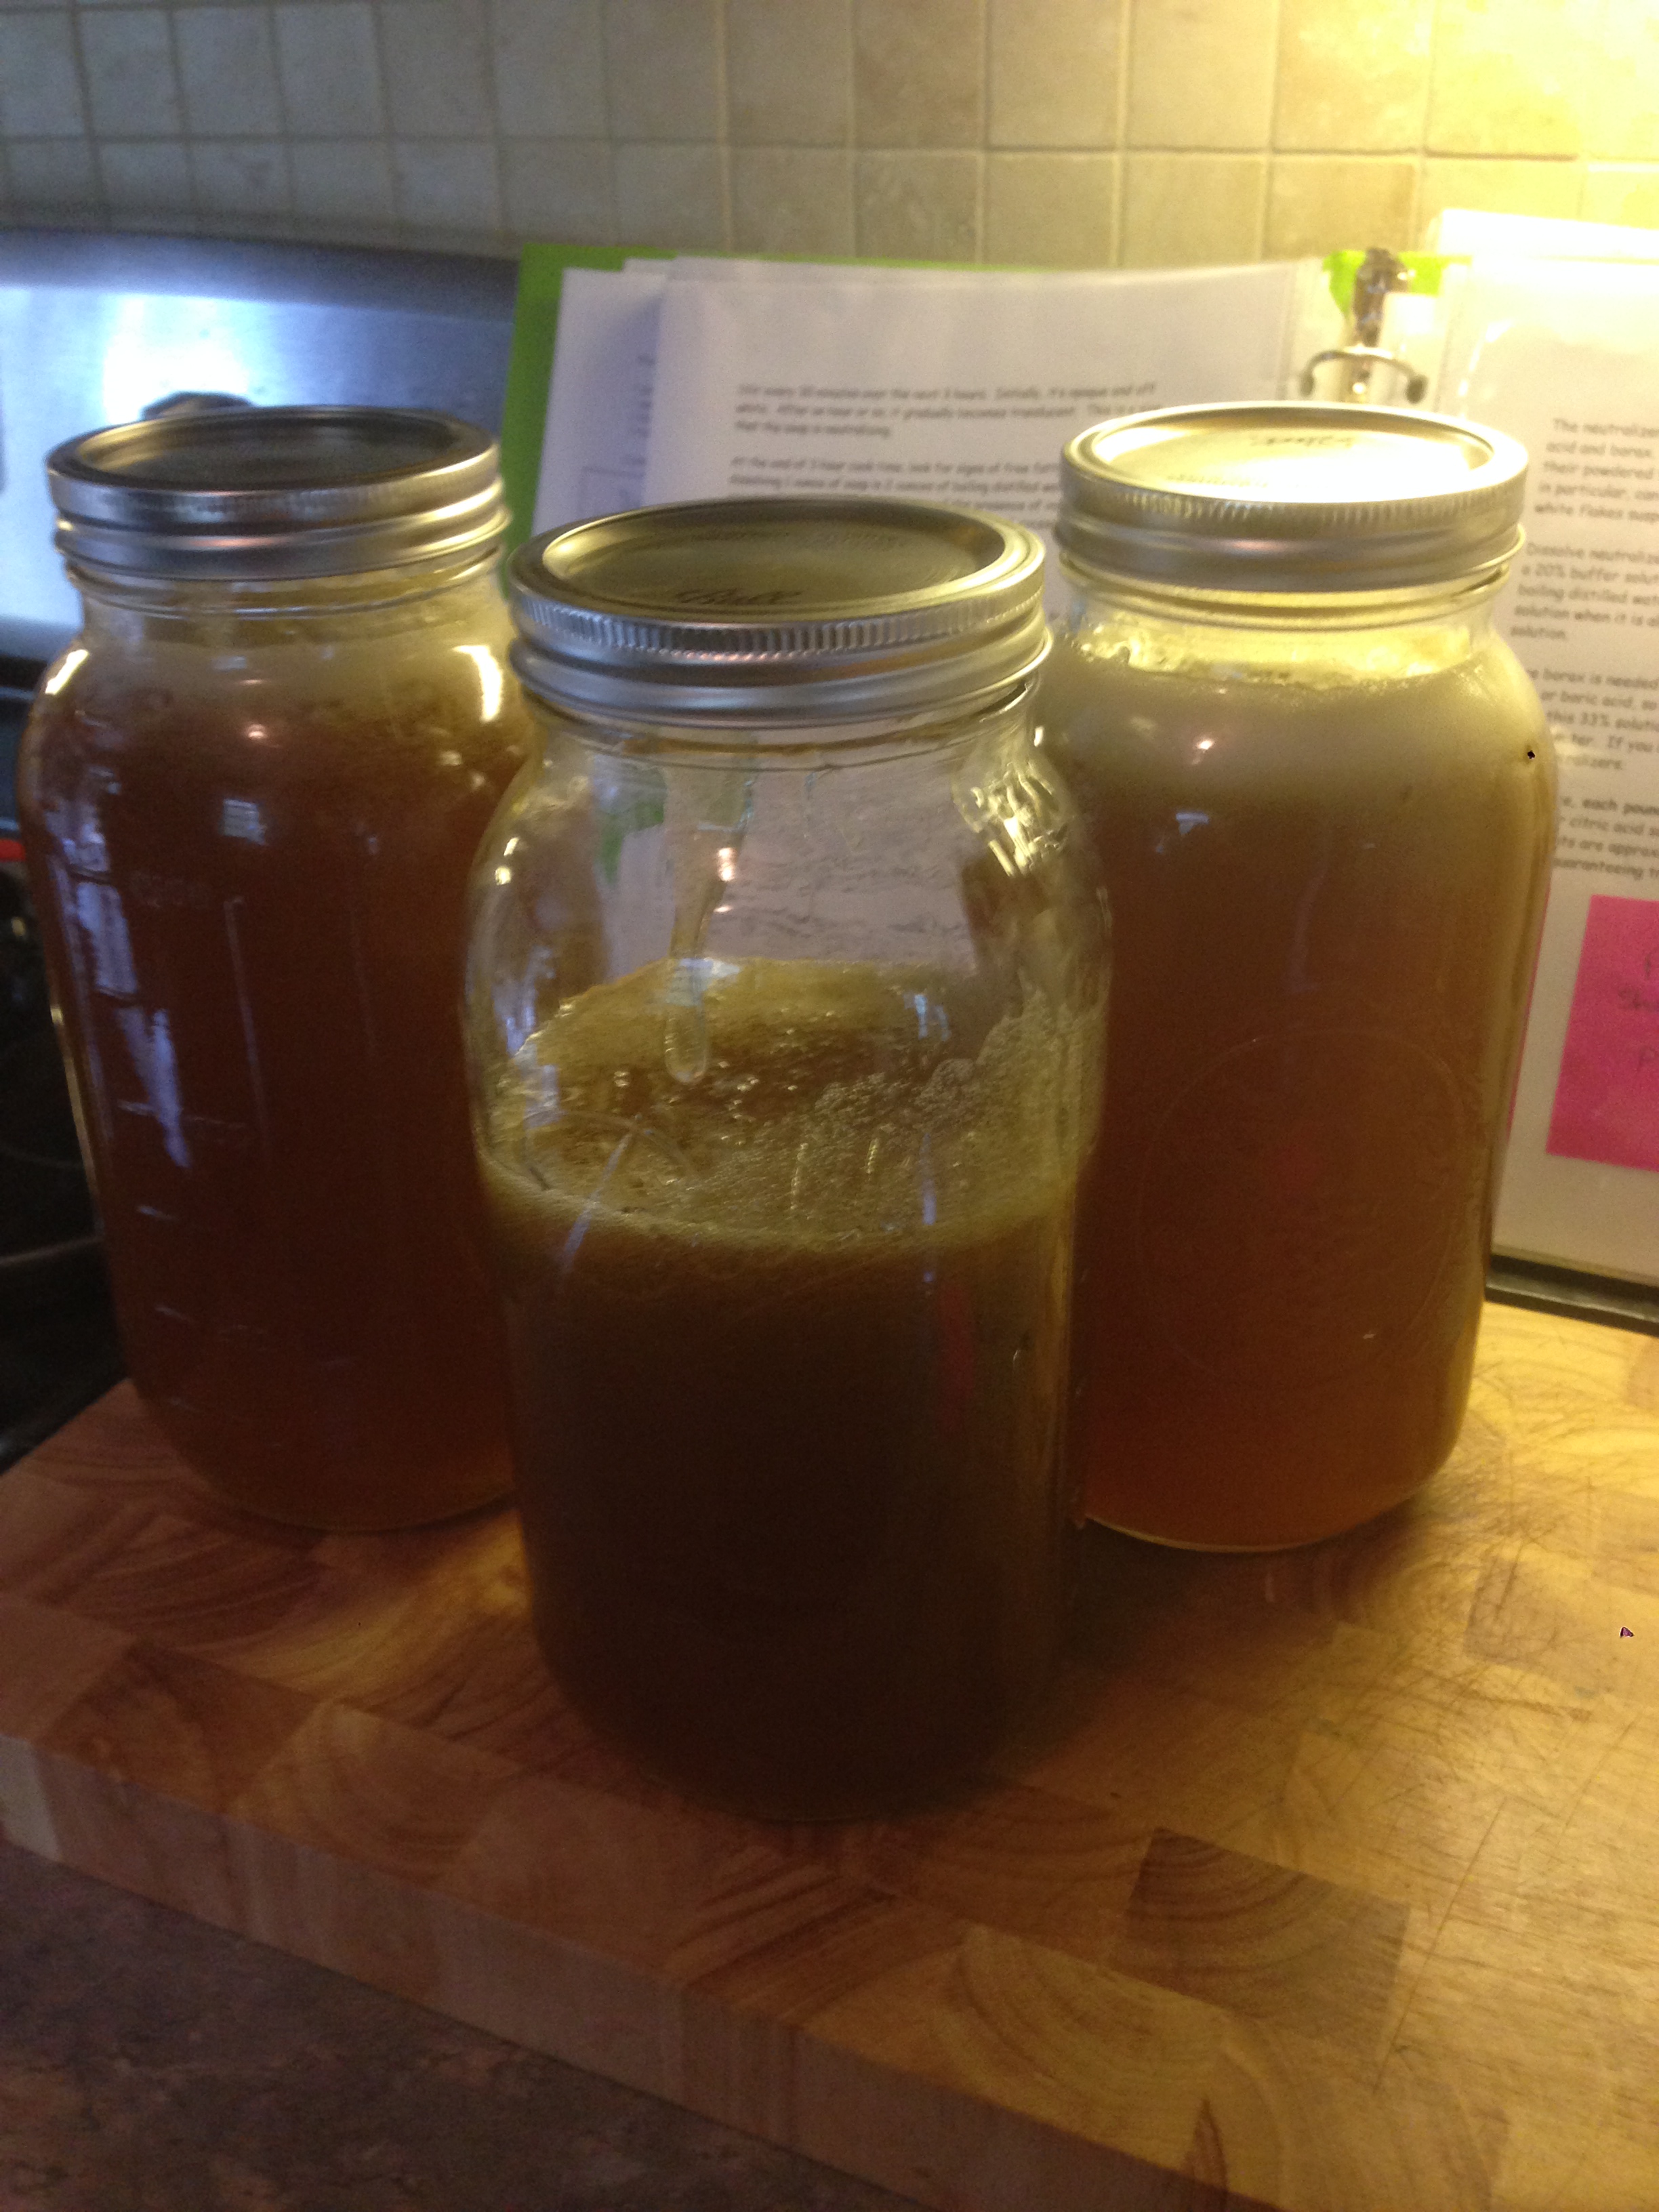
This soap was a little too think for my liking, so I diluted it with more water and ended up with over a gallon and a half of finished product.
So that’s about it. To make your own soap, you will need to find a recipe that you want to use and it will give you more specifics for your certain type. This is only the general directions. Good luck 🙂
