
I know many of you have asked for more information about the GAPS diet that I’ve been on now for about a month. In the post that I wrote about the other day I mentioned the “whys” of what led me this direction. Today I’m going to talk about one of the “strange” foods that I’ve been eating 3 times a day, everyday for a month. That food is sauerkraut or fermented vegetables.
I have to admit, I had to develop a taste for them. I made my first batch 6 or 7 months ago, and didn’t get it all eaten up until I started GAPS the first of January. They just hung around in my fridge….getting more and more pungent with every passing week.
My interest in eating fermented foods was peaked when I started reading tons of articles on the benefits of fermented foods. I had been taking bottles of probiotic’s over the past few years because I knew the good benefits of them for my system. It’s a known fact that the foundation of your immune system is your gut and the health of your immune system is directly correlated by the health of your gut. Bad gut health….bad immune system. With all the auto-immune disorders out there today, Arthritis, Crohn’s, Chronic Fatigue Syndrome, Multiple Sclerosis, Fibromyalgia….the list goes on and on….. and the poor quality of the standard american diet (SAD for short) we have diseases running rampant. I was spending $100’s of dollars on supplements which included probiotic capsules.
So I started making and consuming Kombucha, Kefir, Water Kefir and Fermented Vegetables to:
1. Save on cost because making your own was definitely cheaper
2. Live, viable food is always healthier and easier for the body to absorb than a pill
3. With eating live fermented foods you are getting more bacteria and yeast strains than buying a bottle of capsules
So this post is about making Fermented Vegetables (or sauerkraut).

These are the vegetables that I’m going to use to make my sauerkraut. I will take these vegetables and use a food processor to shred as many of them as possible, cutting my preparation time down greatly. I used:
2 heads of green cabbage
1 head of red cabbage
10 carrots
1 onion
6 cloves of garlic
1 red pepper
2-3 Tablespoons of Himalayan Sea Salt
1/2 Cup of Kefir Whey
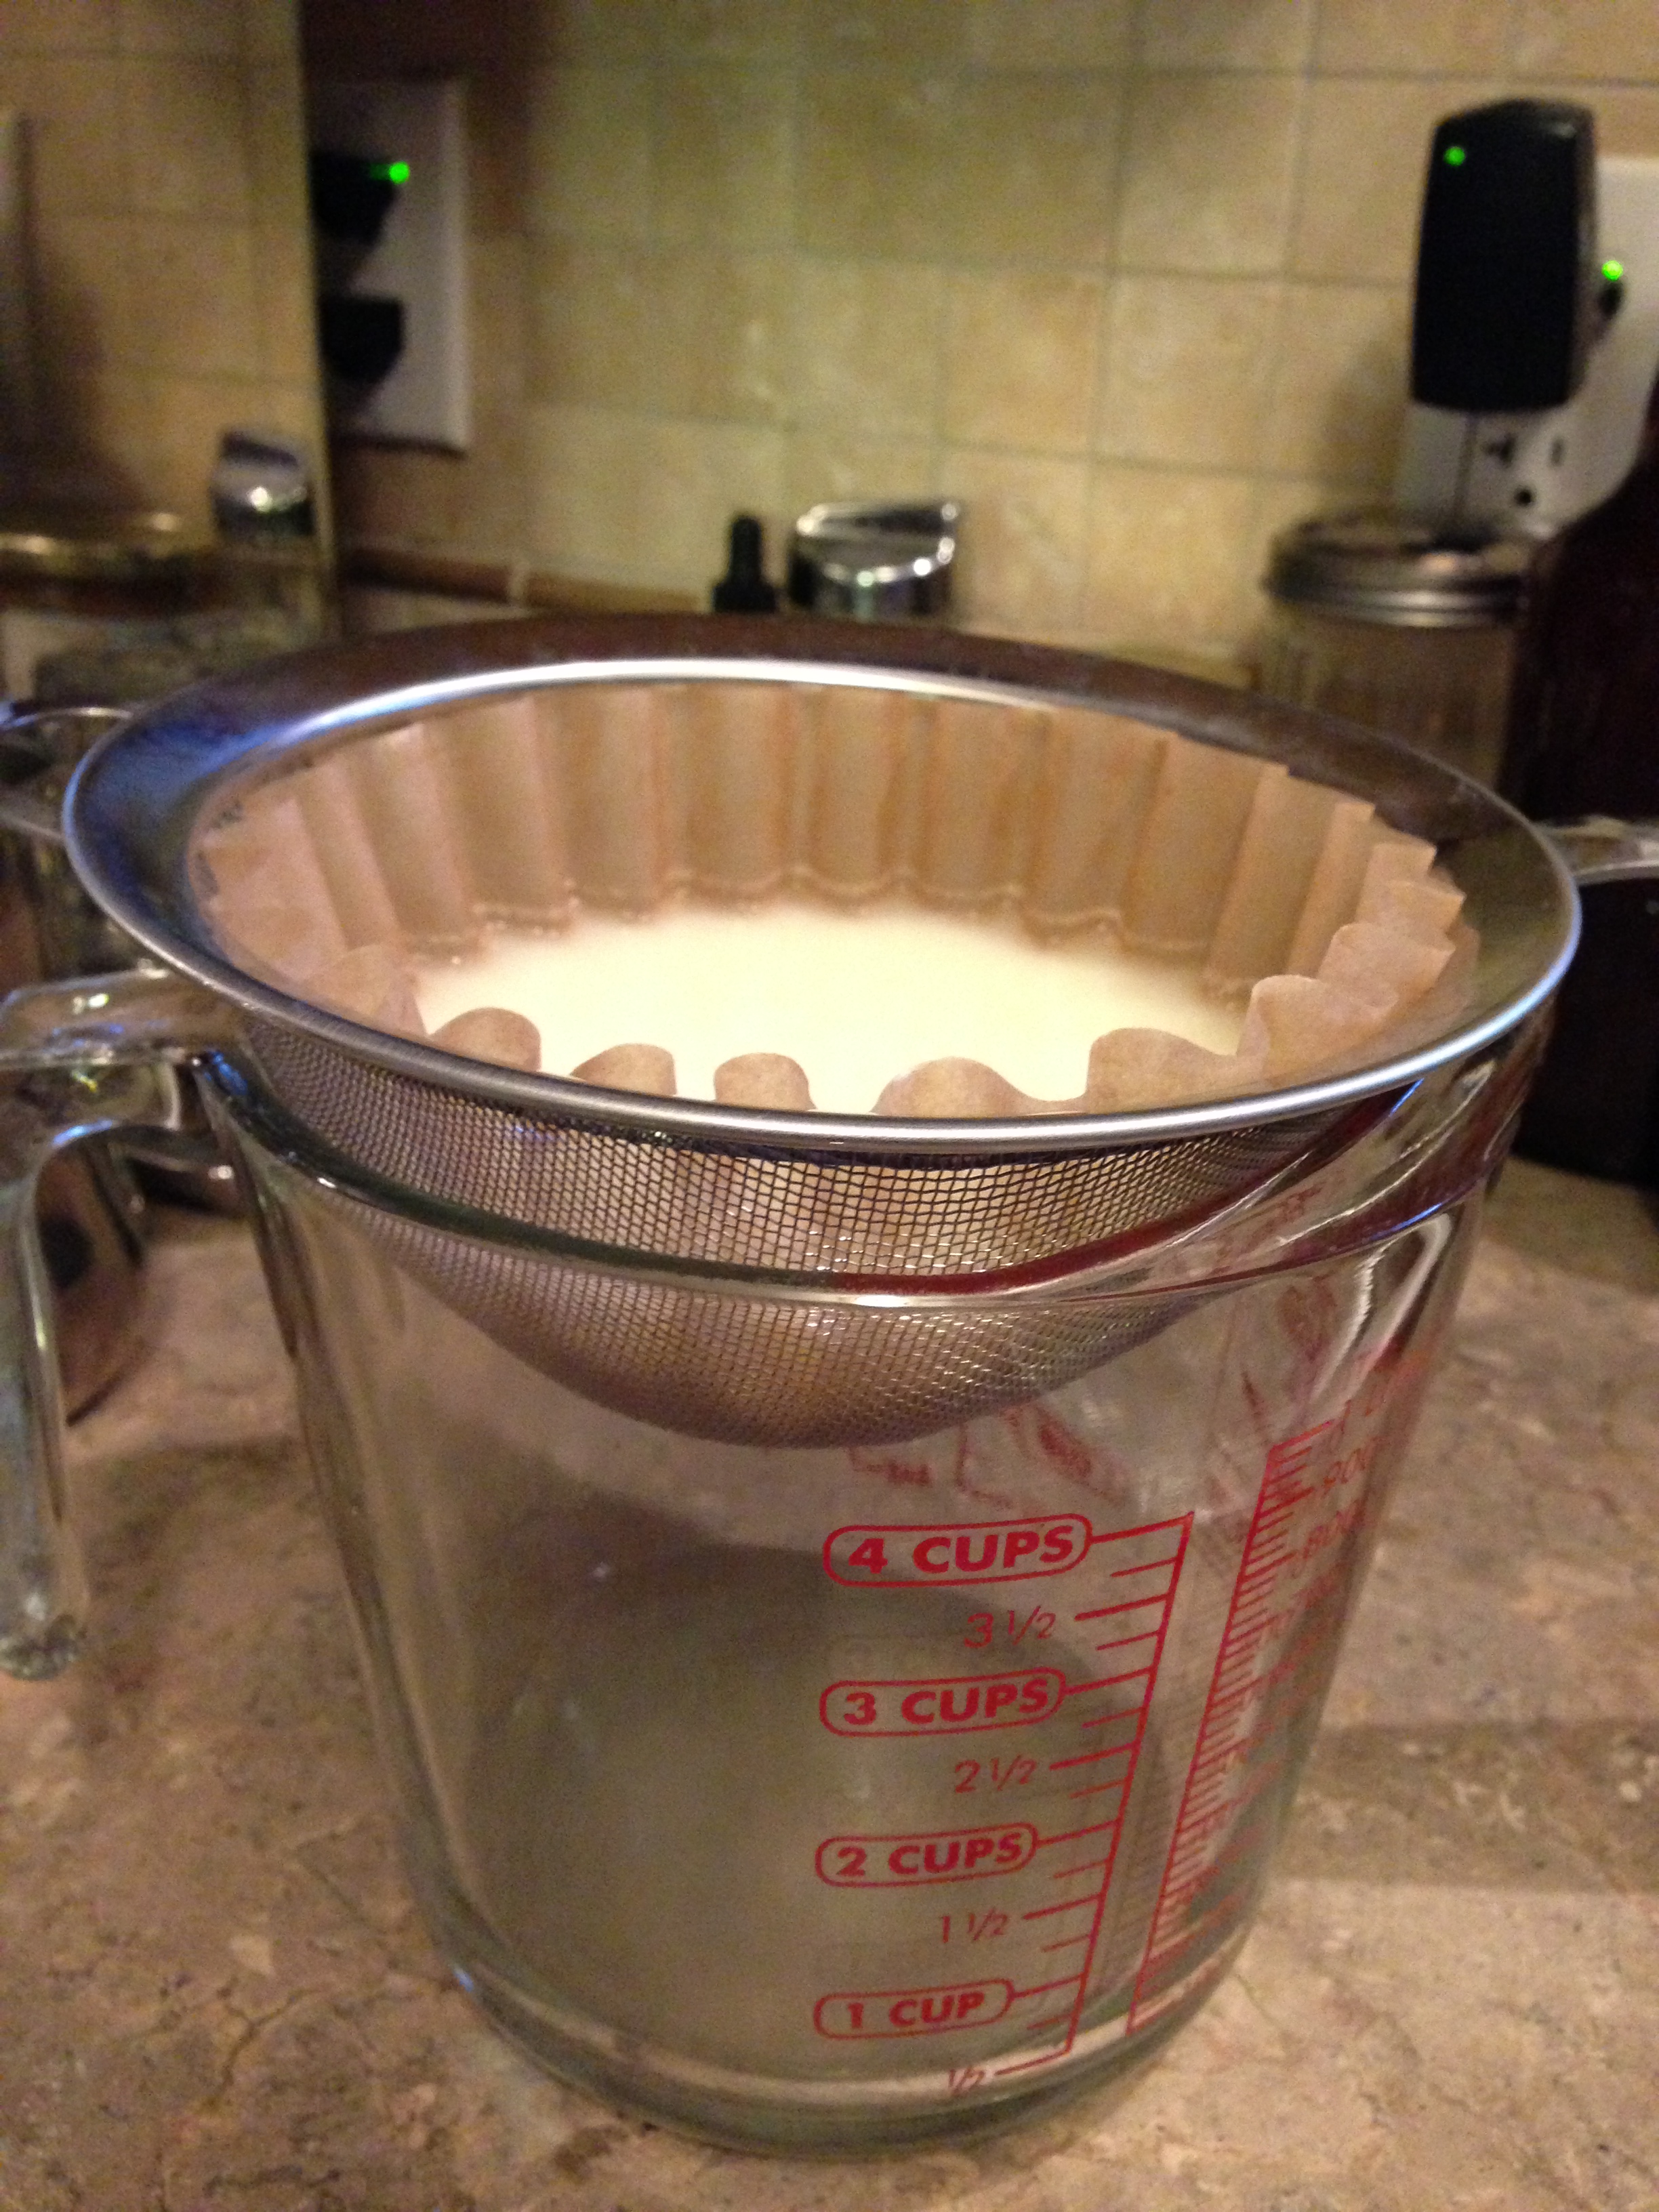
This is the culture I’m going to use to inoculate my vegetables. See the clear liquid in the bottom of the measuring cup? That is whey. To get the whey, you can use either plain yogurt or kefir. I’ve used kefir that I make myself (a post is coming about making kefir soon). Place a strainer over a measuring cup and place a coffee filter inside. Pour the kefir into the coffee filter and let set for a few hours. The dairy substance will stay in the strainer making something similar to cream cheese. The clear liquid that drips through is the whey. That will be added to the vegetable mixture in time.
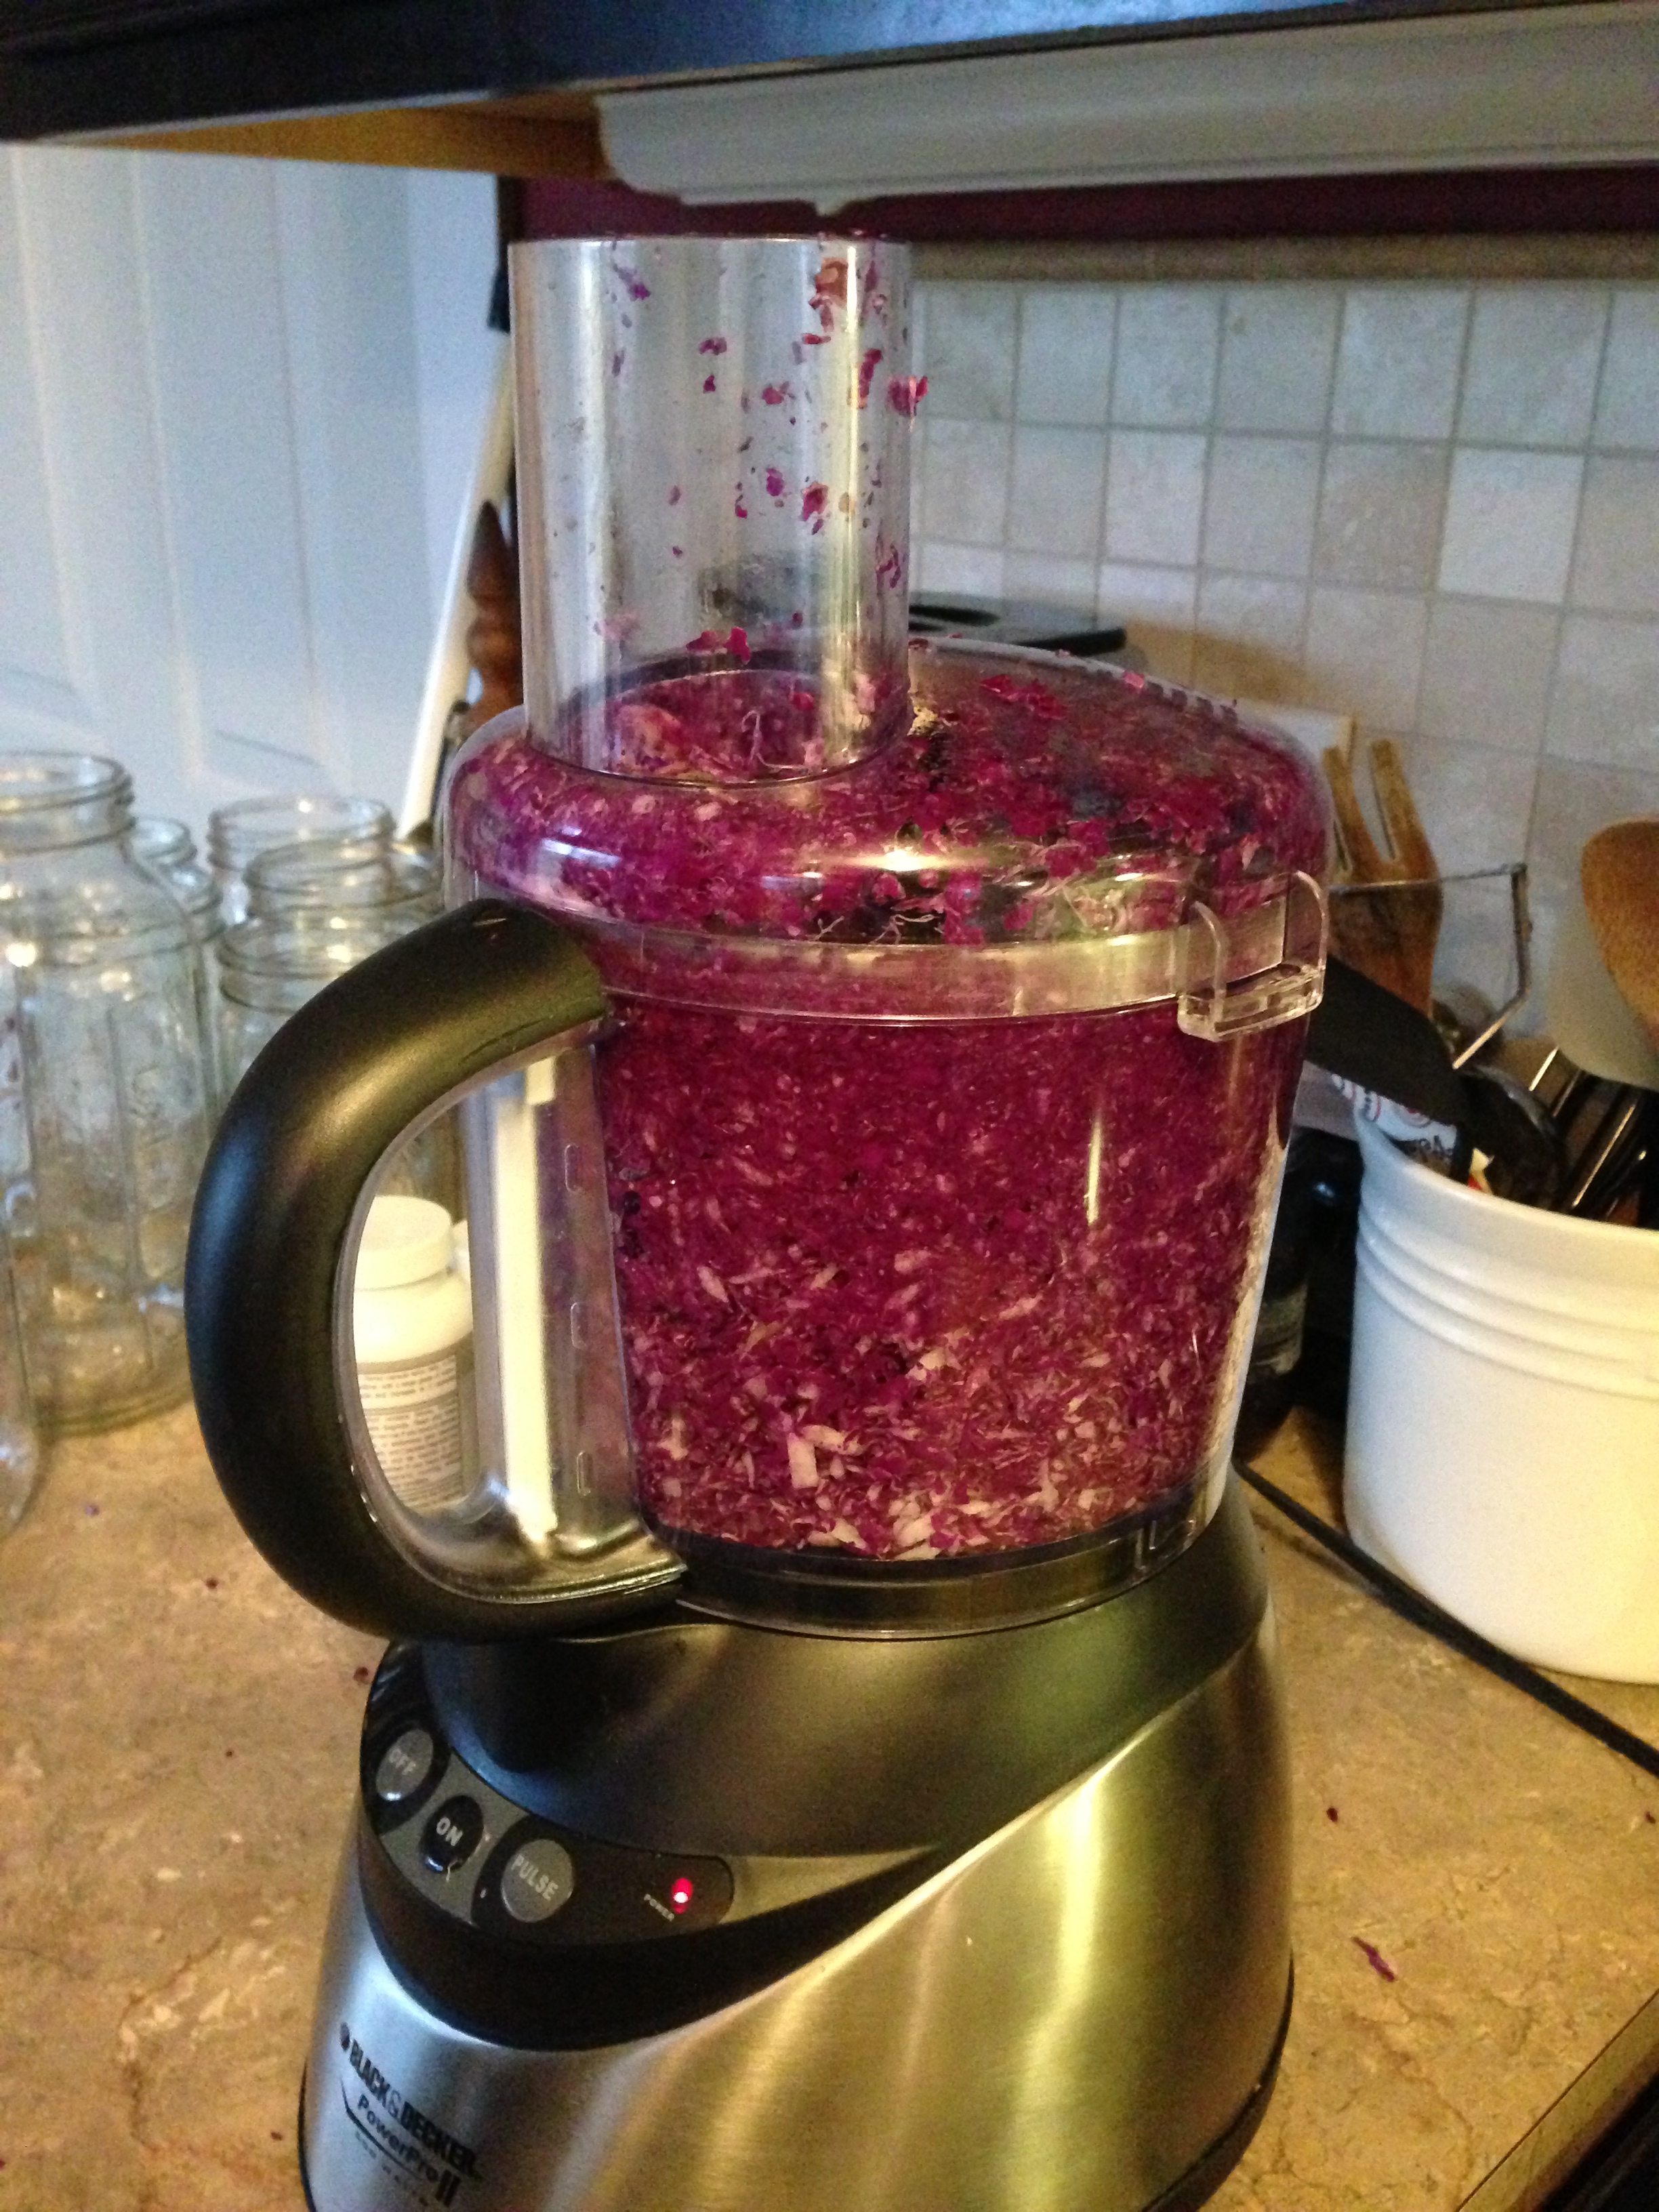
Here is the food processor full of red cabbage. One of the ingredients in the sauerkraut.
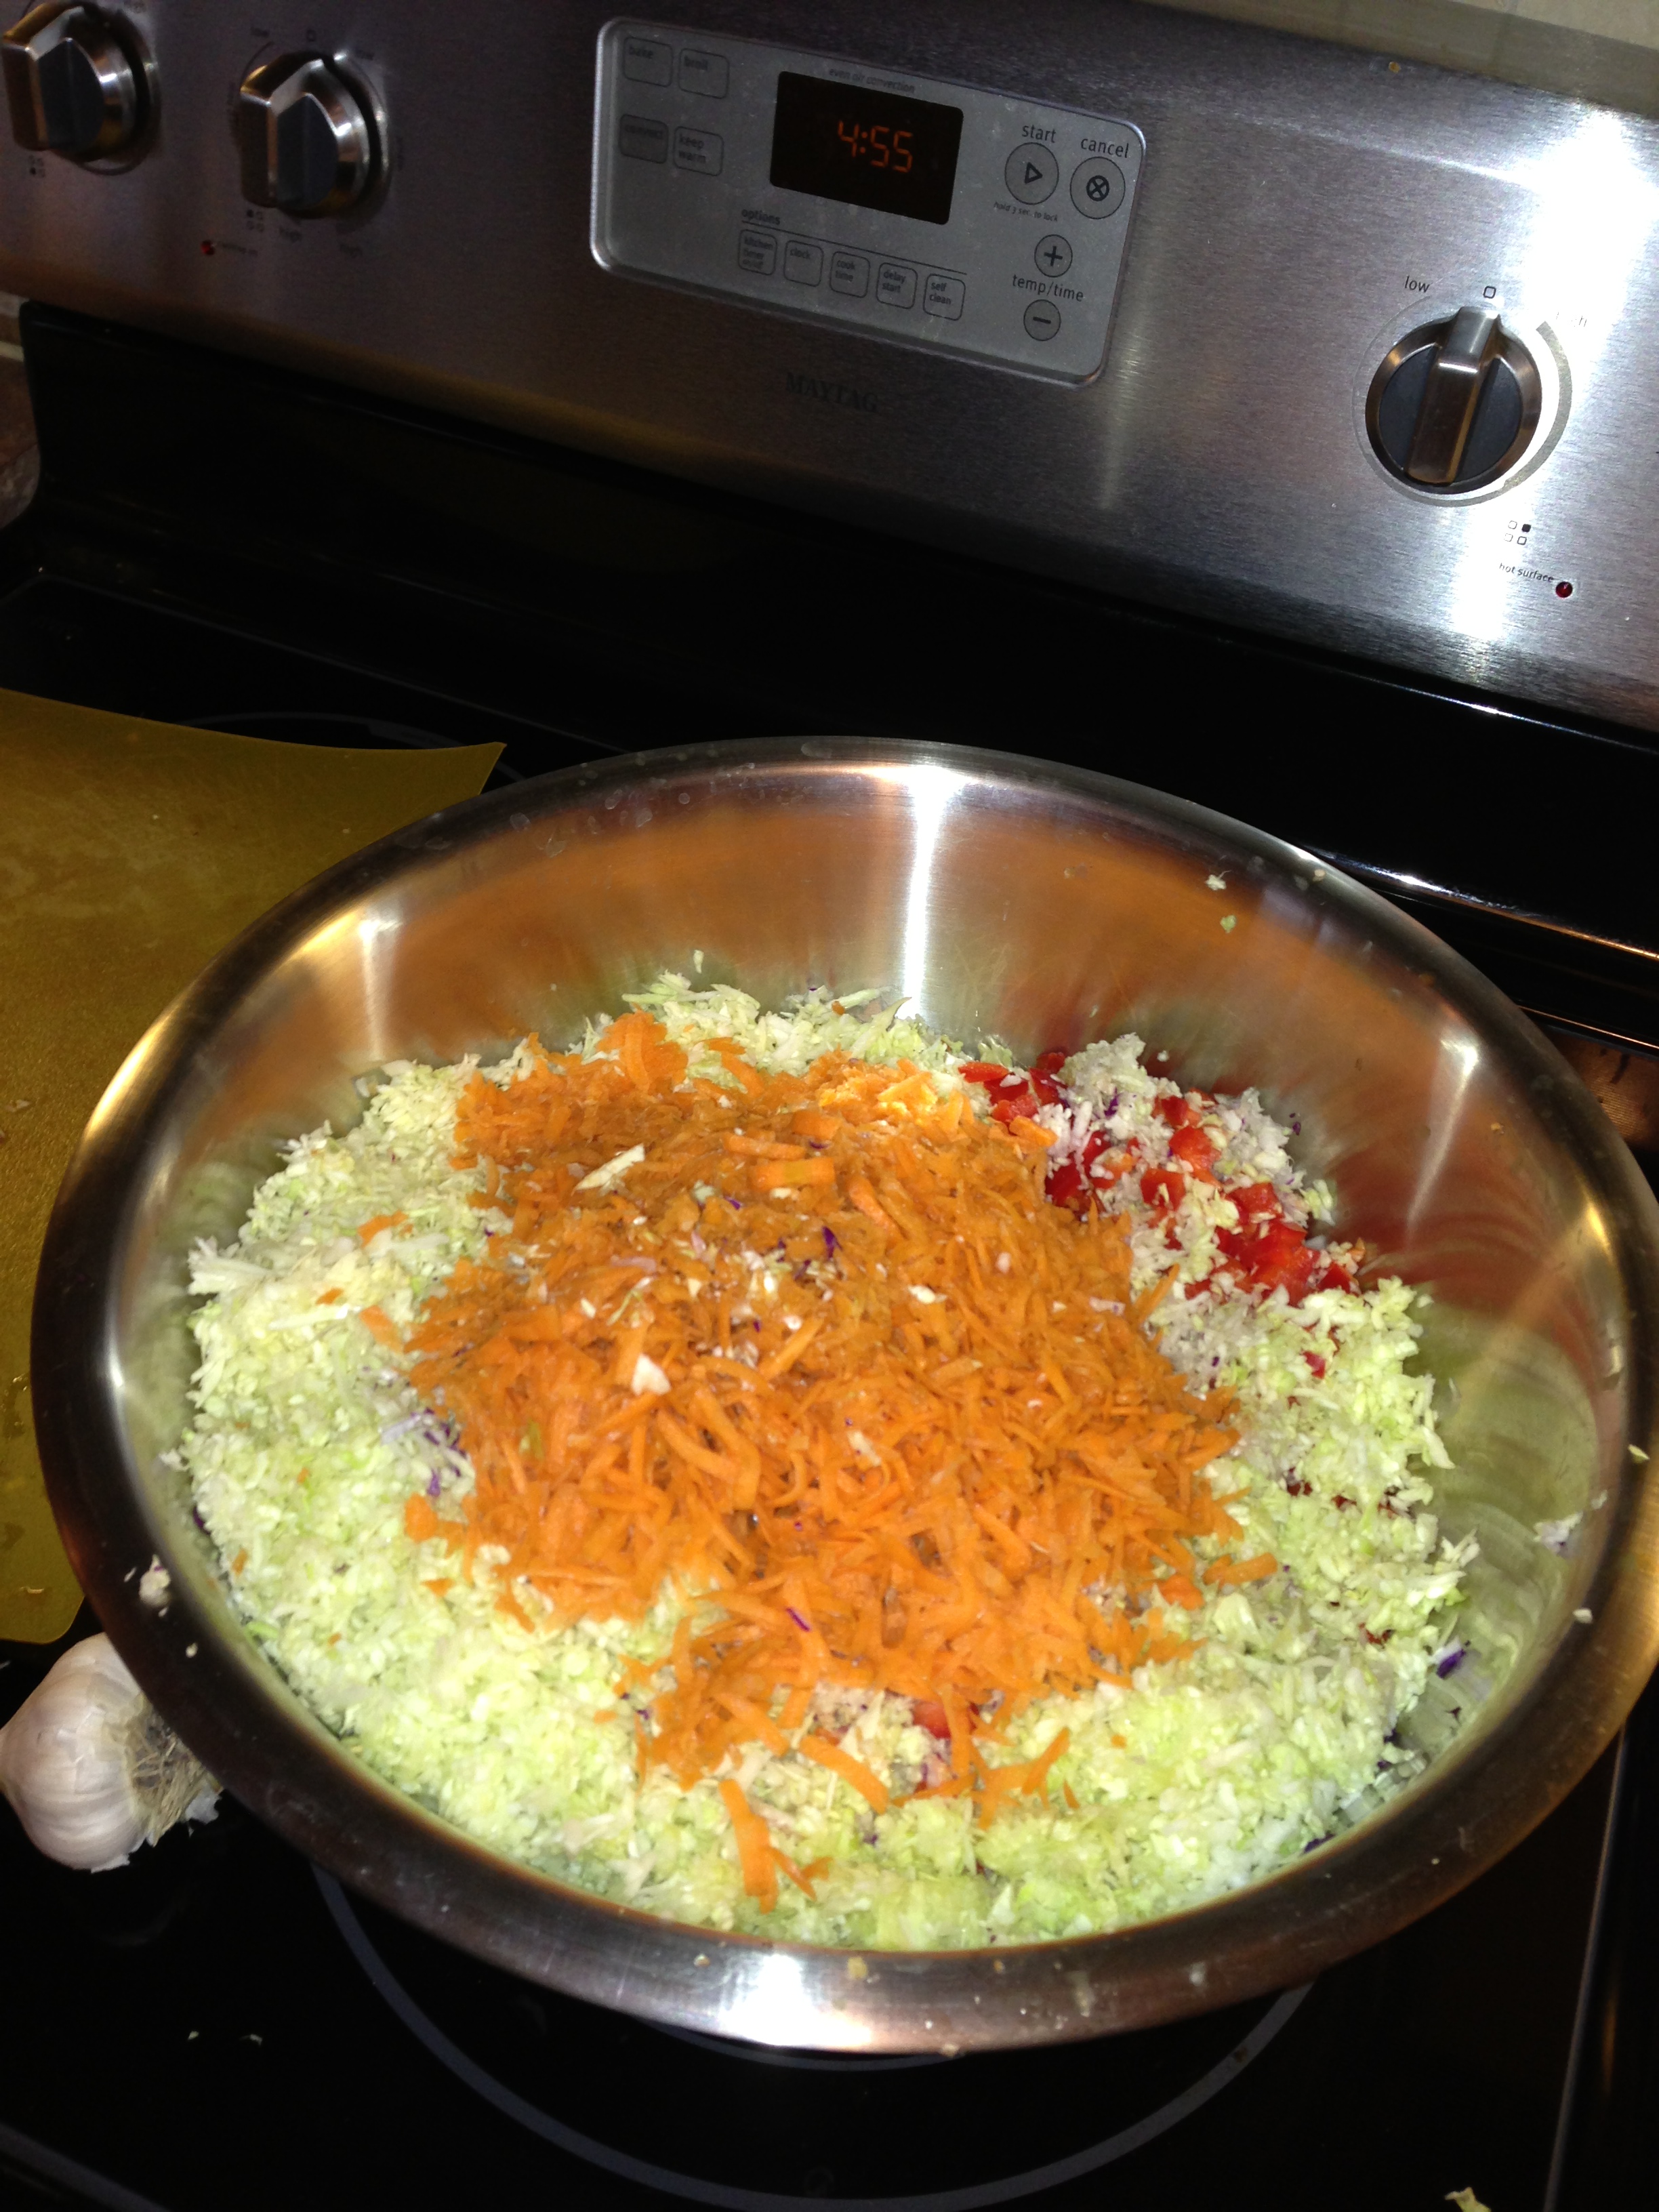
Here is my bowl full of shredded and chopped ingredients. Next you add sea salt. I used Himalayan Sea salt. It’s full of minerals and has a really nice flavor.
The next step is to start kneading your cabbage mixture. You knead the salt and cabbage together to start breaking down the cell walls of your vegetables. Then I add the whey. For this large bowl I added 1/2 cup of whey. Then I kept kneading.
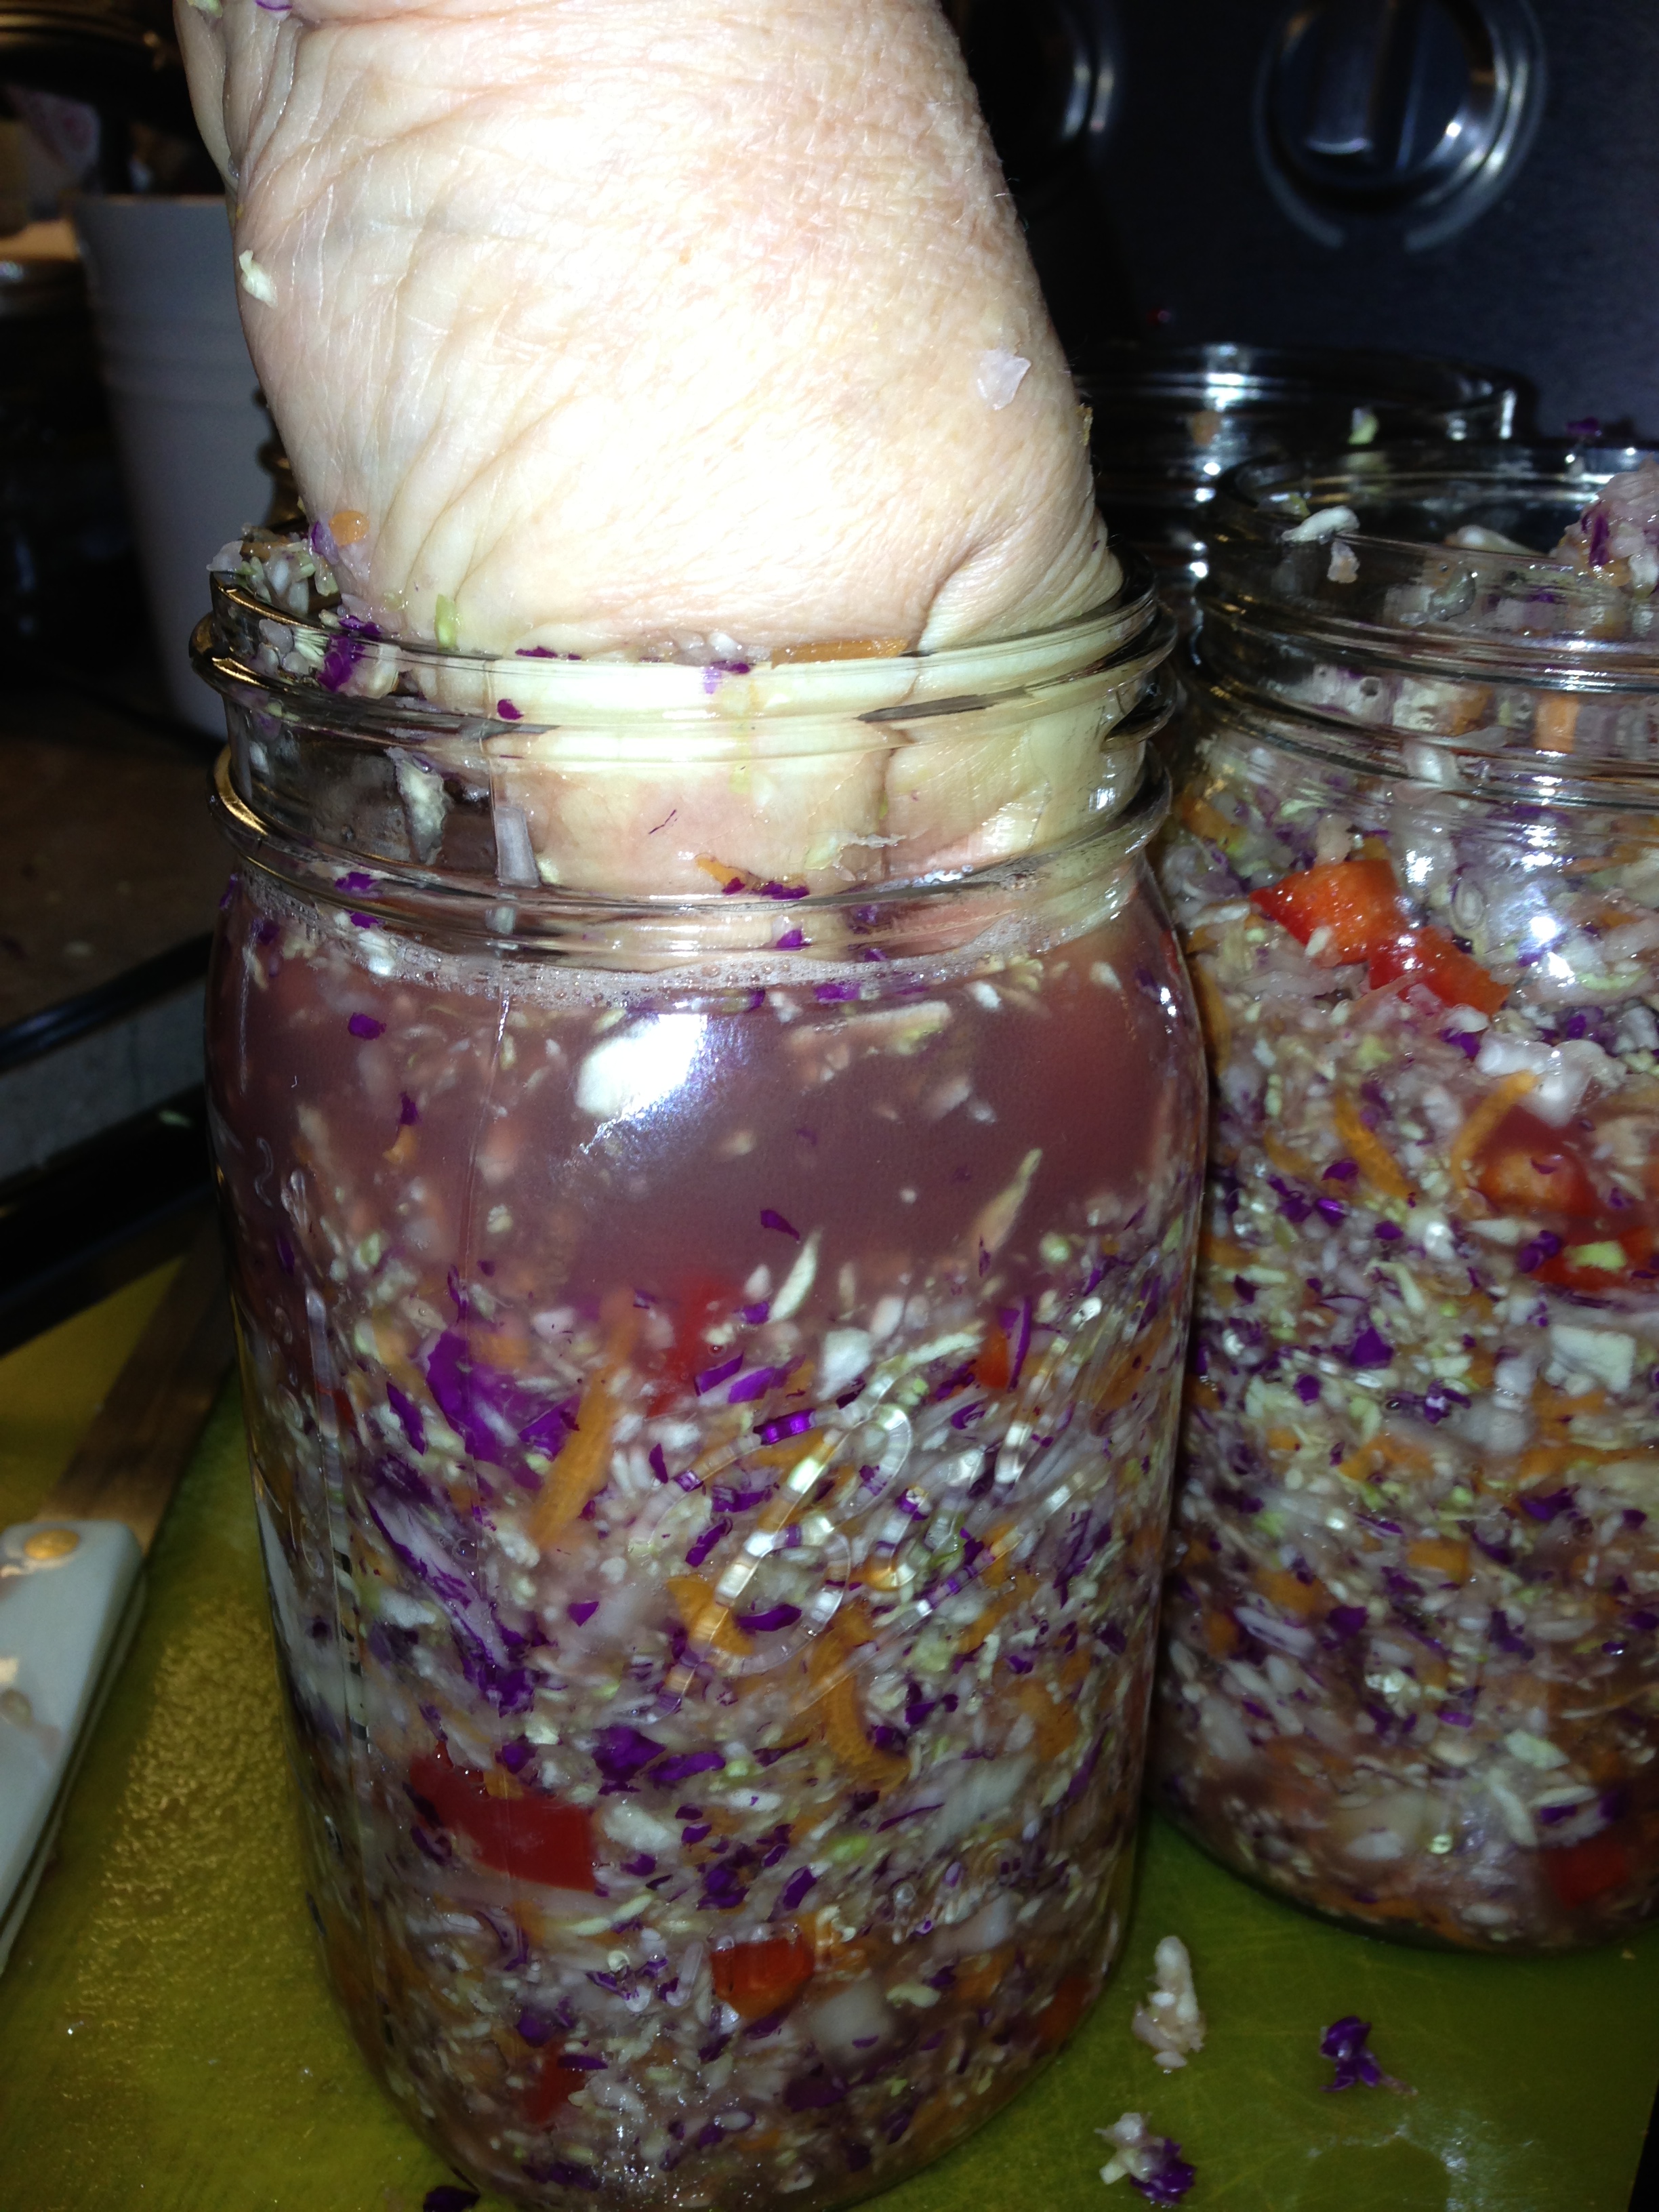
When you pick up handfuls of the cabbage mixture, you can literally see liquid dripping from your hands. Next you place your mixture into large mouth jars (or some use a crock). You take your hand and press the mixture down into the jar to remove any air. The picture below shows just how much liquid will be in your mixture. This is called the brine.
When all your jars are filled (I leave about 2 inches at the top of the jars. This allows room for the fermenting process to take place without the jars spewing all over. You top each jar with a cabbage leaf to keep the mixture down underneath the brine. The process of fermentation takes place in an anaerobic environment, that means air free. If the cabbage was exposed to air then rotting would take place, not fermentation. The cabbage leaf keeps all the cabbage mixture down under the brine so it’s not exposed to air.
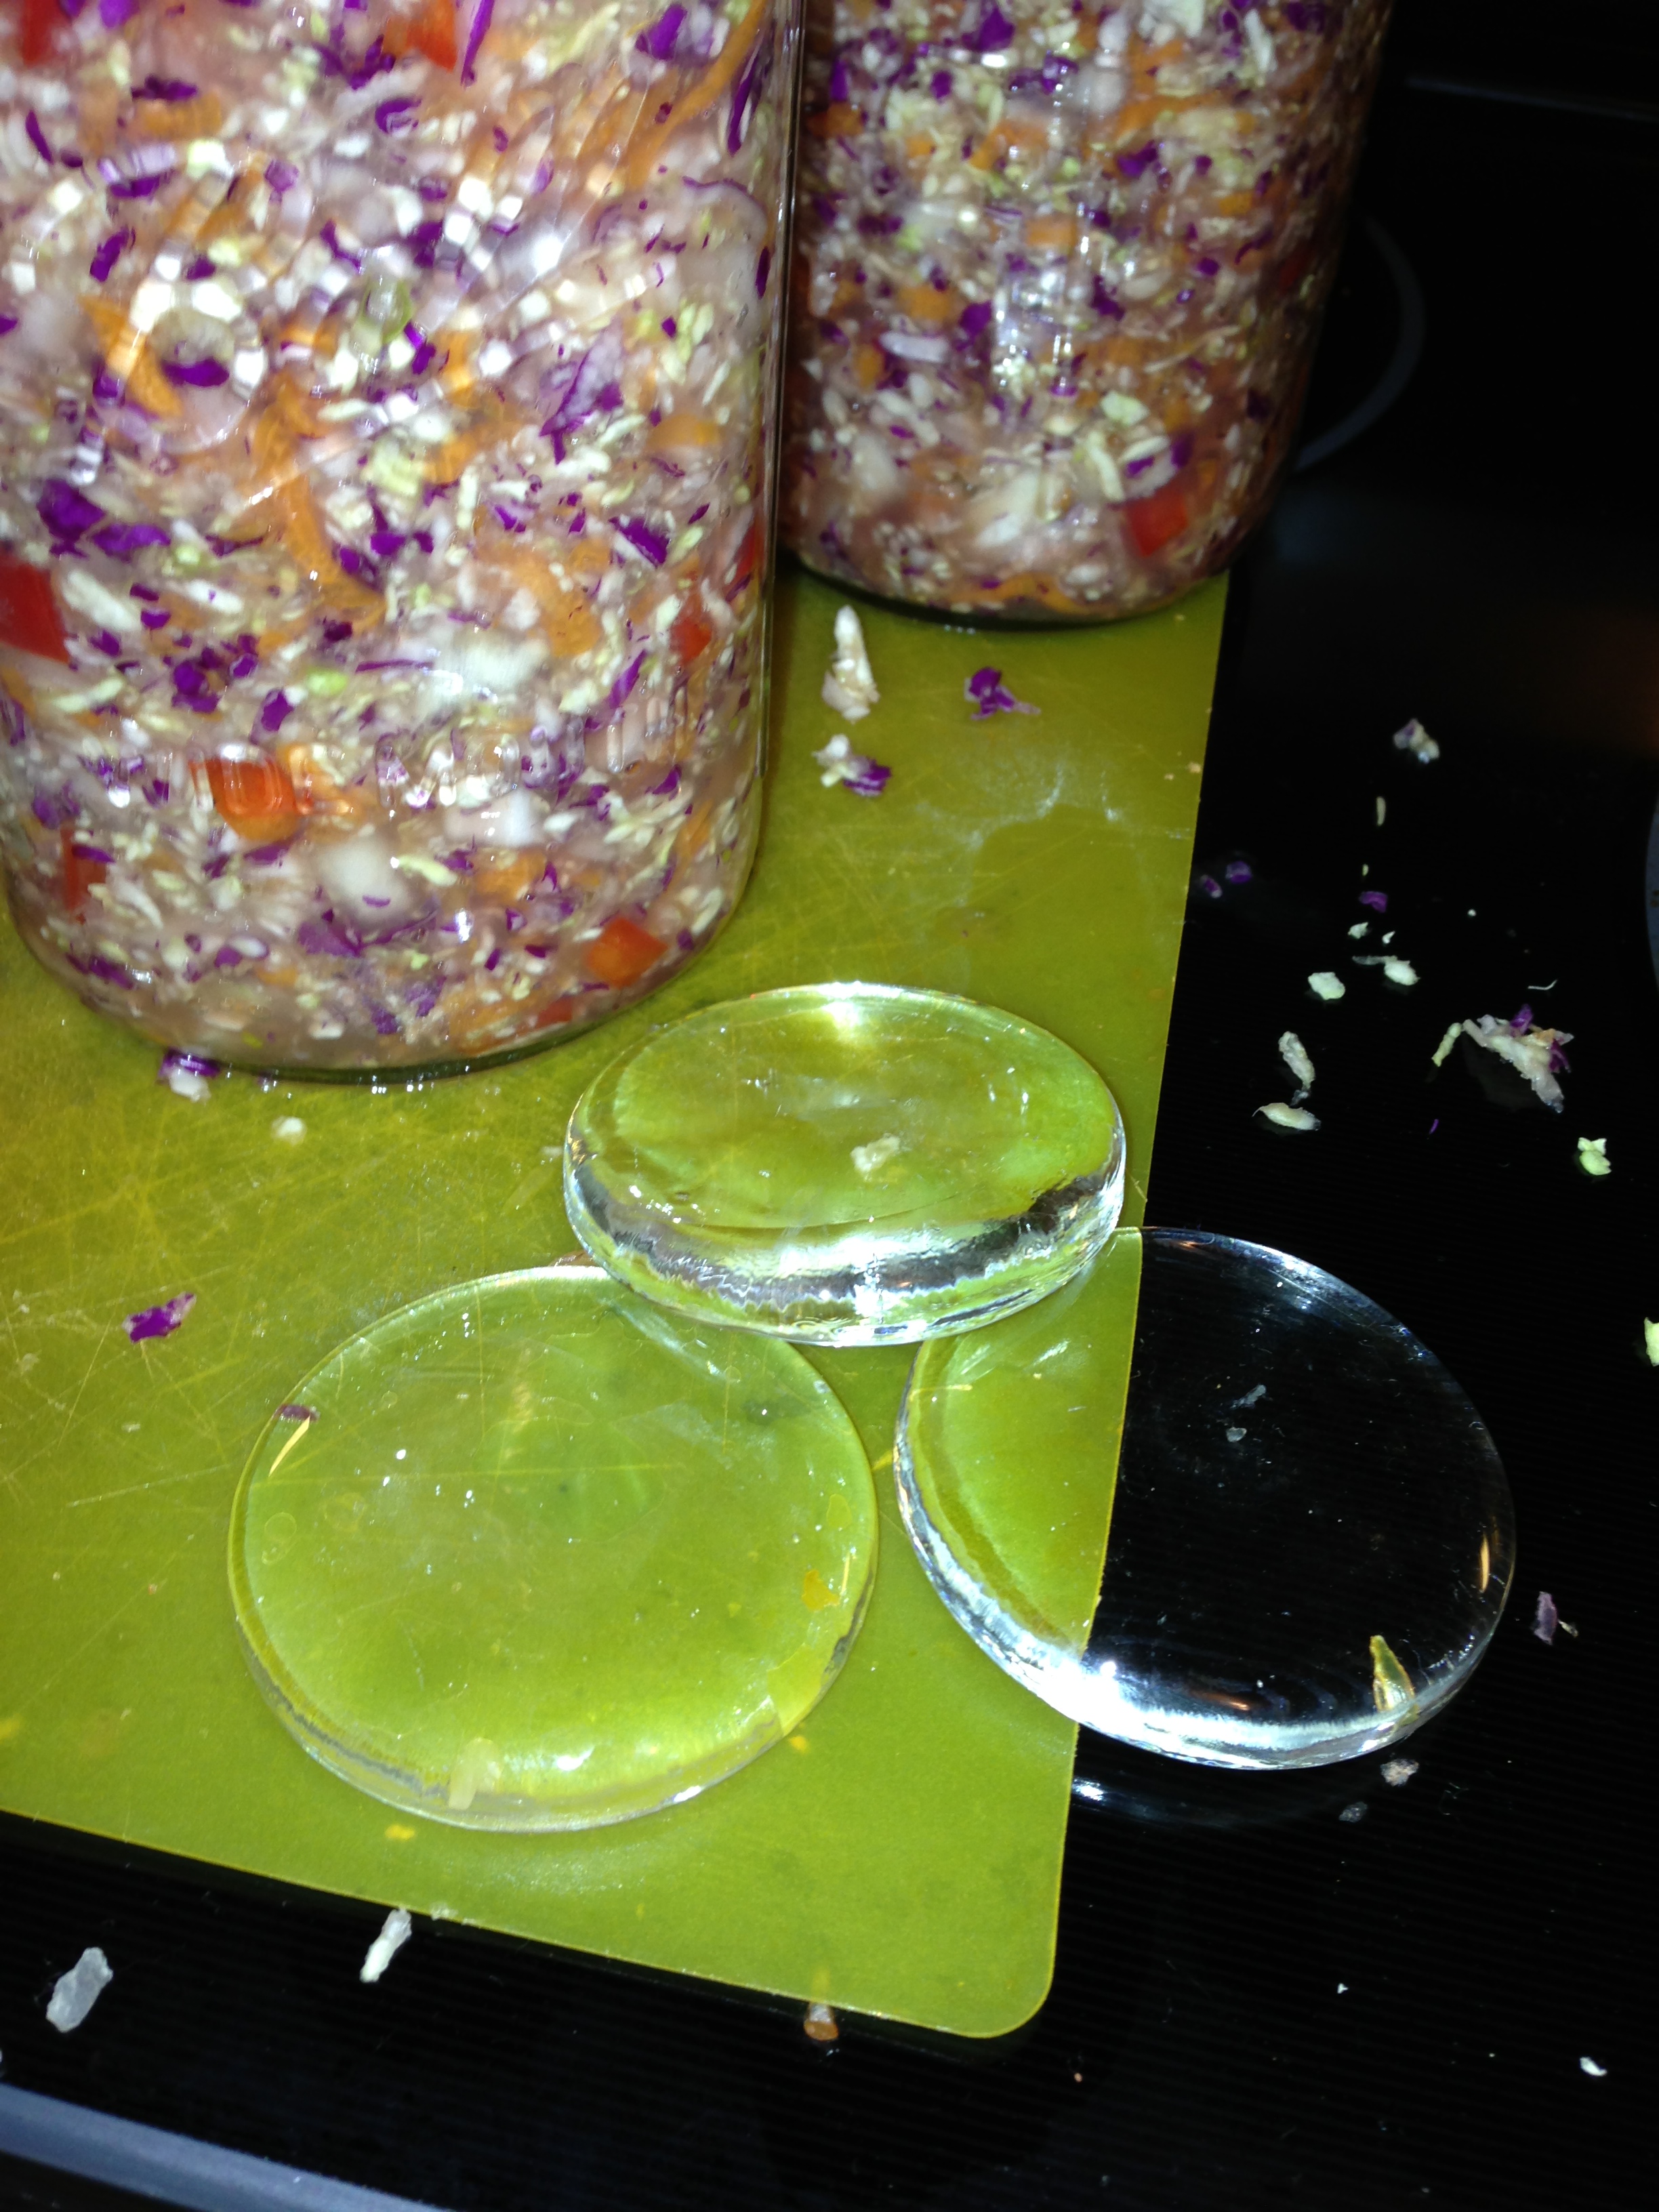
See the clear glass disks in the picture above? Those are called lacto-fermentation weights. You don’t have to have these, but I find them helpful to place on top of the cabbage leaf to help give it weight. You can buy these on Ebay, although when I went to buy them last year they were back ordered for 3 months before I got them. I think making your own fermented foods is making a come back here in the US.
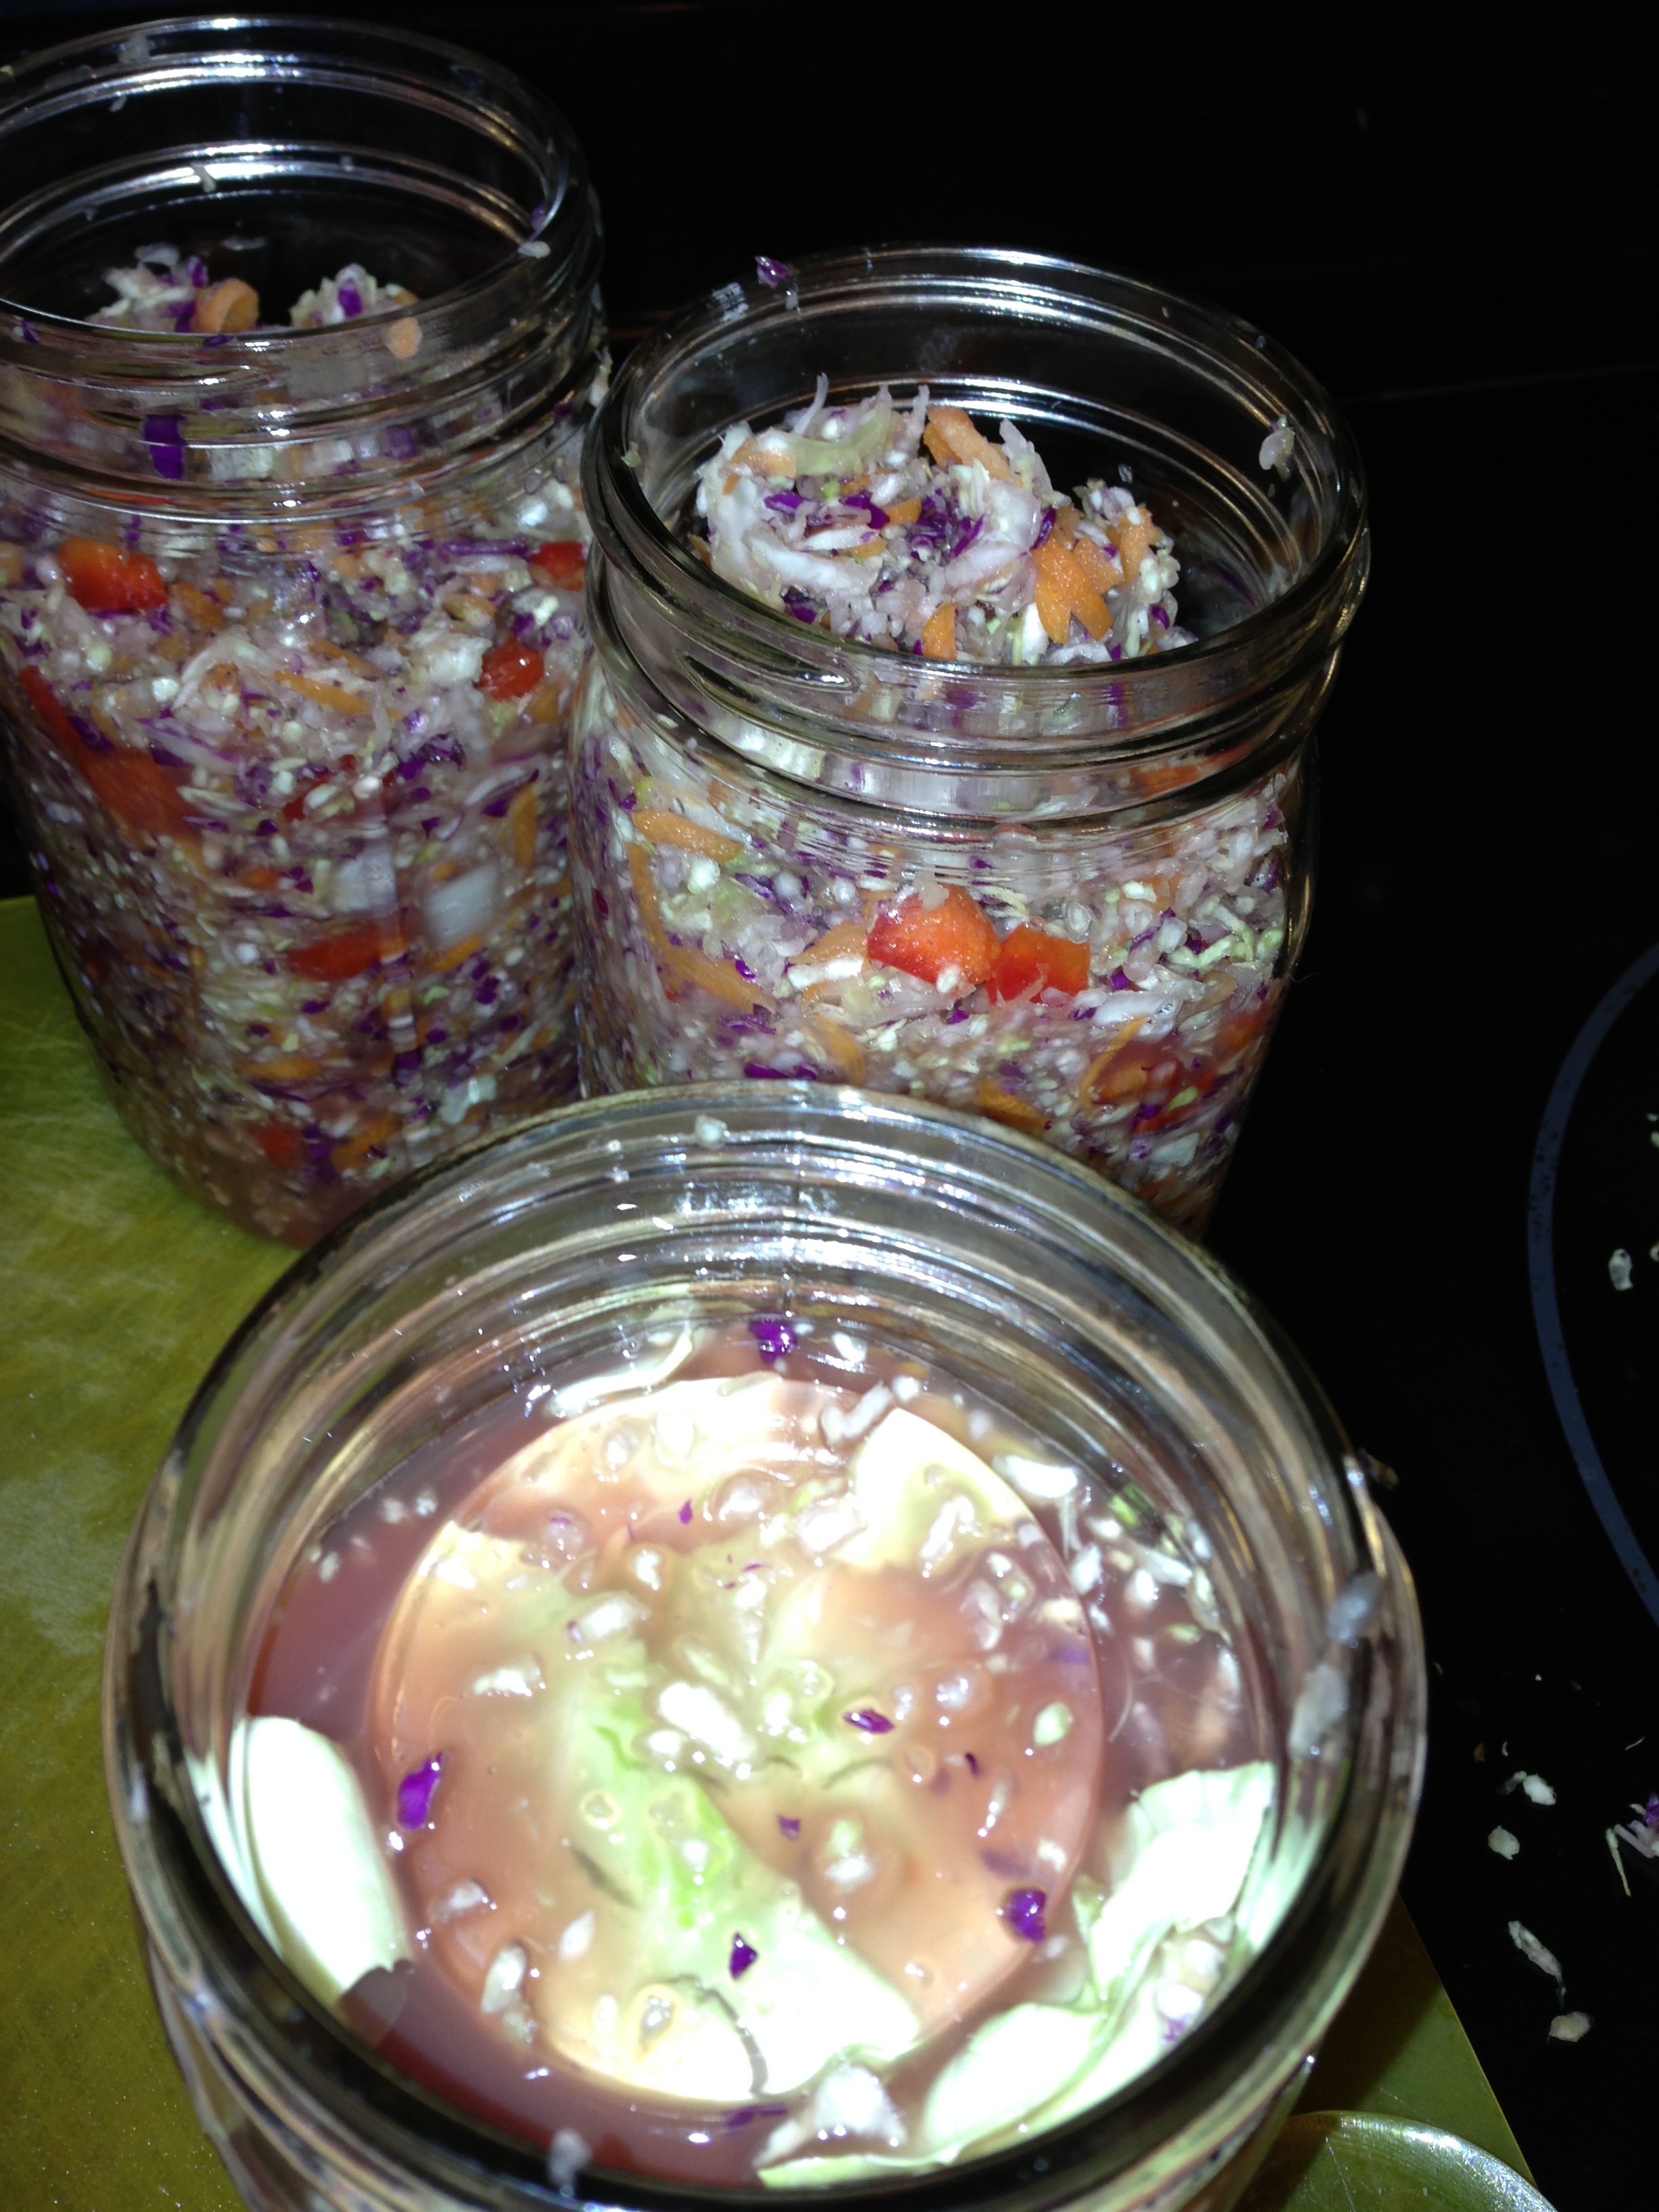
If you look in the top of the jar you will see the edges of the cabbage leaf peeking out and the round glass weight on top.
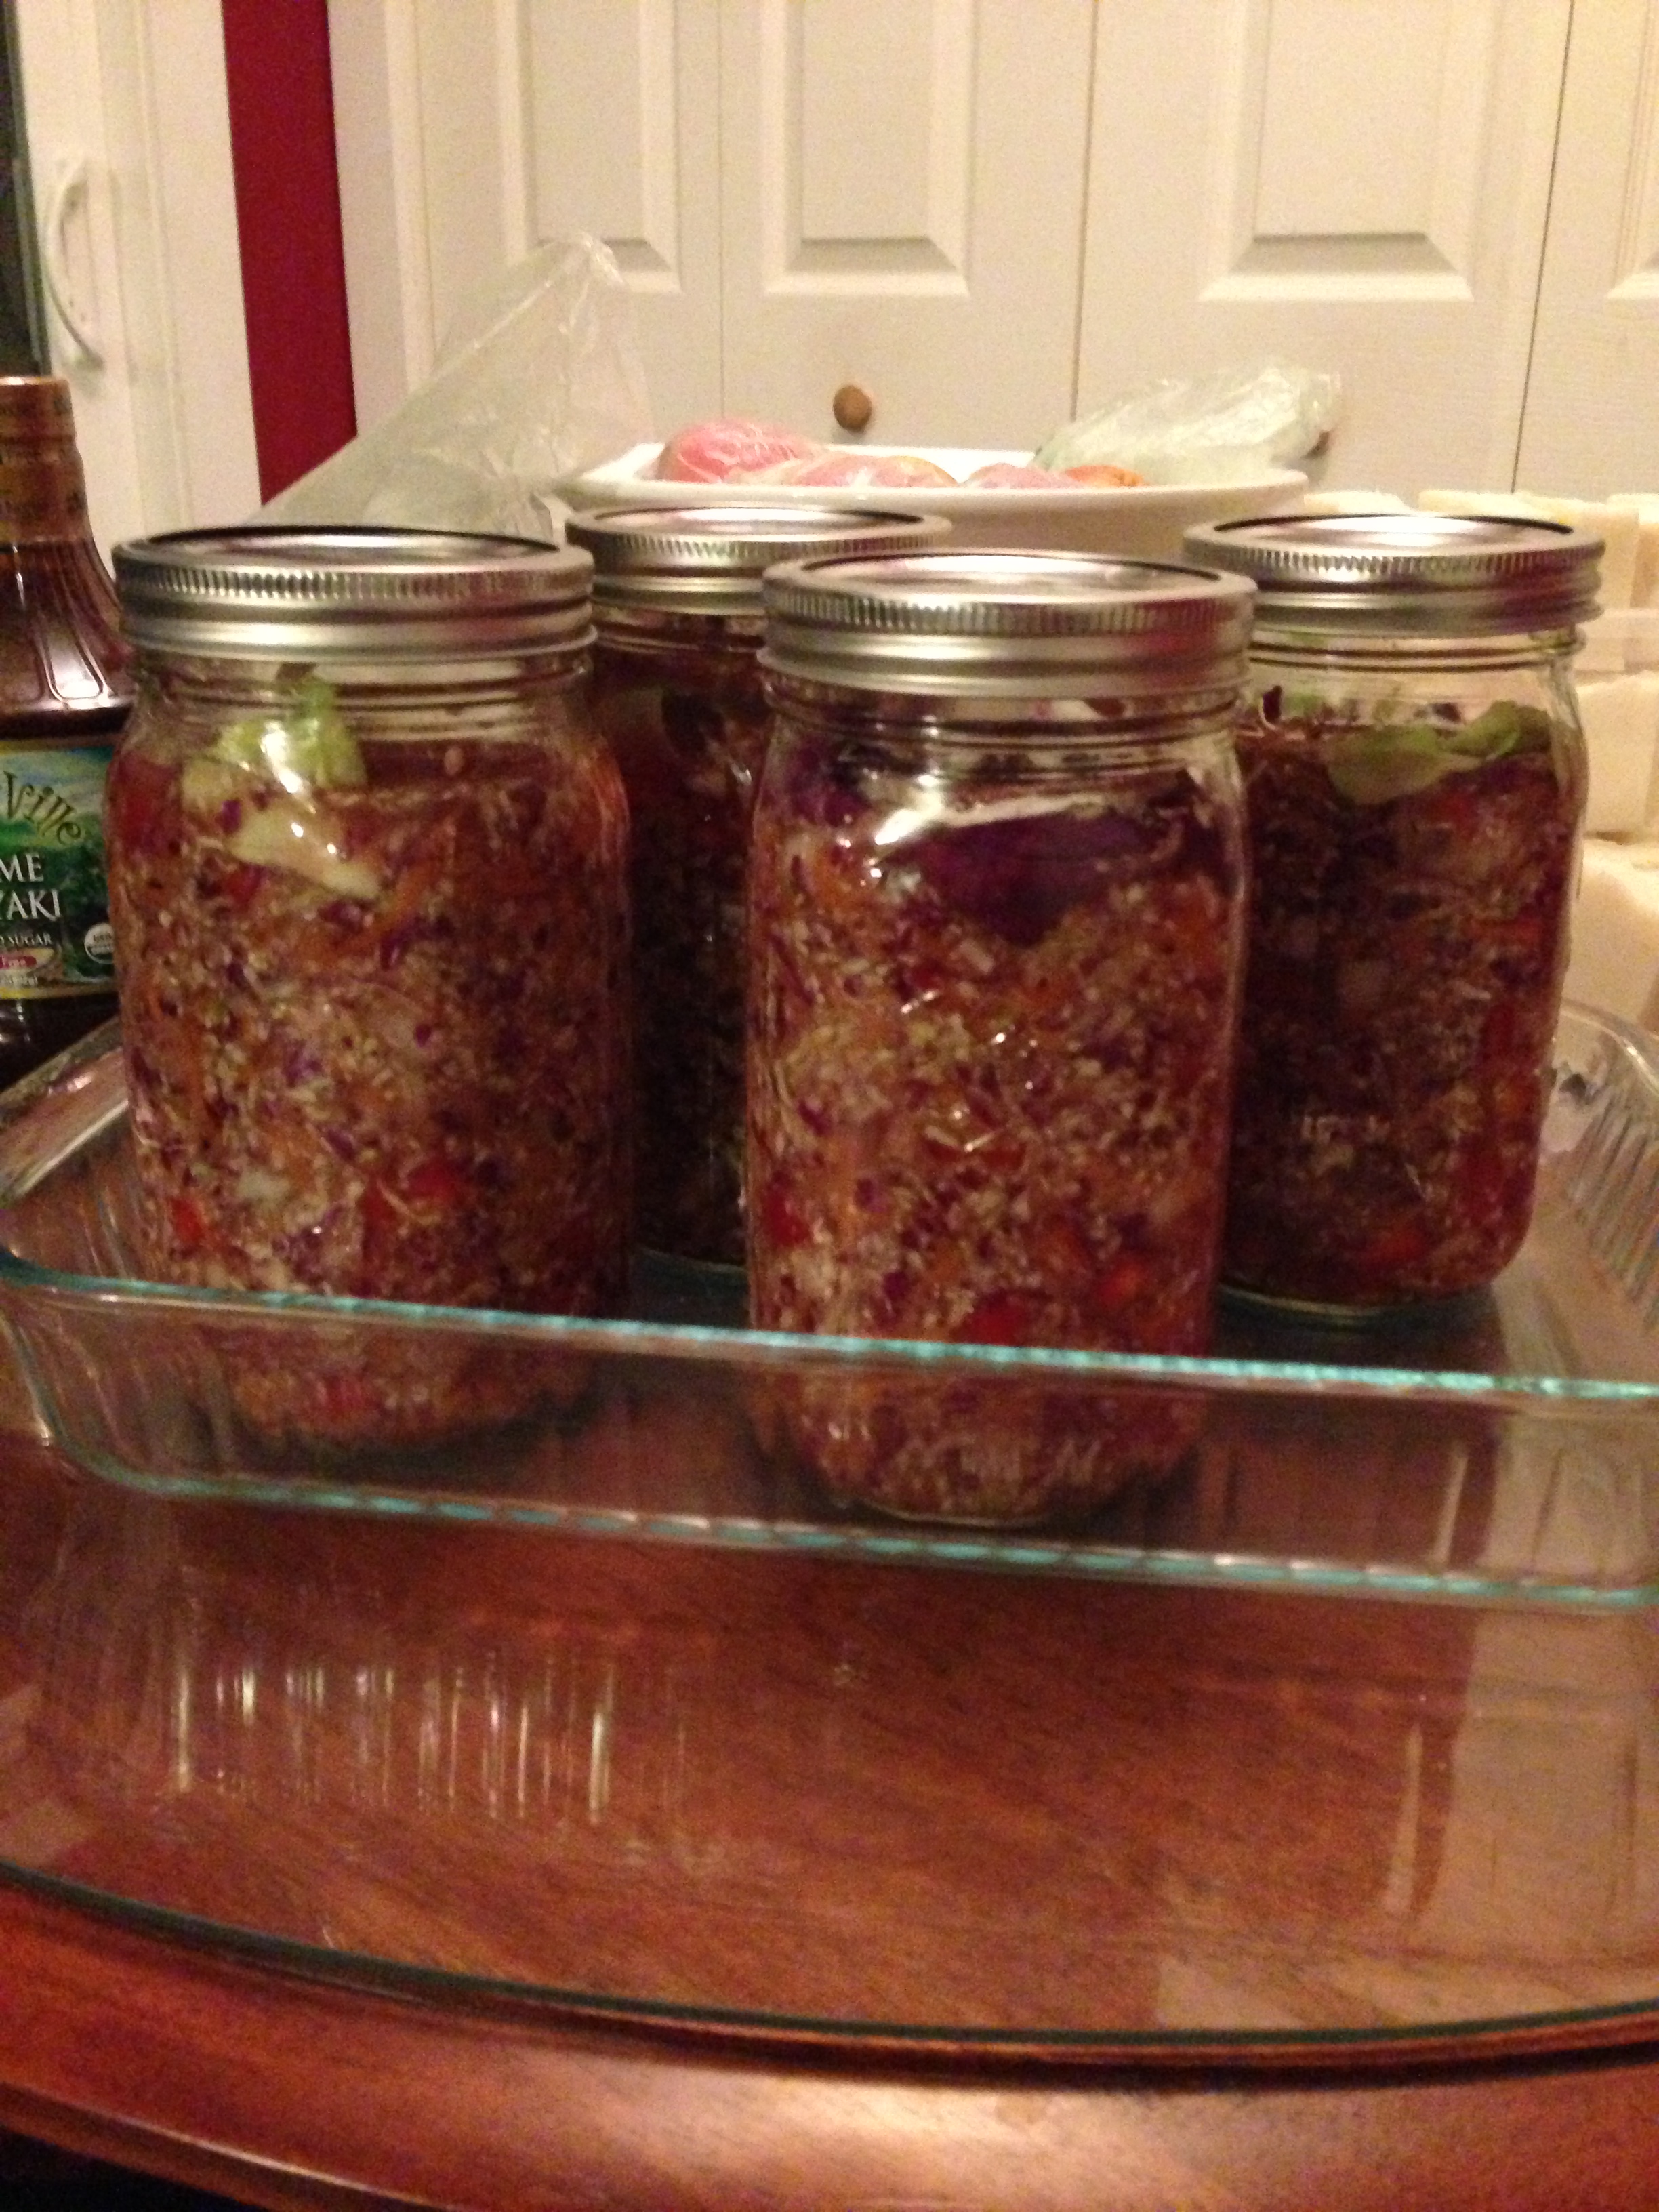
I’ve never had a batch of veggies not spew over yet after a couple of days, so I set all my jars in a cake pan to catch the brine. I am trying a new thing this time. I’ve screwed the lids on the jars very loosely, so hopefully between the 2 inch space I’ve left and the loose jar lids, the pressure will not build up so much and cut down on the spewing. I want to keep all my brine, thank you very much. It’s full of probiotic goodness.
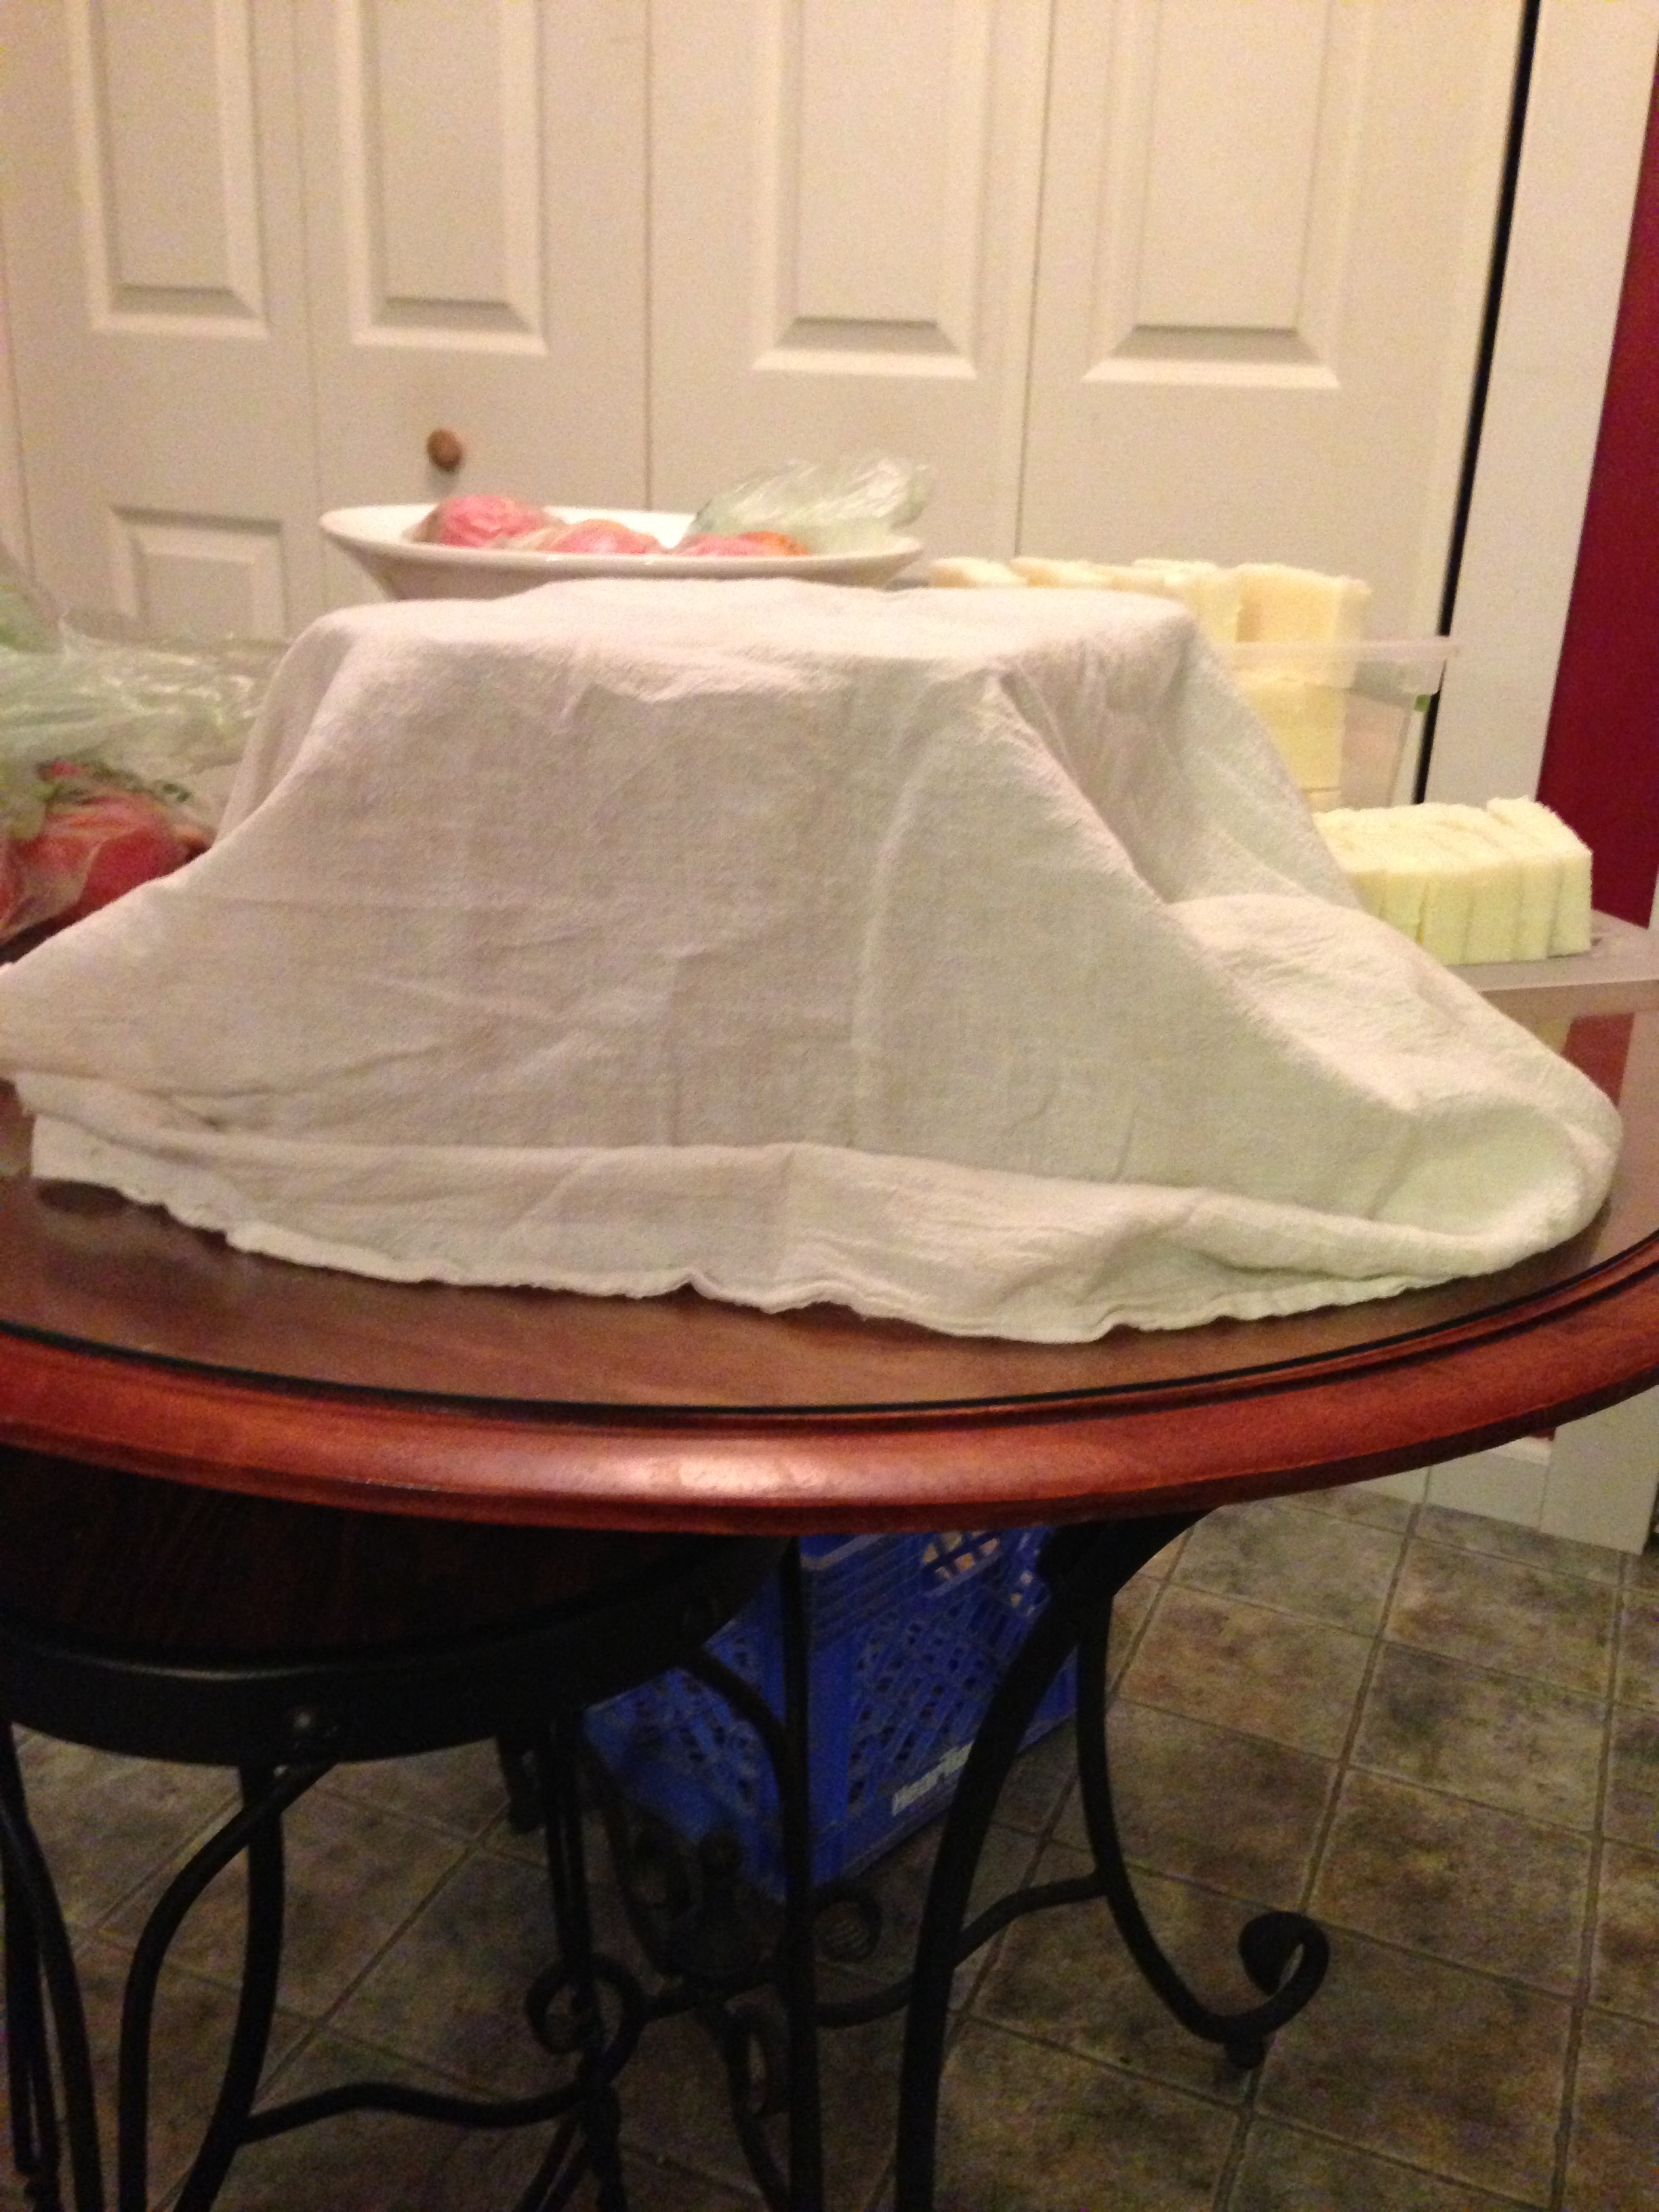
The process of fermenting with a whey culture takes about 5-7 days. The directions say to keep them in a dark environment, so I’ve covered them with a towel. I will check on them everyday, making sure that everything is staying down under the brine. I will probably take off the lids and push on the weight to make sure everything is submerged.
This time next week I will be eating a jar of these veggies. I have them with my eggs at breakfast and at all my other meals too.
This is just one way my food has become my medicine. Instead of buying bottles of probiotics, I’m making my probiotics. Here is a post from Dr. Mercola’s website:
“It’s worth noting that each mouthful of fermented food can provide trillions of beneficial bacteria—far more than you can get from a probiotics supplement, which will typically provide you with colony-forming units in the billions. I thought this would be a good analysis, so I tested fermented vegetables produced with our probiotic starter culture to determine their probiotic potency and was astounded to discover they had 10 trillion colony-forming units of bacteria. Literally, one serving of vegetables was equal to an entire bottle of a high potency probiotic!”
Now I realize he tested his batch that had been made with a culture starter, but I can’t help but believe that inoculating my vegetables with my own kefir whey is comparable. Whey is a culture starter too. Can you believe it?? One serving was equal to an entire bottle of probiotics? I find that amazing, and making your own “live” food is SO much cheaper.
There are actually two different methods to making fermented vegetables. The way I just showed you is called lacto fermentation and then there’s wild fermentation. In wild fermentation, you leave out the whey starter, add extra salt to keep the bad bacteria from growing during the fermentation time and just allow the good bacteria that is already present on the surface of the vegetables to grow. I have made it both ways. The processing time is longer for the wild fermenting. It takes about a month to complete. I didn’t have that long this time as I was almost out of veggies so I made the lacto fermented variety to get my next batch made quicker.
So there you have it……step by step instructions on one of the “strange” things I’ve been eating, but when you think about it, it’s not really so strange after all. It’s just that we here in the west have just forgotten the ways of our forefathers. They were eating like this for centuries, and many other countries around the world still are.

Very nicely done Mom! Wow!! 🙂
Thank you for sharing! I am enjoying your story and your journey!
Thanks, guys 🙂