
An important dietary part of my life is drinking Kefir. You’ve never heard of Kefir? Well, let me tell you more about it.
Kefir is a liquid version of yogurt. At least that’s what I thought in the beginning. Unflavored, it tastes a lot like unflavored yogurt, except a bit more tangy. It was something I definitely had to develop a taste for, but in the beginning I flavored my own. I would add a tablespoon of maple syrup (which was my absolute favorite) or put it in my vita mixer and blend a banana and some chocolate syrup (a close second!!). It was even good blending it with blueberries or strawberries, but in the beginning when I was coming off of eating the typical western diet, full of sugar, I would blend my fruit and add a tablespoon or two of organic fruit jams that I bought at Whole Foods. I was flavoring a whole quart at a time, so the couple of extra tablespoons of sugar made it very palatable; similar to the brands you would buy in the store.
But as I did more research, I found out that there’s a whole lot more to Kefir than meets the eye. I found that it’s full of naturally occurring bacteria and yeast living in symbiosis as the result of the fermentation process. Kefir is loaded with vitamins, minerals and easily digested protein. It can even be consumed by the lactose intolerant because the yeast and bacteria provide the enzyme lactase, an enzyme which consumes most of the lactose left after the culturing process.
Kefir is fermented by kefir grains that contain the bacteria and yeast mixture clumped together with casein (milk protein) and complex sugars. The bacteria and yeast mixture can actually colonize the intestinal tract, a feat that yogurt cannot match, thus the difference between yogurt and kefir. Several of the strains of bacteria in the kefir culture are not found in yogurt. The yeast in kefir is able to deal effectively with pathogenic yeasts (like candida) in the body. The bacteria/yeast team cleanses and fortifies the intestinal tract making it more efficient at resisting pathogens.
So of course I was intrigued. I went online and bought some kefir grains so I could make my own (that’s just the way I am….I want to do things myself). Today, I’m going to show you just how easy it is to make your own kefir…..then you’ll have an endless supply to drink, getting the whey for fermenting your veggies, and saving yourself a whole bunch of money.
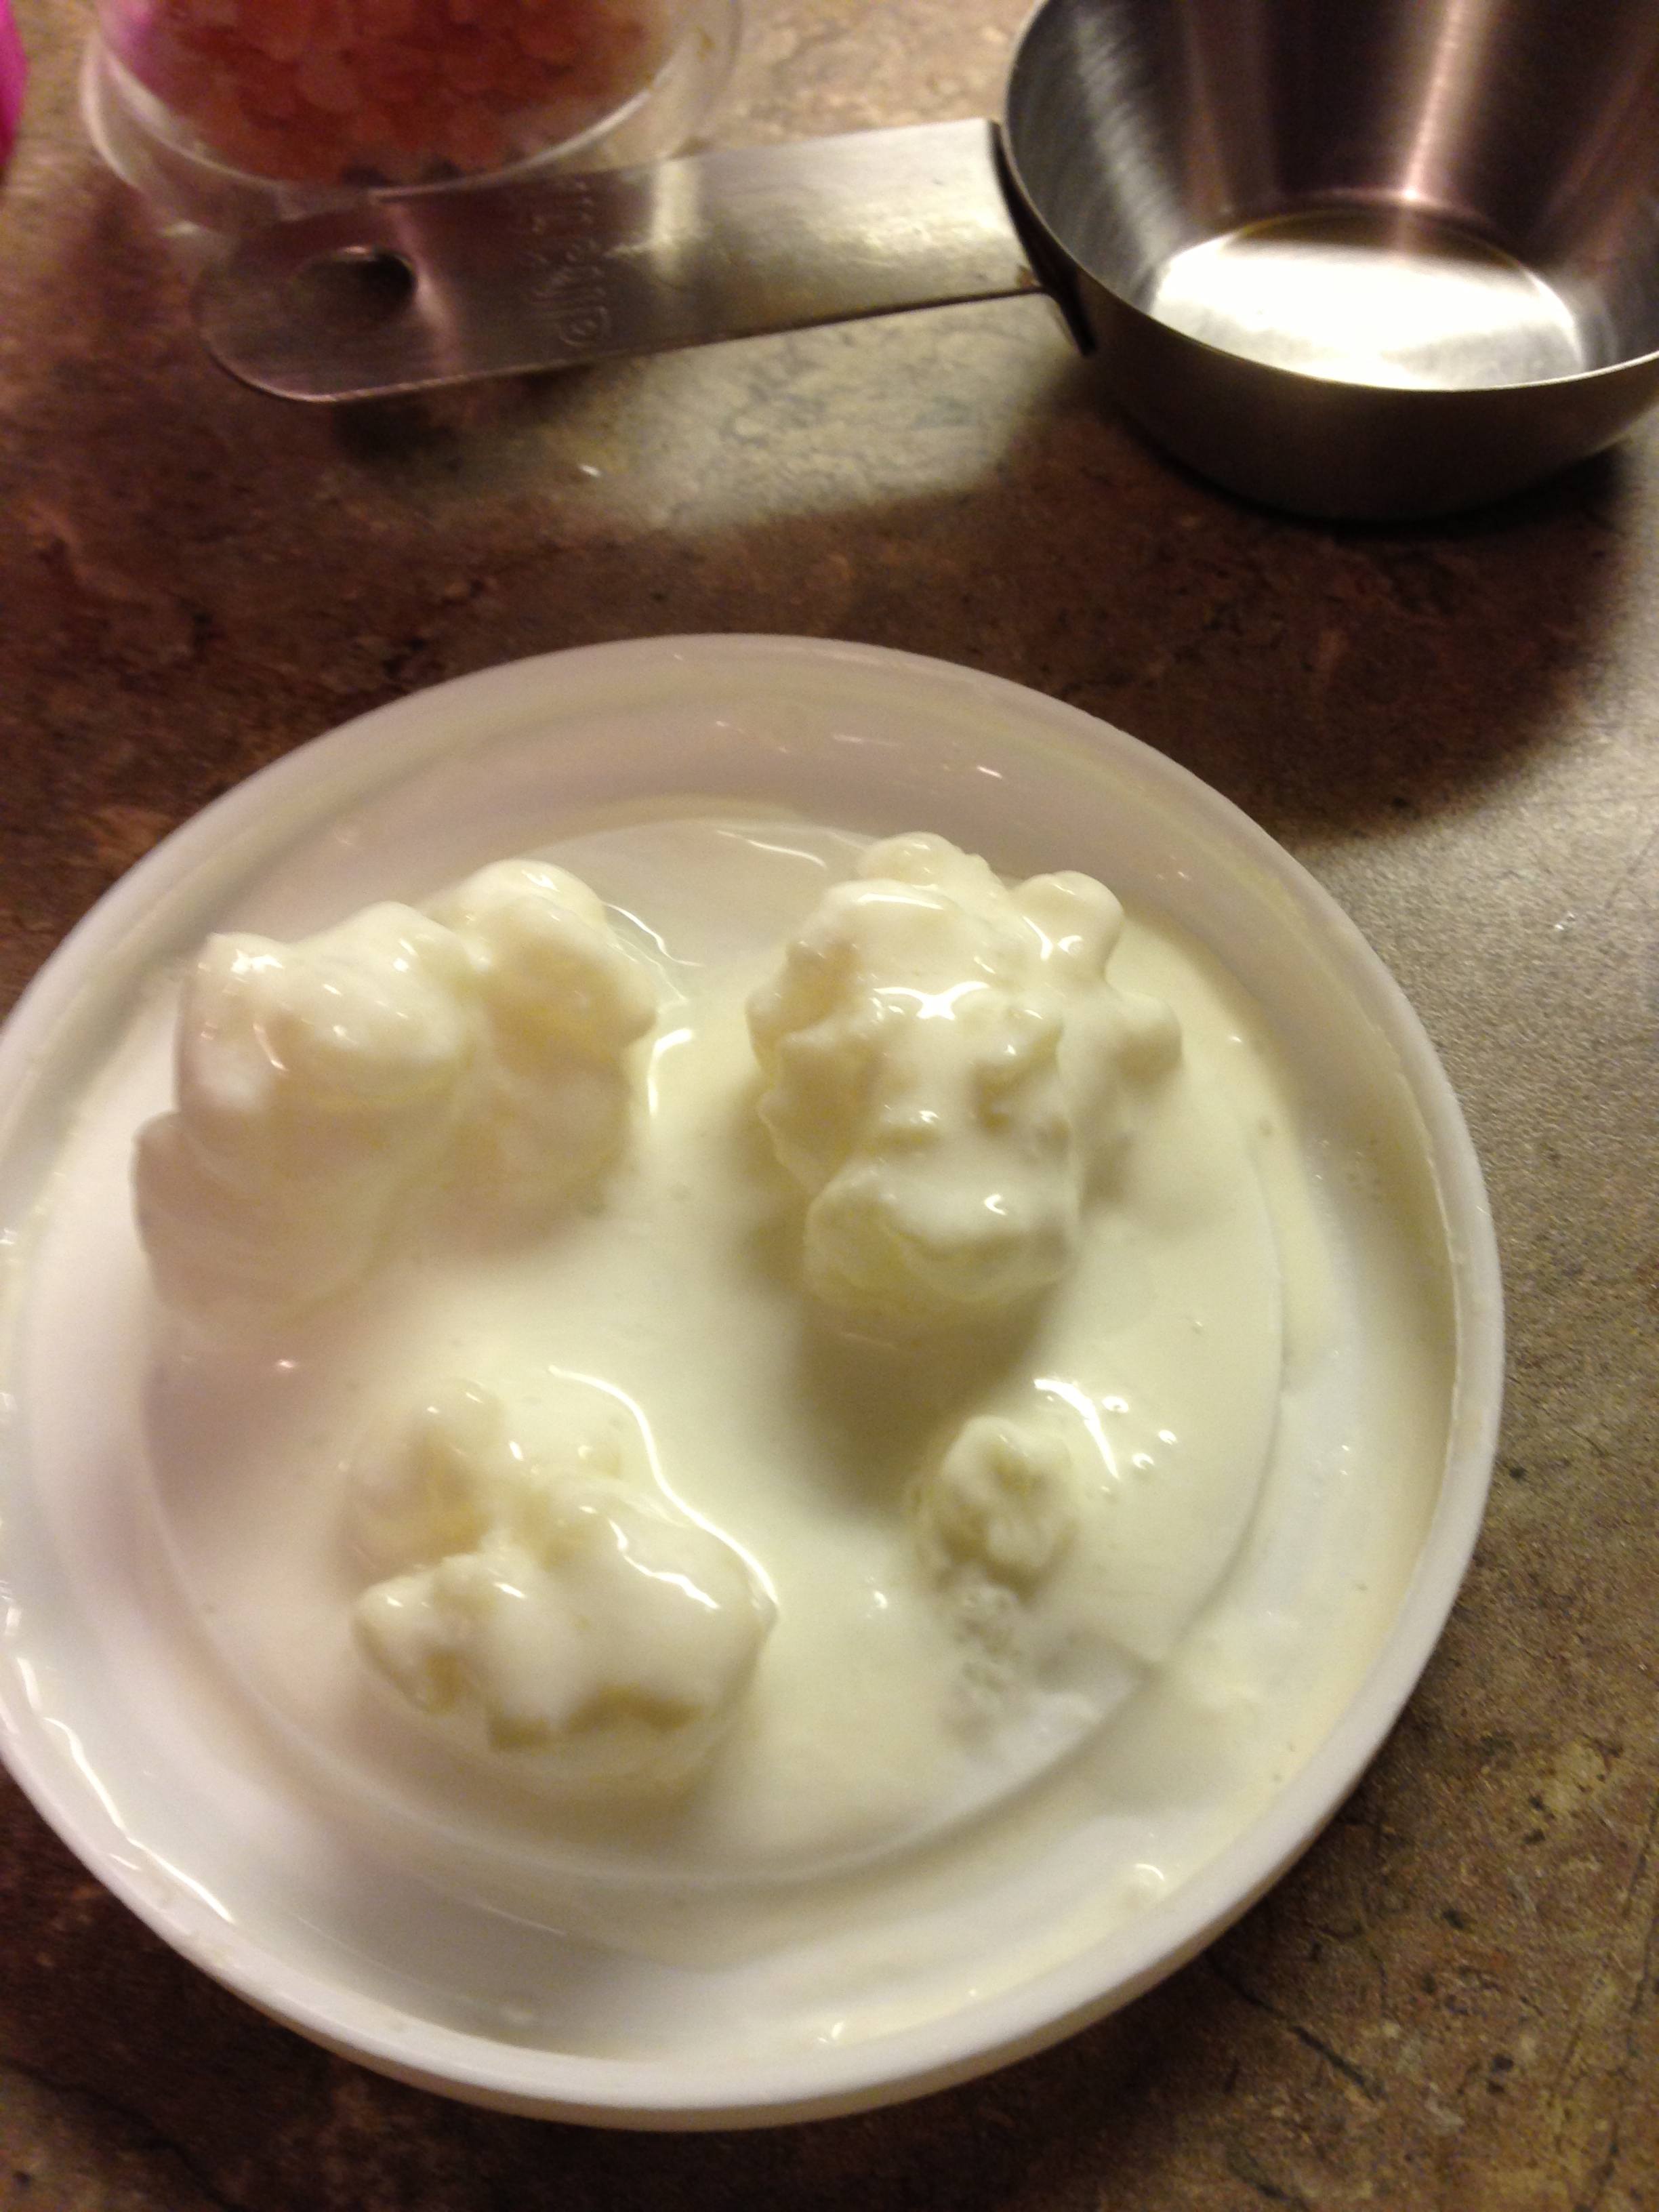
See those funny looking cauliflower looking things? Those are kefir grains. I put one or two of them into a quart jar of raw milk.
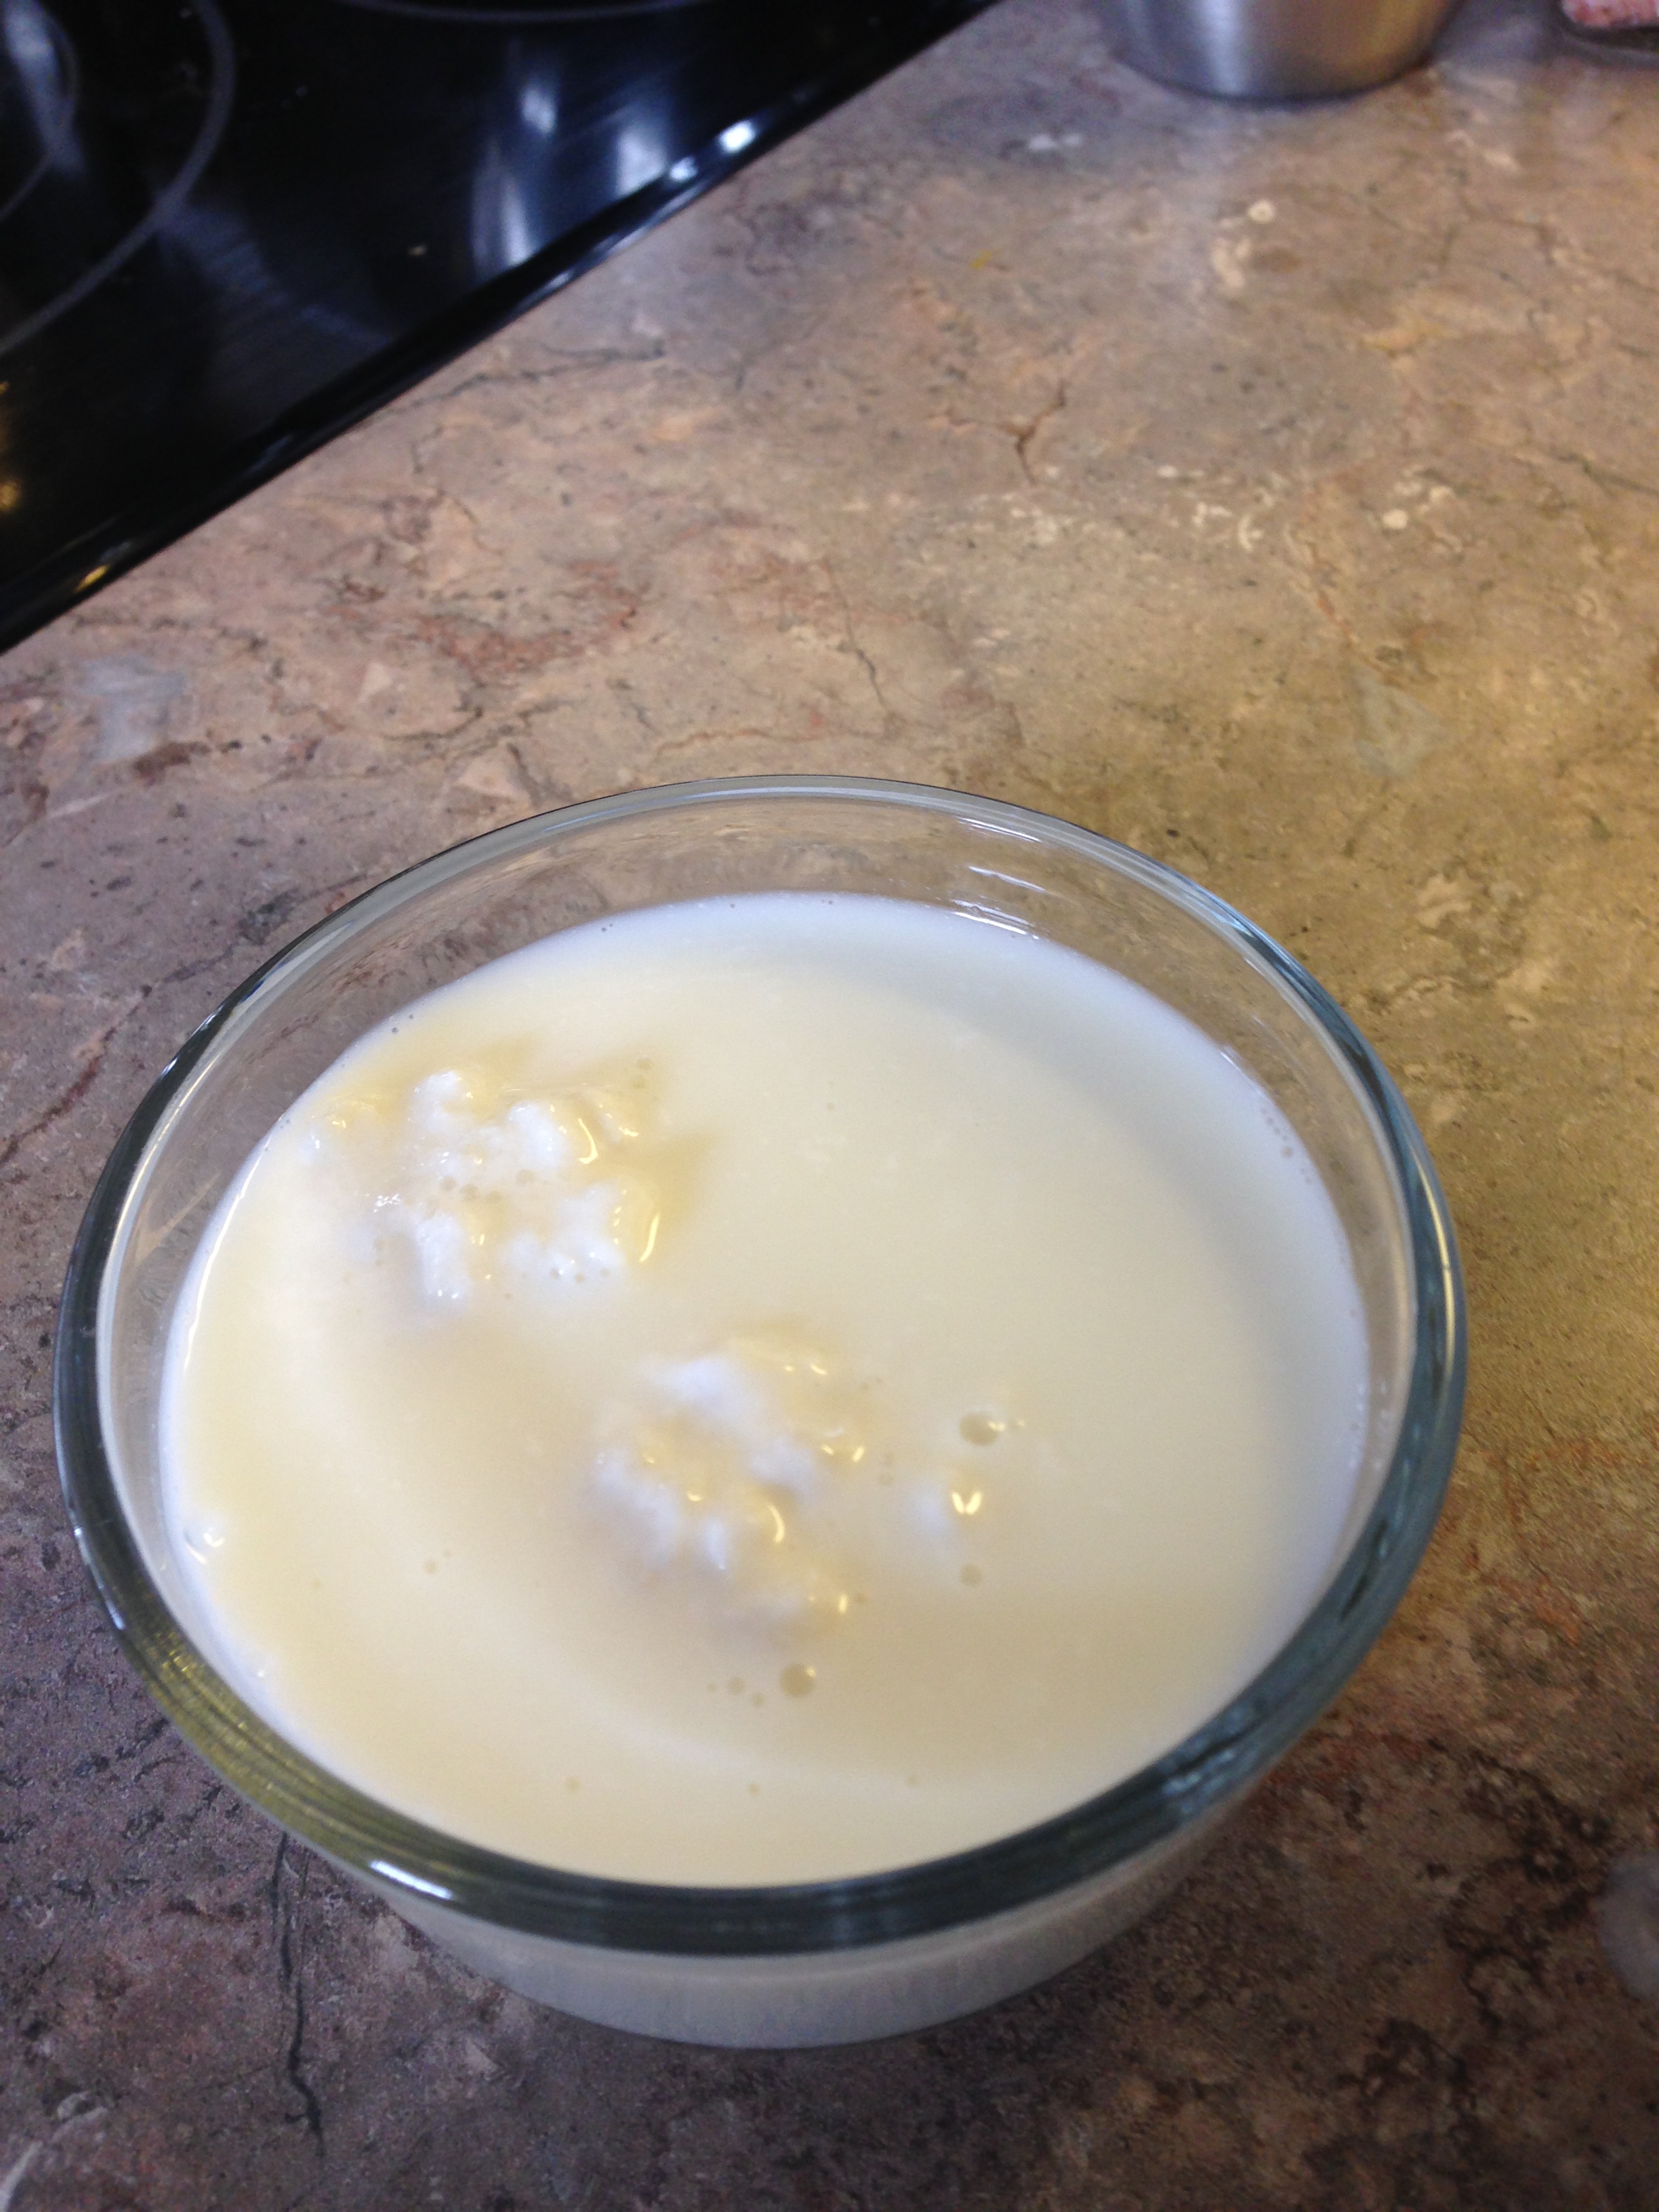
This picture shows my fresh milk in the jar with two grains floating on the top. They are getting ready to get to work 🙂
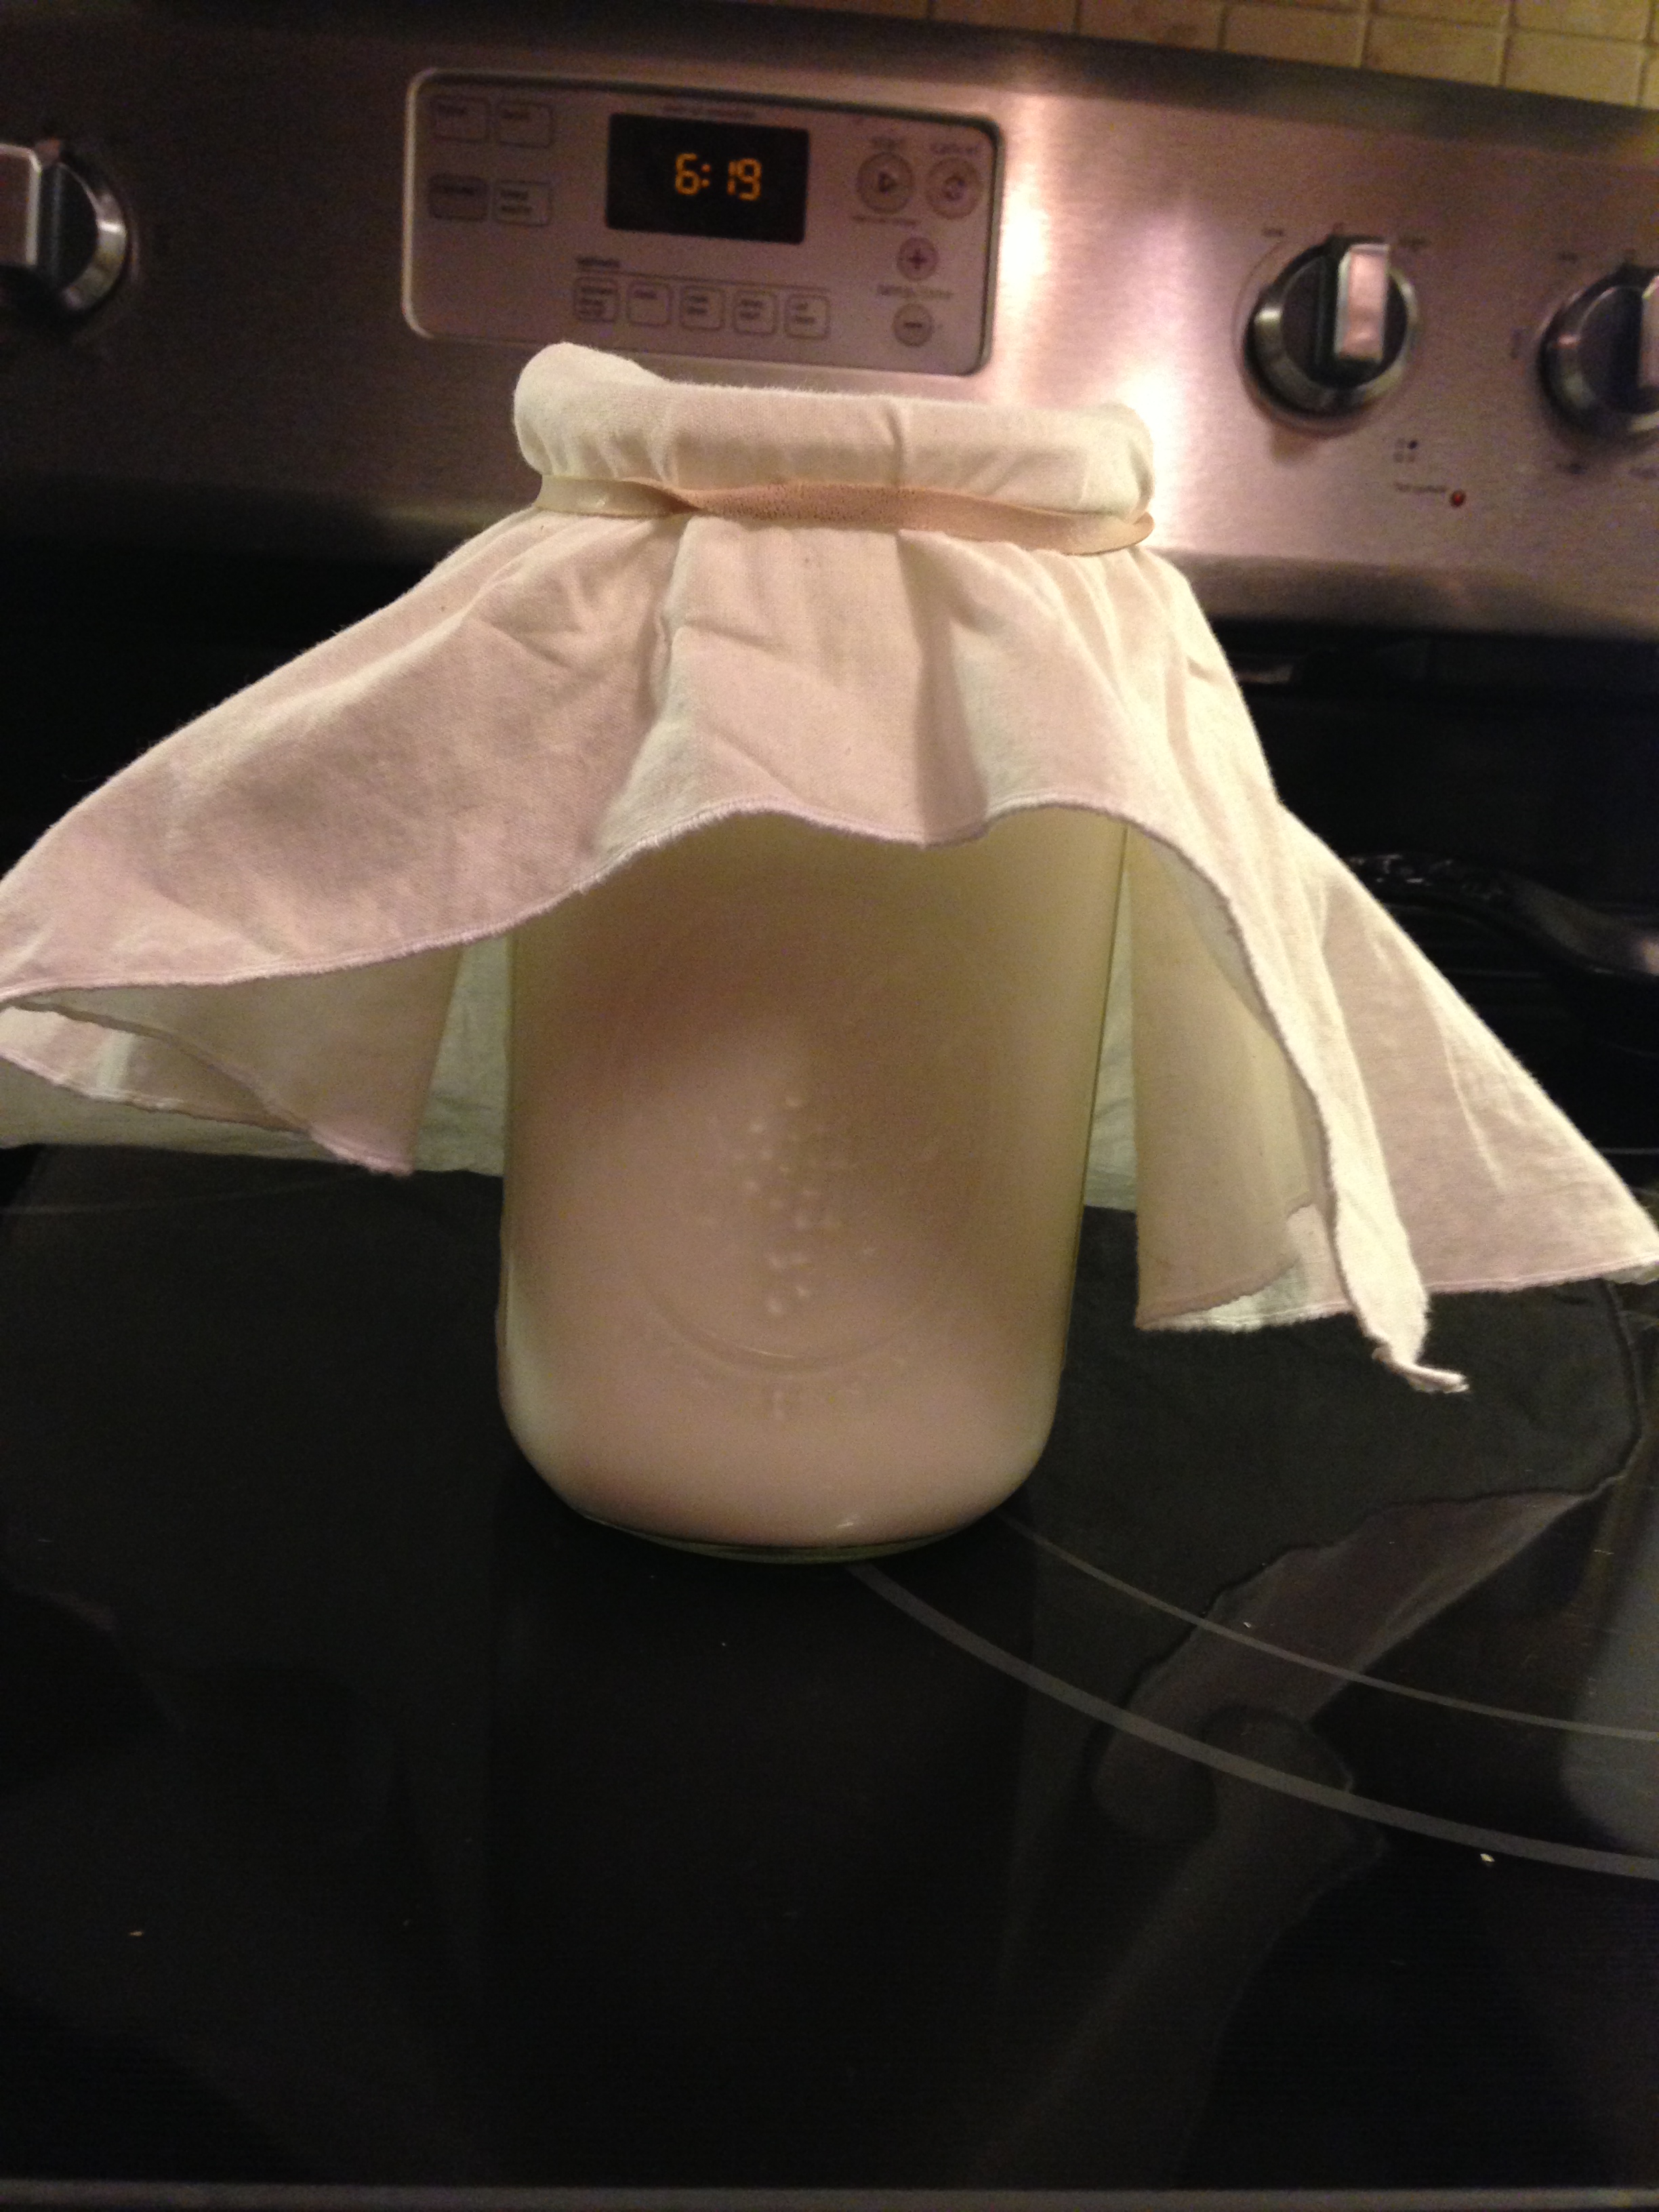
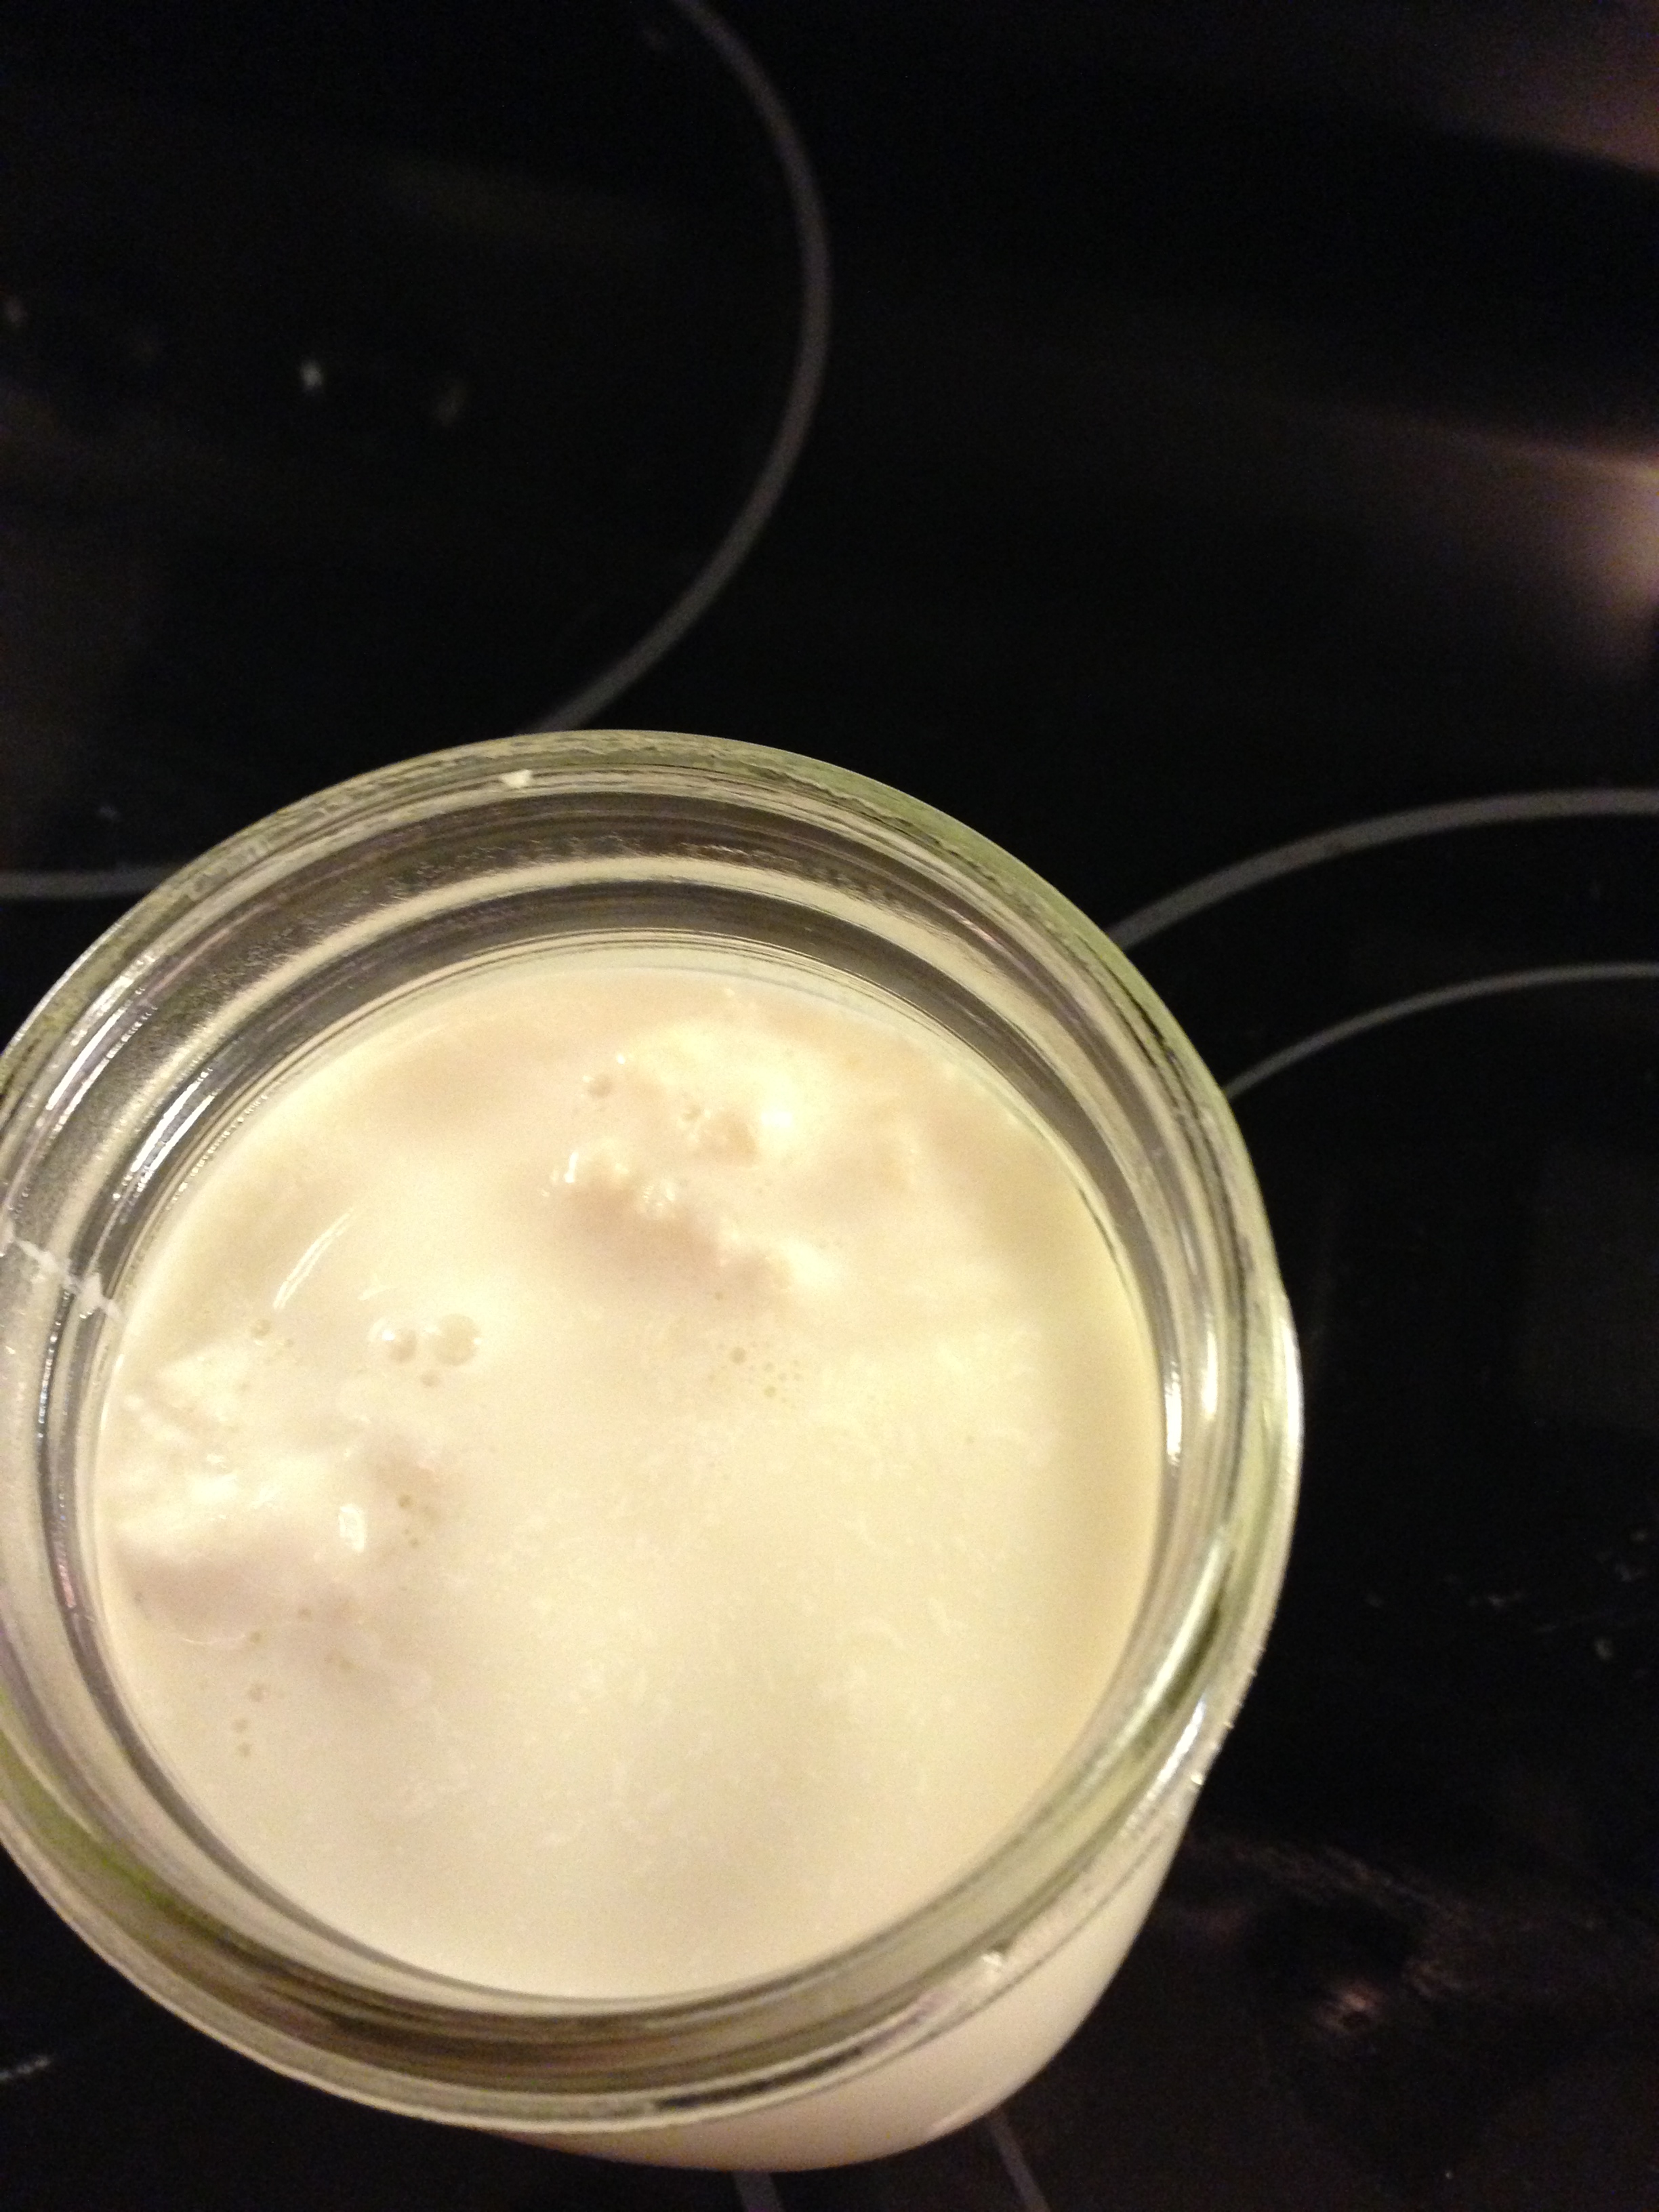
The only thing left to do is cover it with a cloth and rubber band around the top. I use muslin that I bought and hemmed from a fabric store. It’s not advisable to use cheese cloth because the weave is not tight enough and small gnats (who are drawn to anything fermenting) can actually get into your fermented brews and lay their eggs….ugh! So a word of advice, go buy a yard of muslin and cut some squares. Then you’ll have plenty more when your friends want to start making kefir of their own. After I cover my milk, I set it on top of the refrigerator. It usually takes 24 hours to complete, but this batch actually took a day and a half. I don’t know why it takes longer sometimes, but our house is chilly and I think temperature affects the fermentation time. Warmer temps will cut down the length of time it takes, but it’s always taken 24 hours.

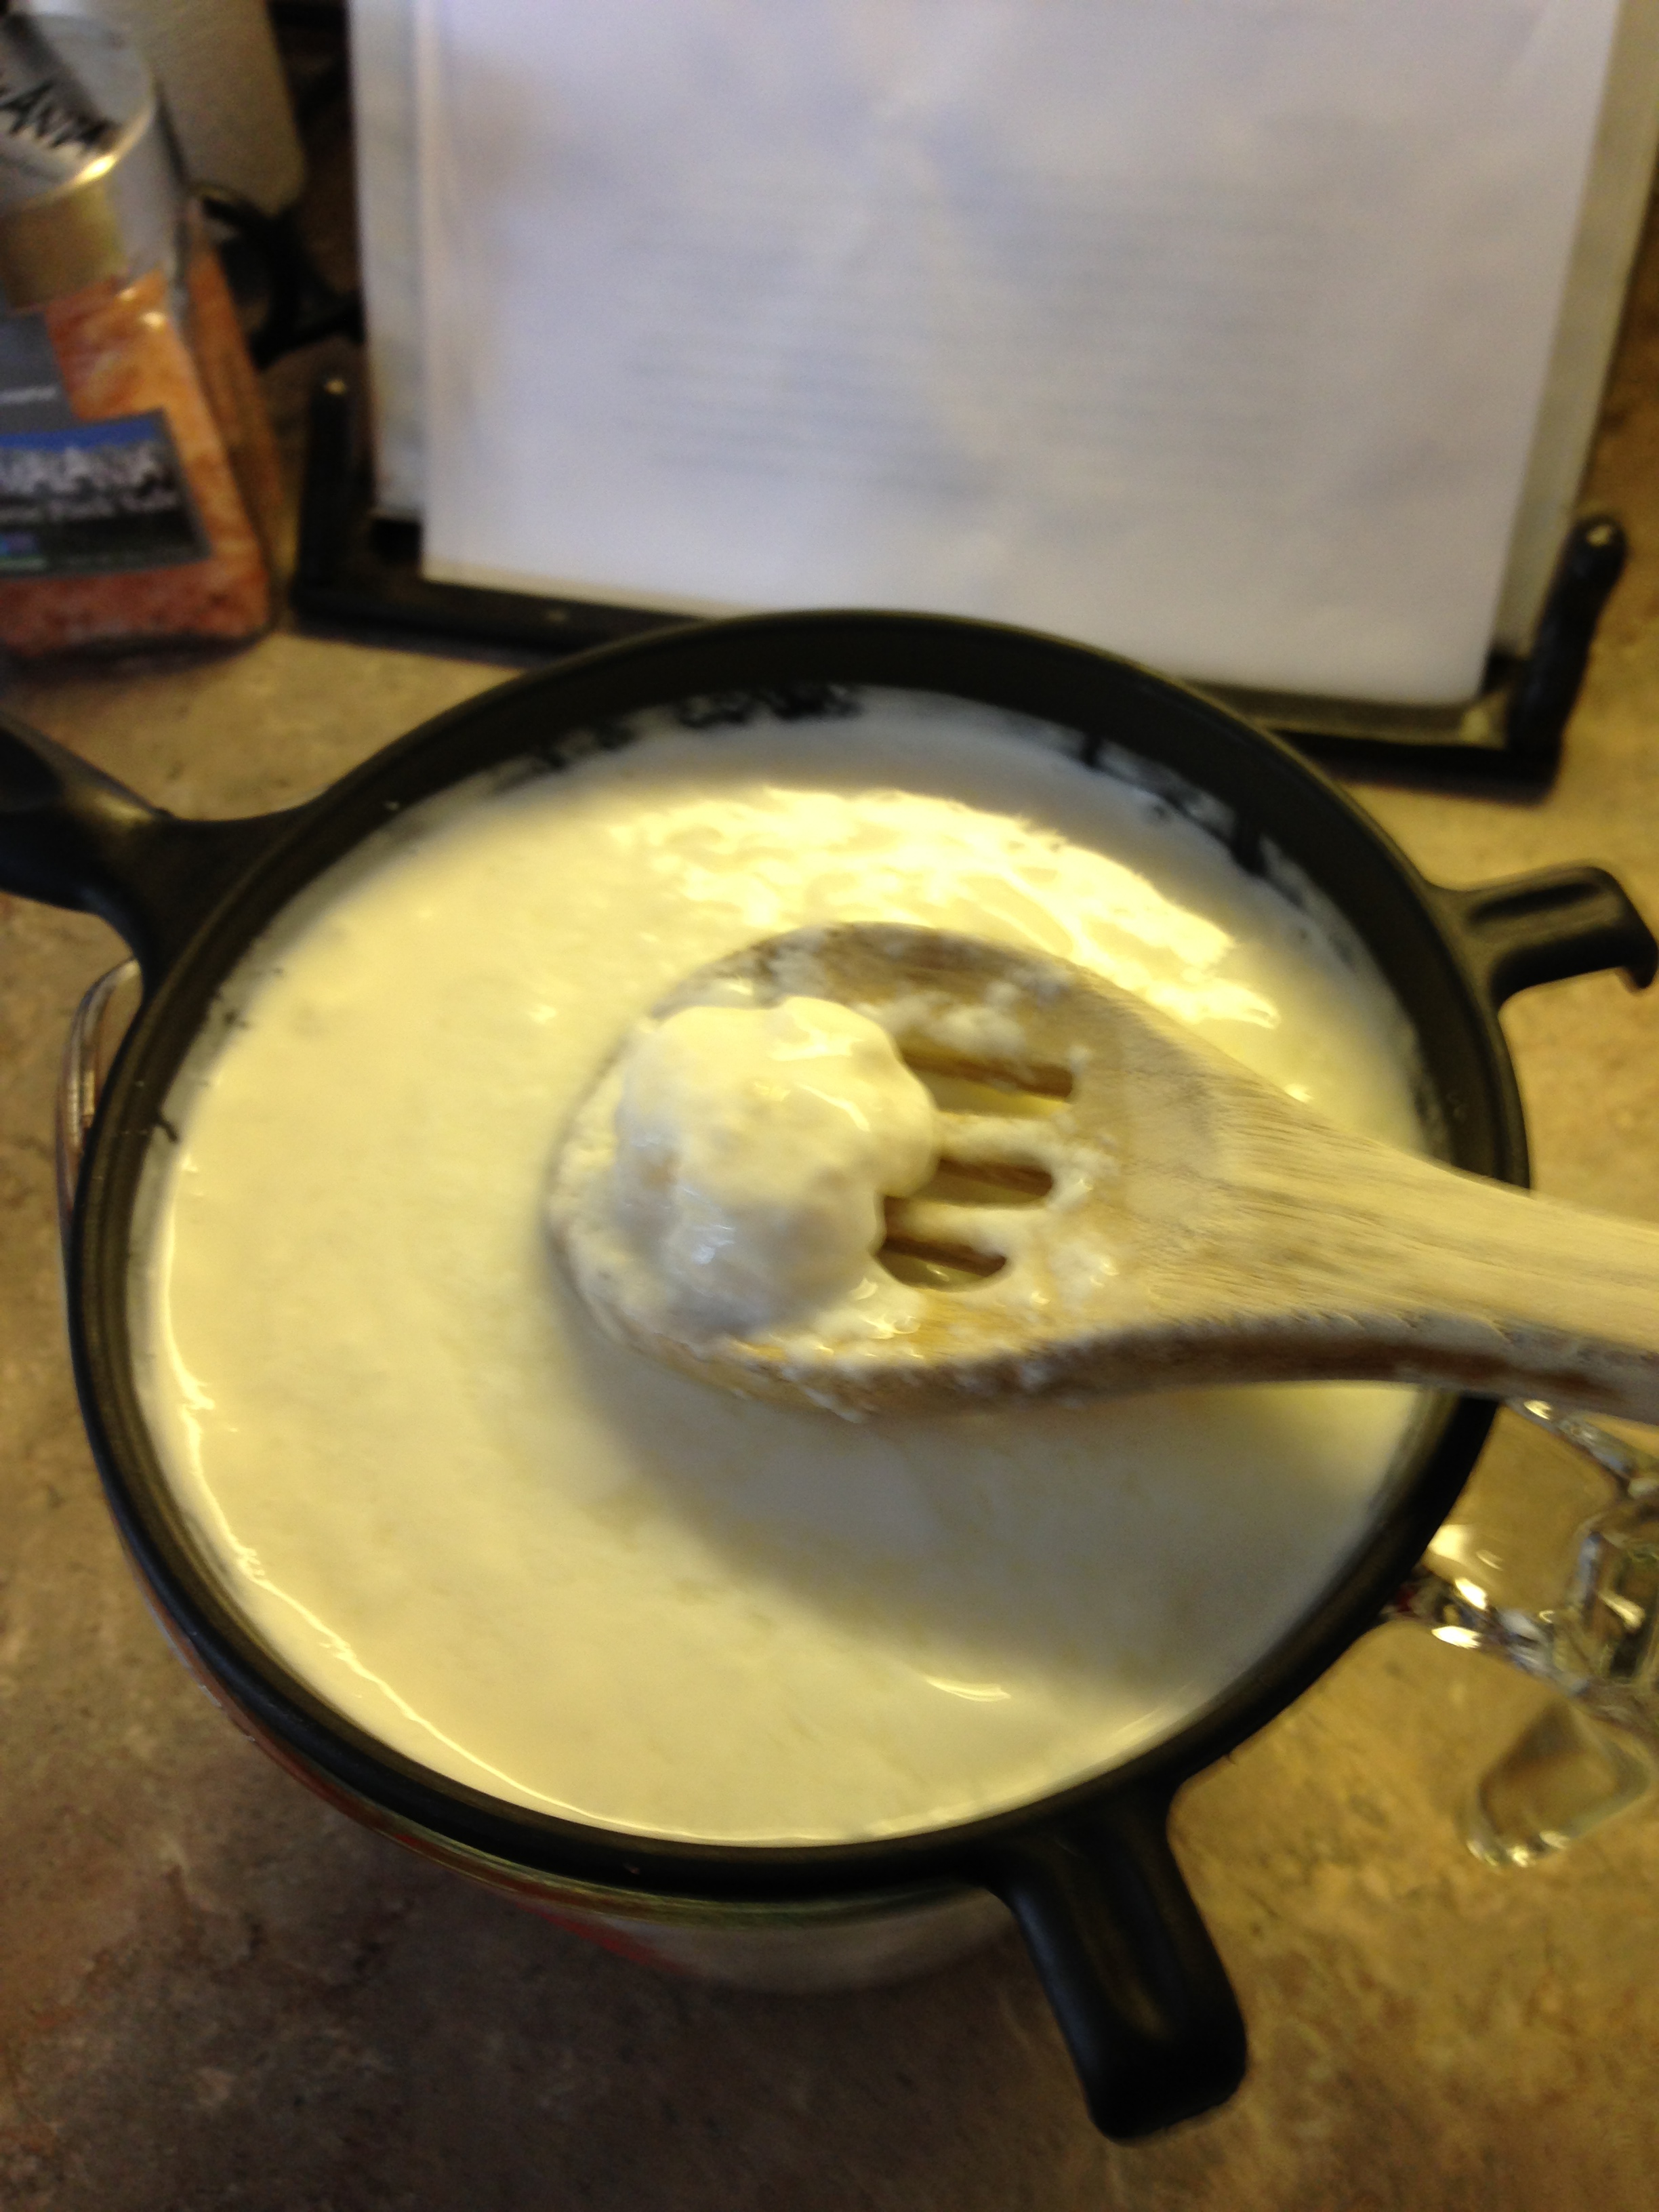
You can tell when the kefir is done by the thickness of the milk. See how the top of the milk has changed consistency from the picture up above. I jiggle the bottle to see if it’s firm all the way down. If it’s firm on top but you can tell it’s still very liquid-like down below, then leave it to complete. That’s what this batch was like, so I left it for another half a day. I’ve forgotten to go get it for 2-3 days before and it was still fine, just stronger in flavor, but it hadn’t gone bad.
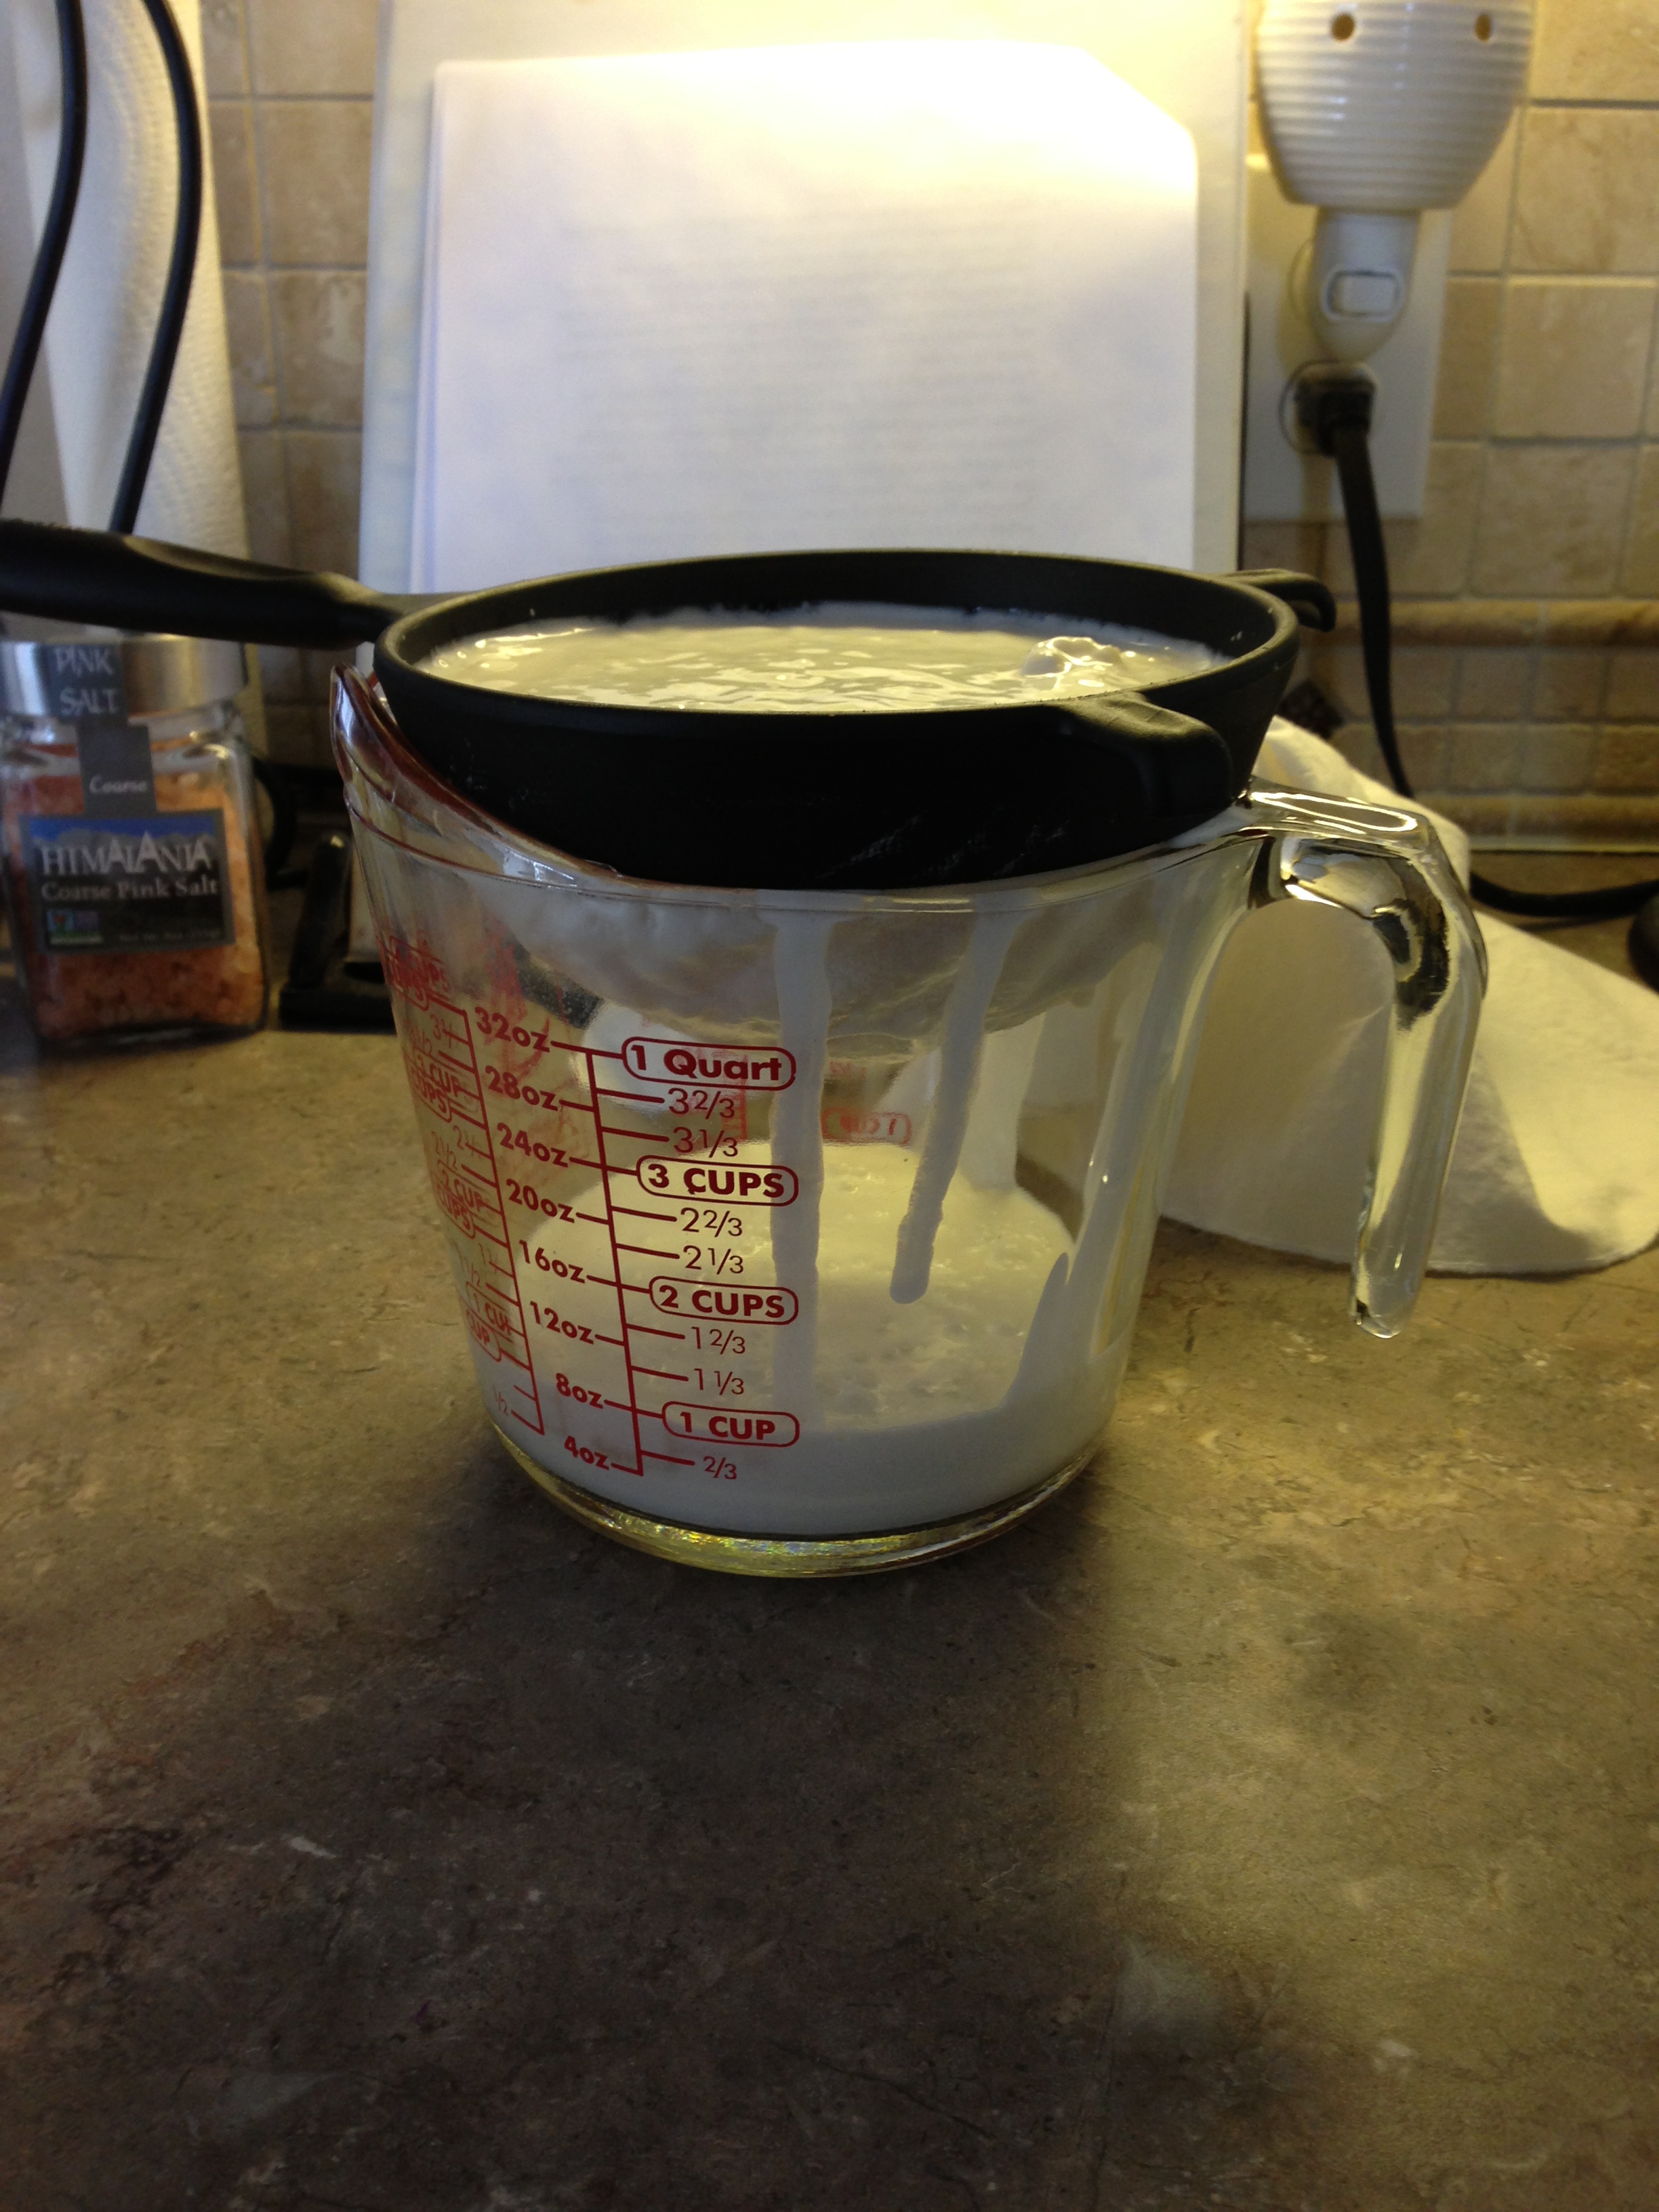
The next step is to run your kefir through a strainer. I suppose you wouldn’t have to do this step but I like it better this way. First of all, it helps you find your kefir grains. I bought a nylon strainer (I had to find it online, Walmart or Target only had metal ones) because it was advised from all the sites I read not to use metal. They said it could affect the grains. I didn’t want to take a chance so I bought the nylon type. I can’t prove one way or the other whether it’s completely necessary, but I didn’t want to kill my kefir grains so I didn’t want to take the chance. I use a wooden spoon to scoop out the grains then I stir all of the kefir through the strainer. It becomes liquefied again but thicker than milk. When I haven’t done that I come across chunks as I’m drinking it and I don’t like that, so it’s just my own personal preference.
Here, I’m taking the grains back out of the kefir.
This is where my grains live when they’re not making kefir. I put them into a small bowl of fresh milk, cover it with a snap on lid and put it into the refrigerator. You need to give them fresh milk every 3-4 days if you’re not ready to make another batch of kefir. I’ve given some to friends and they failed to do that and they died. So it’s something that needs to be fed to survive.
That’s all there is to it. I just put the kefir into a clean jar, put on the lid and put it into the refrigerator. Then it’s ready to drink whenever you want it. I’ve never had any stored for longer than a week and a half, but it never went bad. Evidently, back in the pioneer days they used this type of fermentation to keep milk from spoiling so I don’t think there’s any problem with storing it for a bit. It will separate with the whey floating on top, but you just shake it back together before pouring a glass.
One last thought before closing. Since I’m actively looking for ways to get lots of good probiotics into my system, kefir has been a good choice when looking for probiotics because of the volume of beneficial bacteria. According to one site,the results were: “one pill of Probiotic supplement has approximately 15 billion beneficial bacteria whereas 500 ml of yogurt contains approximately 1.5 trillion friendly bacteria. Now what will make you amazed is that 500 ml of kefir contains 5 trillion probiotics.”
So kefir, along with kombucha and double fermented water kefir is part of my daily intake. I will show you how to make kombucha real soon, once a batch is ready to go and another batch made.
I will let you know in time, as my body heals, how it’s all going. For now, this is just another way of letting “my food be my medicine”.
ps: A glass of unflavored kefir was drunk while typing this blog 😉

Great info! I’ve made several batches.
I’ll like to try your kefir.
Sure, Linda….call me and we’ll get together 🙂
Cindy, do you use raw milk?
Yes, I’ve been using raw milk for about a year now, although now that I’m doing GAPS, I can only have it in the form of Kefir for the time being.
Wonderful job Mom… I am so glad you are posting these… It’s so helpful, especially with the pictures! I love it.
Thanks, Holly 🙂